0
items
$0

Set your iPhone to open a tuner or take a screenshot when you tap the Apple logo on back
I have been seeing this tip gain popularity with teachers online, so I feel obligated to share it here:
You can program your iPhone to do a nearly endless list of things by double or triple tapping the back of it. Go to Settings-->Accessibility-->Touch and then scroll down to the option called "Back Tap."
Alternatively, you can swipe down in settings to reveal a search bar and then type in "back tap."
You can program a tap of the Apple Logo on the back of your iPhone to do tons of system actions like going home, muting your phone, taking a screenshot, or launching Control Center.

The Touch options in the accessibility settings.

Setting a double and triple-tap.

There are lots of options!
You can also choose a Shortcut to launch. And Shortcuts can do anything from launching an app to running JavaScript. So you can imagine the possibility...
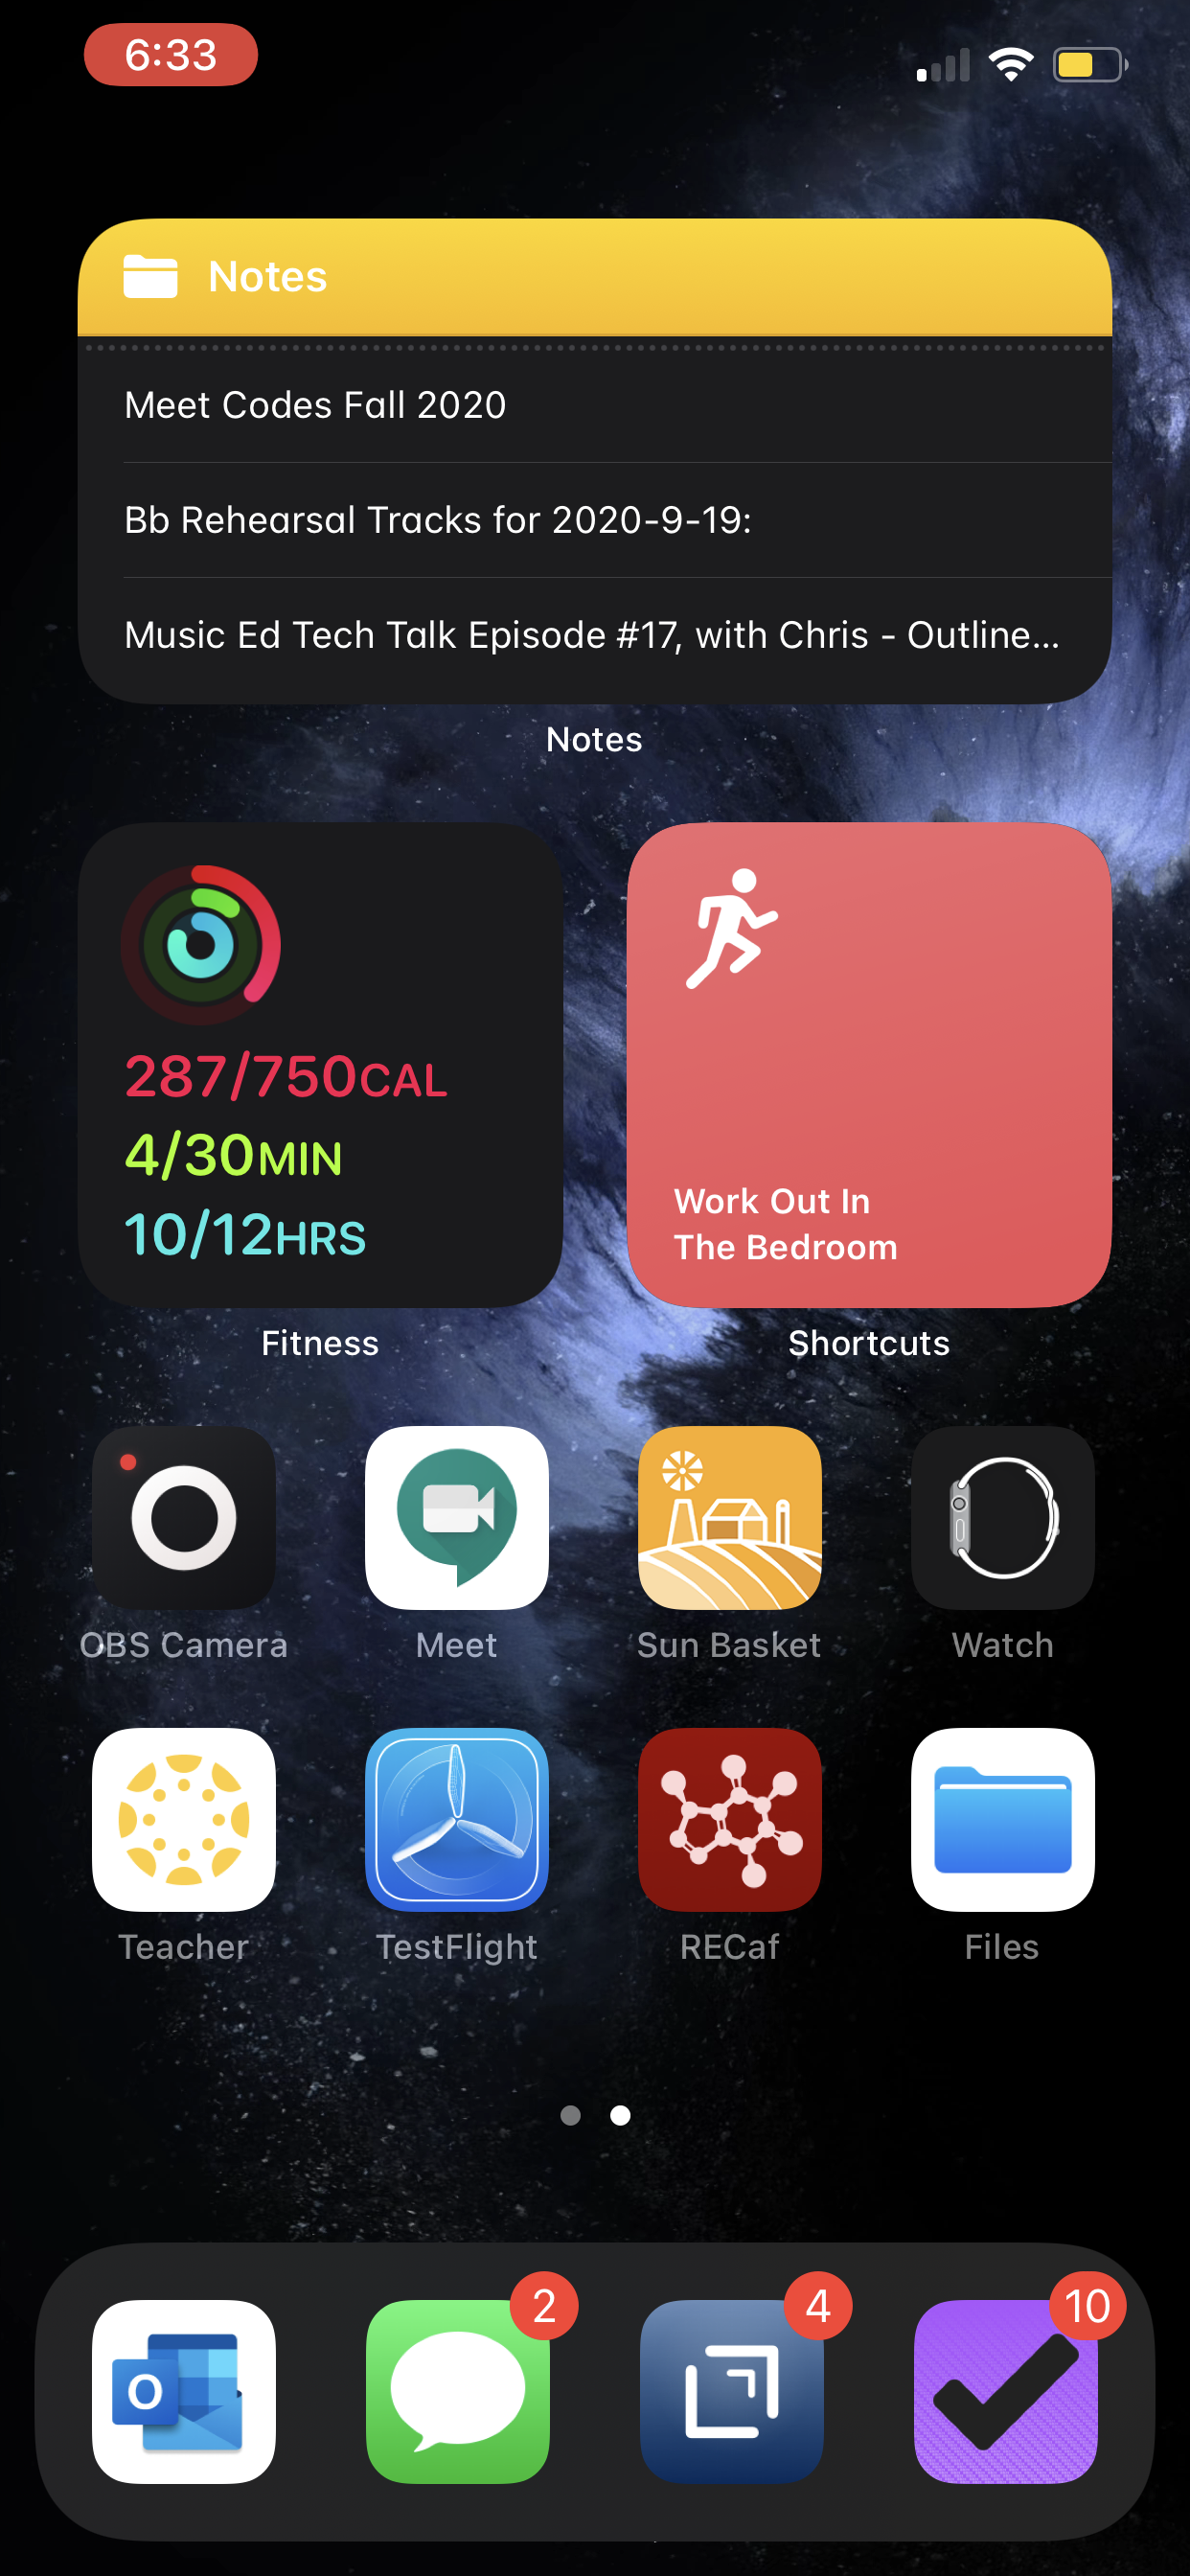
Personally, I have a double-tap set to reveal Control Center and a triple tap set to initiate open a new note in my note-taking app, Drafts.
To open a specific app, you will first need to make a Shortcut that performs the “Open App” action and then select that Shortcut from the available options in the Back Tap settings. To do that, open the Shortcuts app (pre-installed on every iPhone or available from the App Store on older versions of iOS).
Once in Shortcuts, create a new one with the plus icon in the upper right. Name your shortcut if you want (by pressing the three-dots “More” button), and then press “Add Action.” There is an overwhelming number of options if you are unfamiliar with Shortcuts, so just use the search and look for the action called “Open App.” Select this action from the search results and then a block will appear with a blue “Choose” option where you can choose the app you want it to open. Choose your tuner of choice.
Once saved, this Shortcut will be available as an option in the Back Tap settings.
***Note: The Tonal Energy app actually allows you to set up Shortcuts that jump to specific places within the app like the Analysis or Metronome section. You can find this in the TE settings. It will save you a bunch of extra taps.
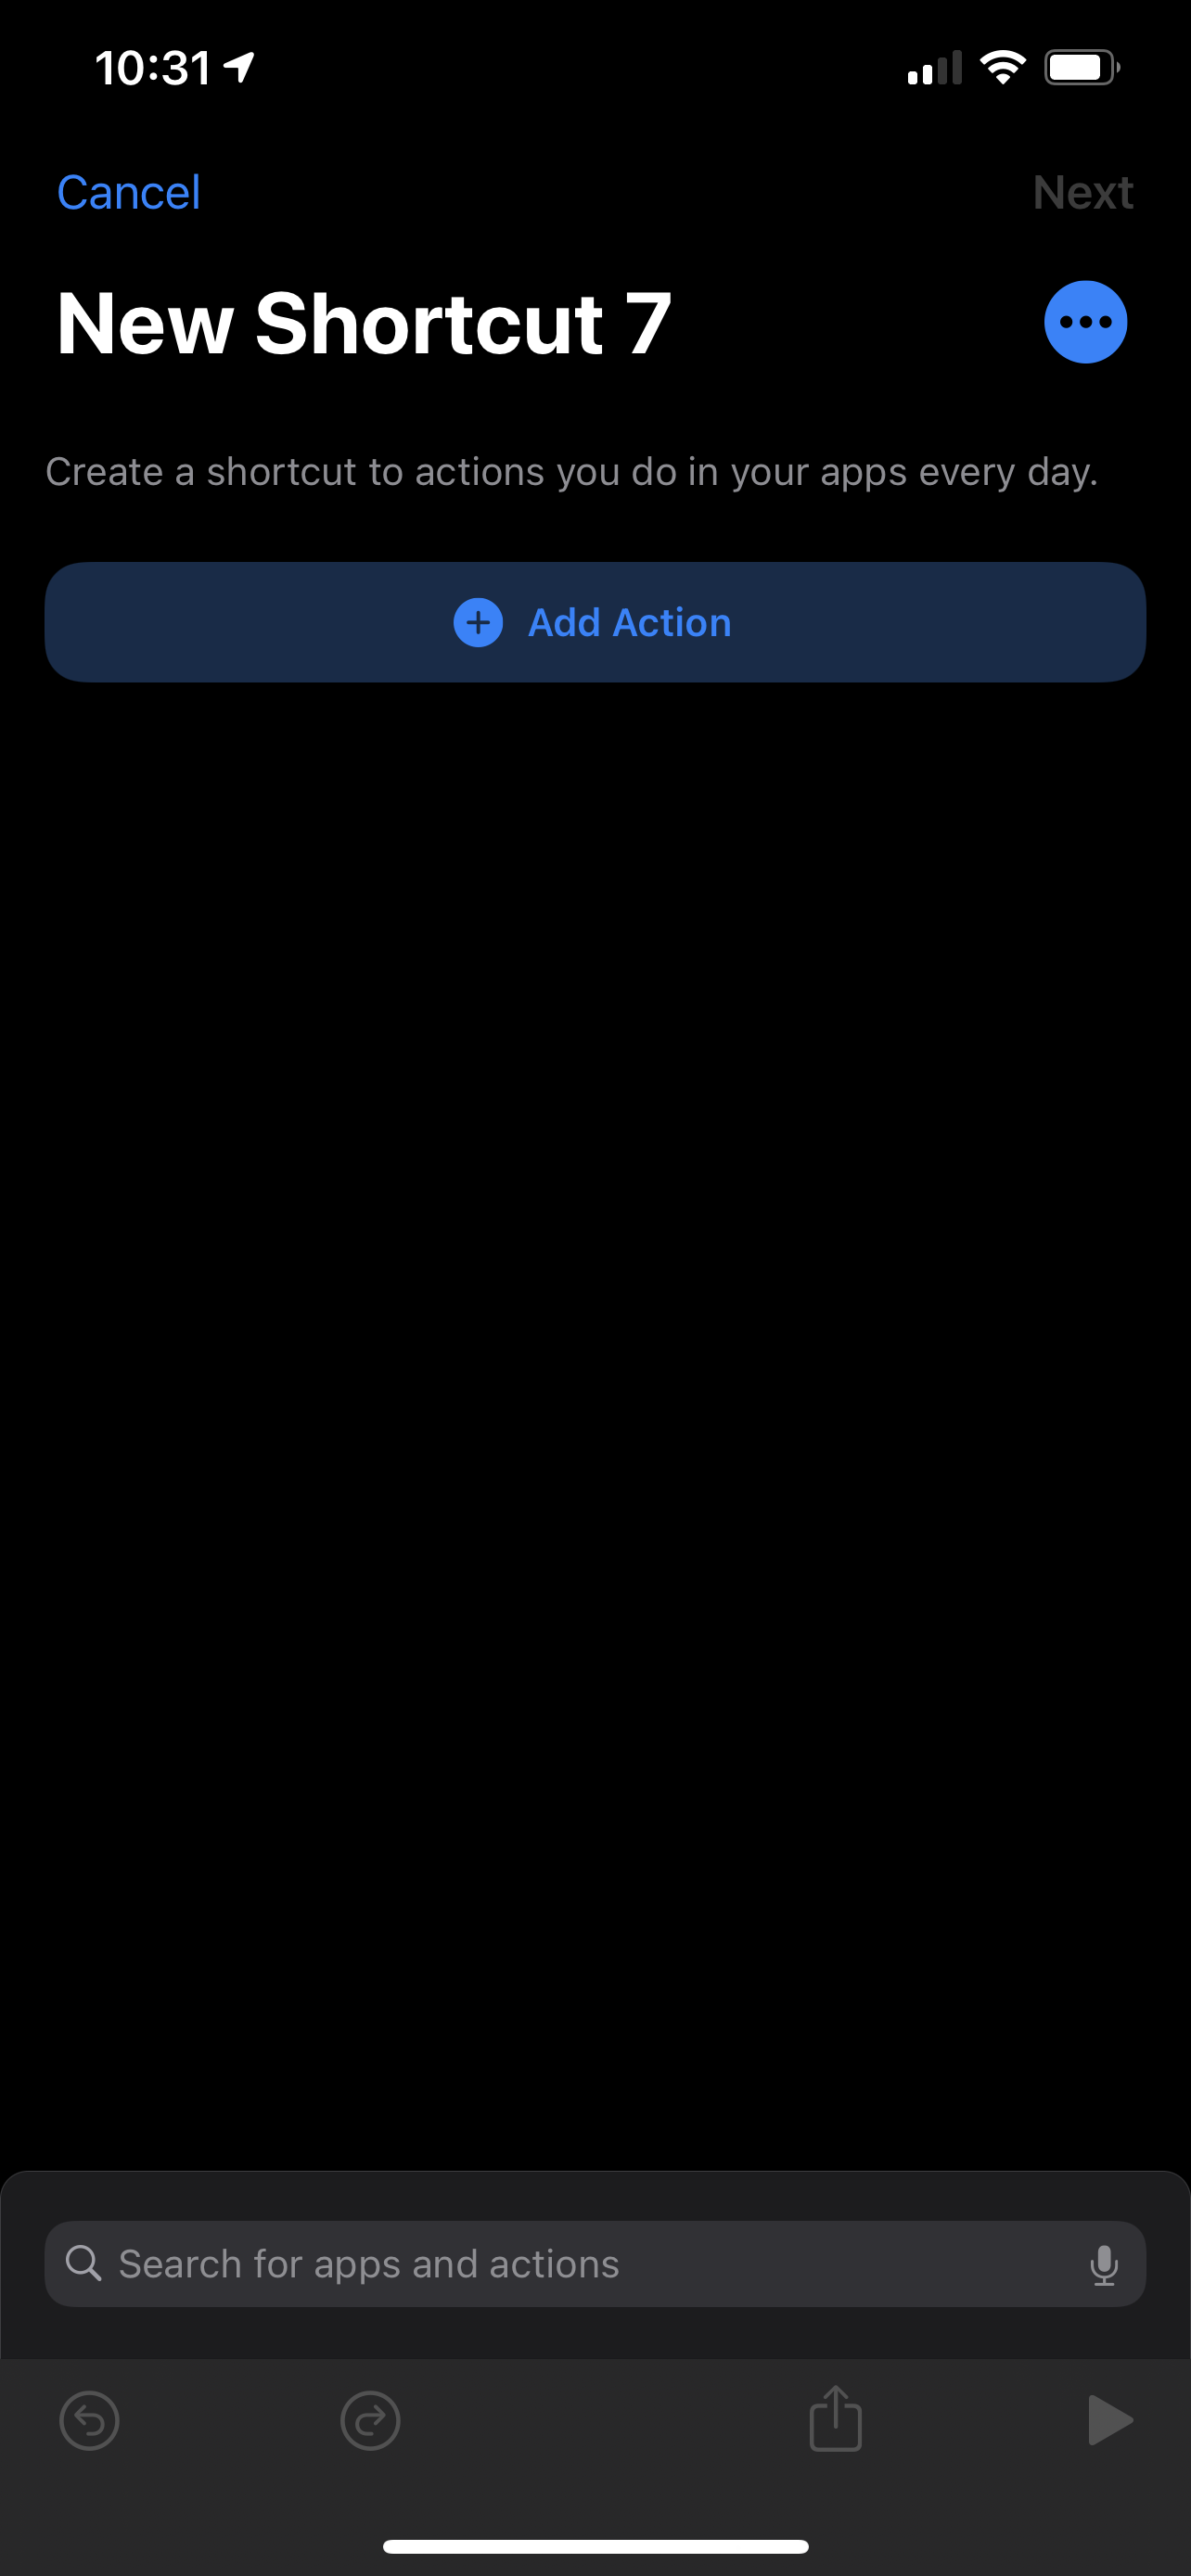
Creating a new Shortcut.

Search for the Open App action.
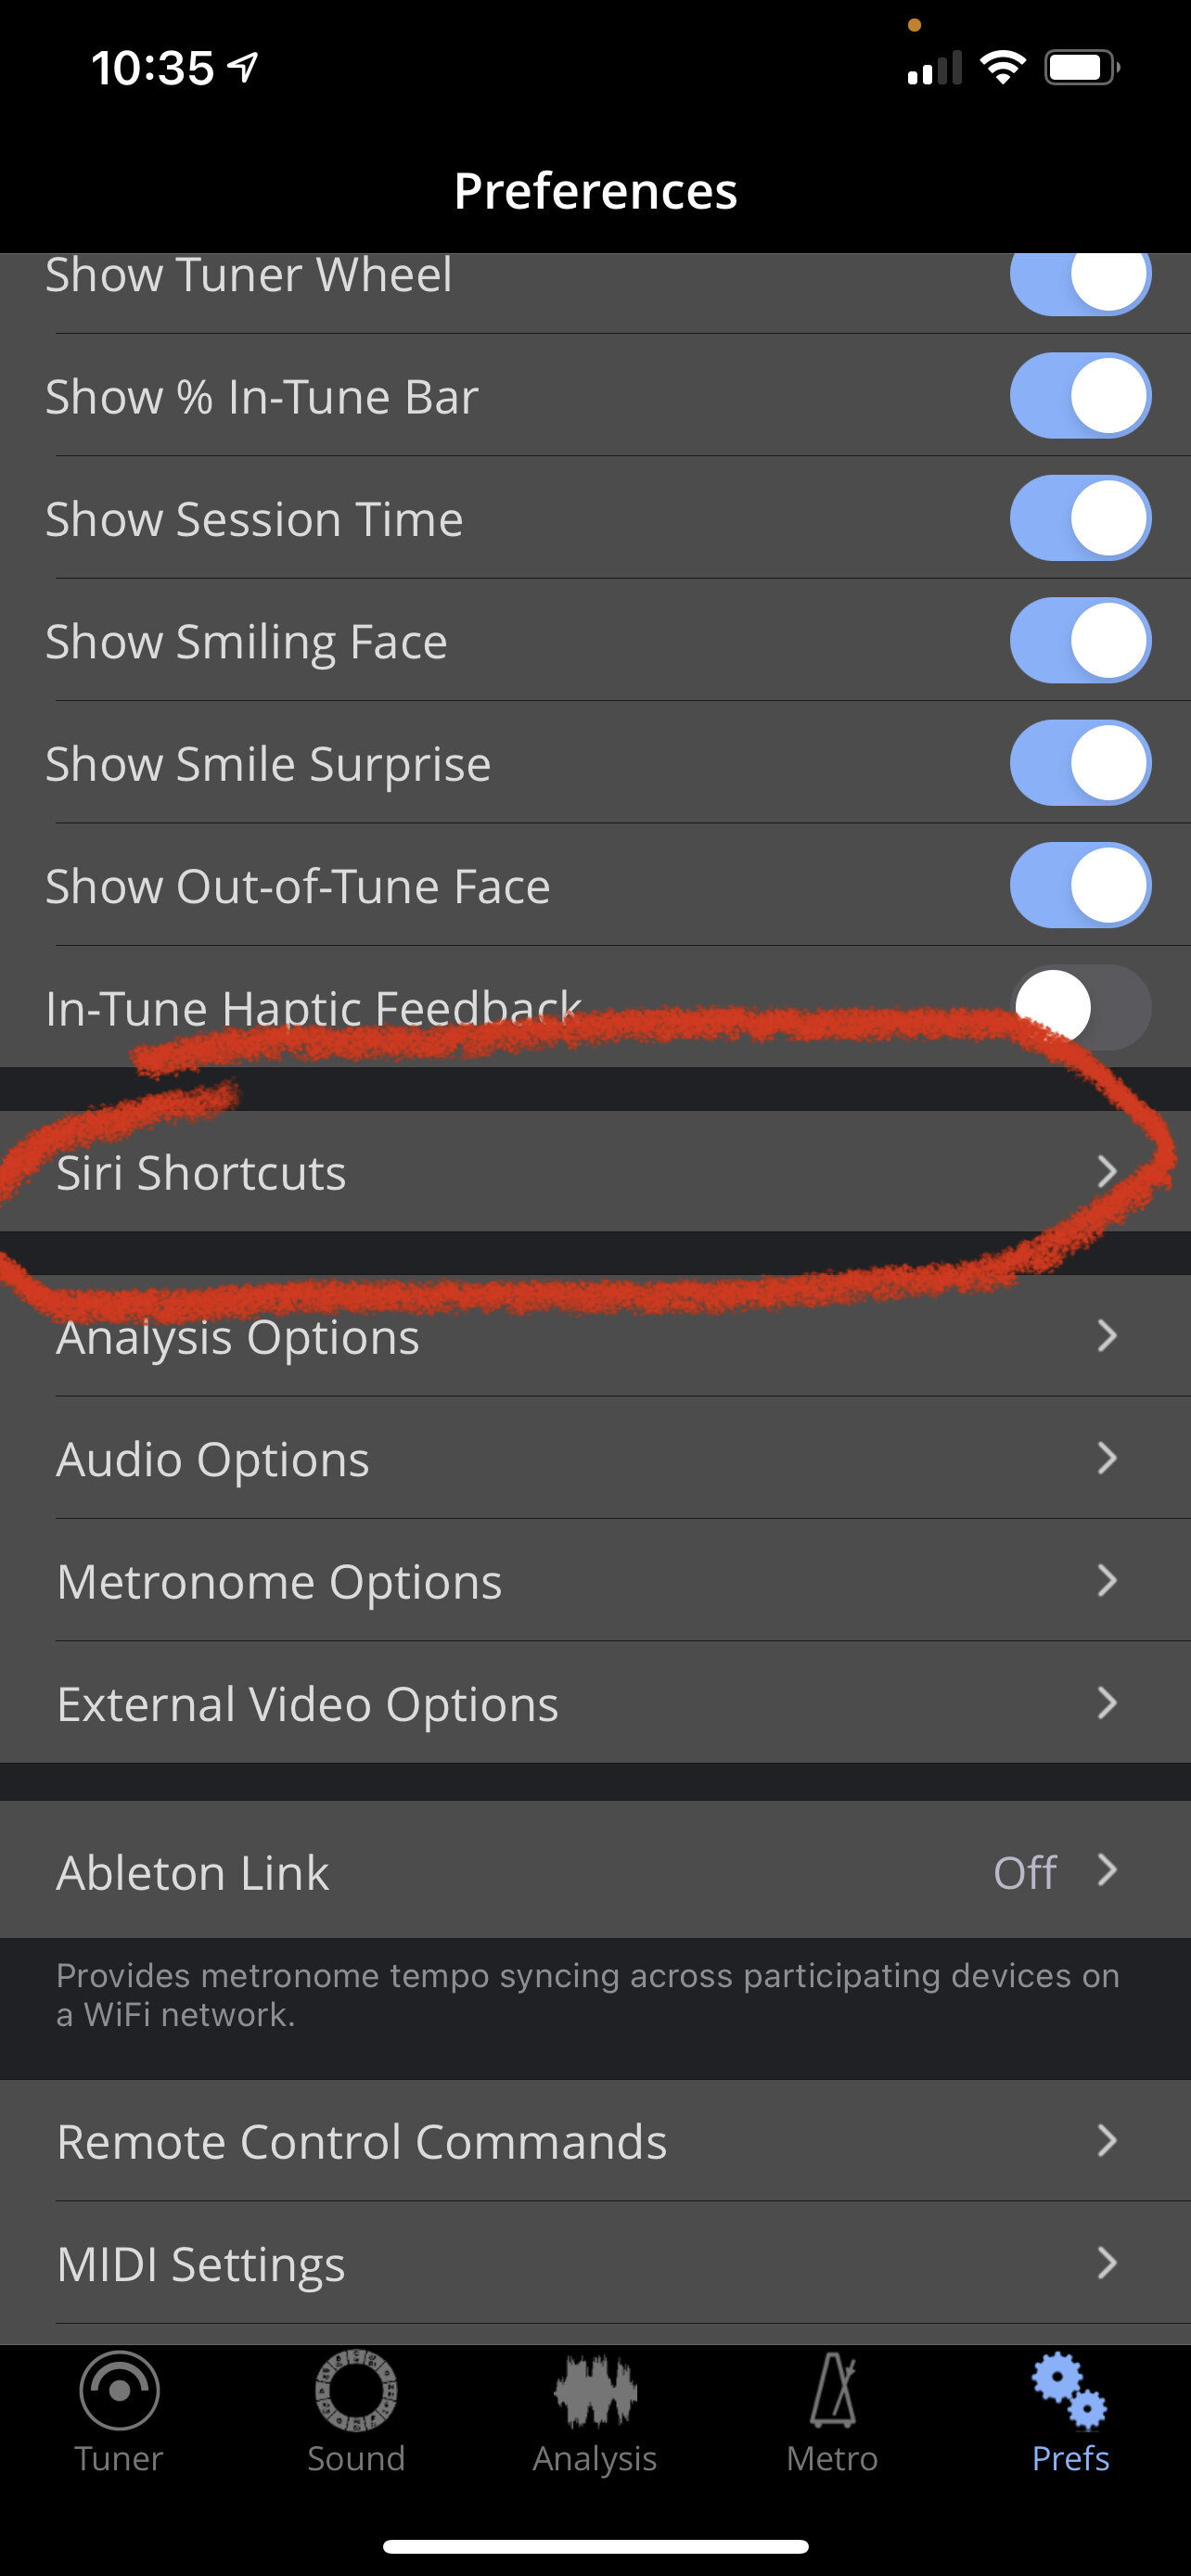
Tonal Energy allows you to make Shortcuts that launch to specific parts of their app in the settings.