Anthony Wilkes joins the show to talk about PlayScore 2, a sheet music scanning app. Anthony is the CEO of PlayScore, and in the conversation we talked all about what it can do, the challenges of developing music scanning software, and practical uses for teachers and students.
Patreon supporters receive bonus conversation about machine learning, the future of score scanning software, and automation.
Subscribe to the Blog... RSS | Email Newsletter
Subscribe to the Podcast in... Apple Podcasts | Overcast | Castro | Spotify | RSS
Support Music Ed Tech Talk
Thanks to my sponsors this month, Scale Exercise Play Alongs.
Show Notes:
- PlayScore 2
- ReadScoreLib
- Dorico 2.2
- An interview with PlayScore creator Anthony Wilkes | Dorico Blog
- Scanner Pro
- PDF Expert
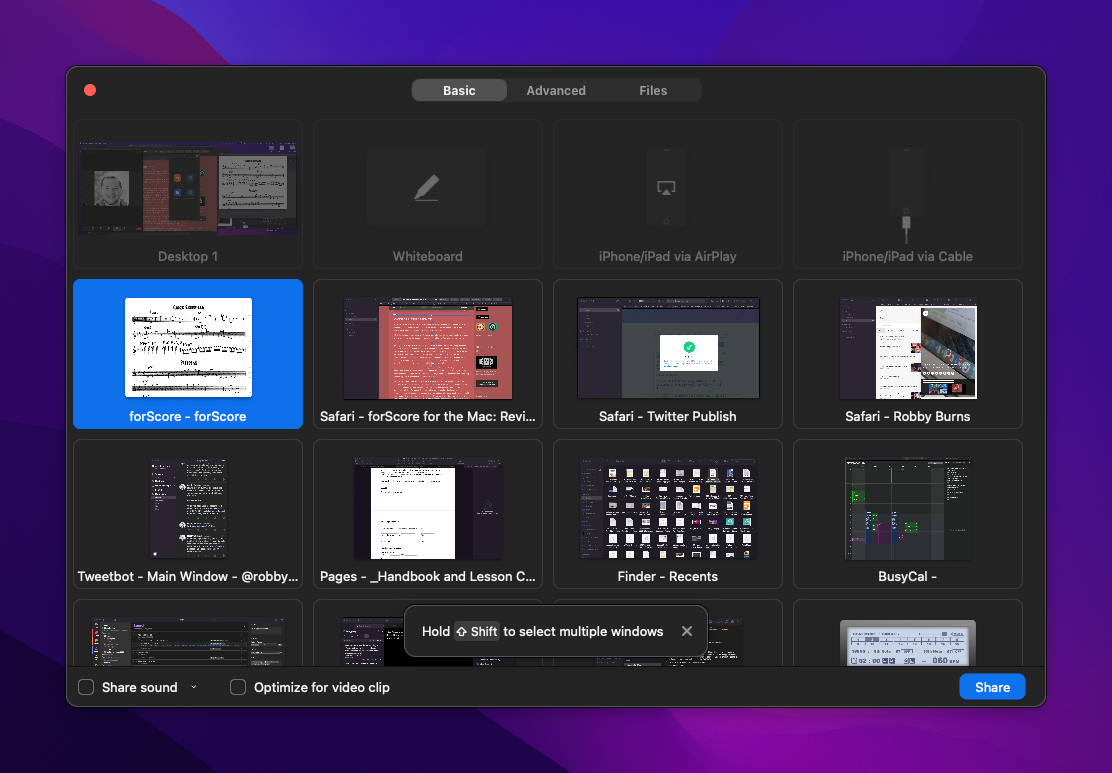
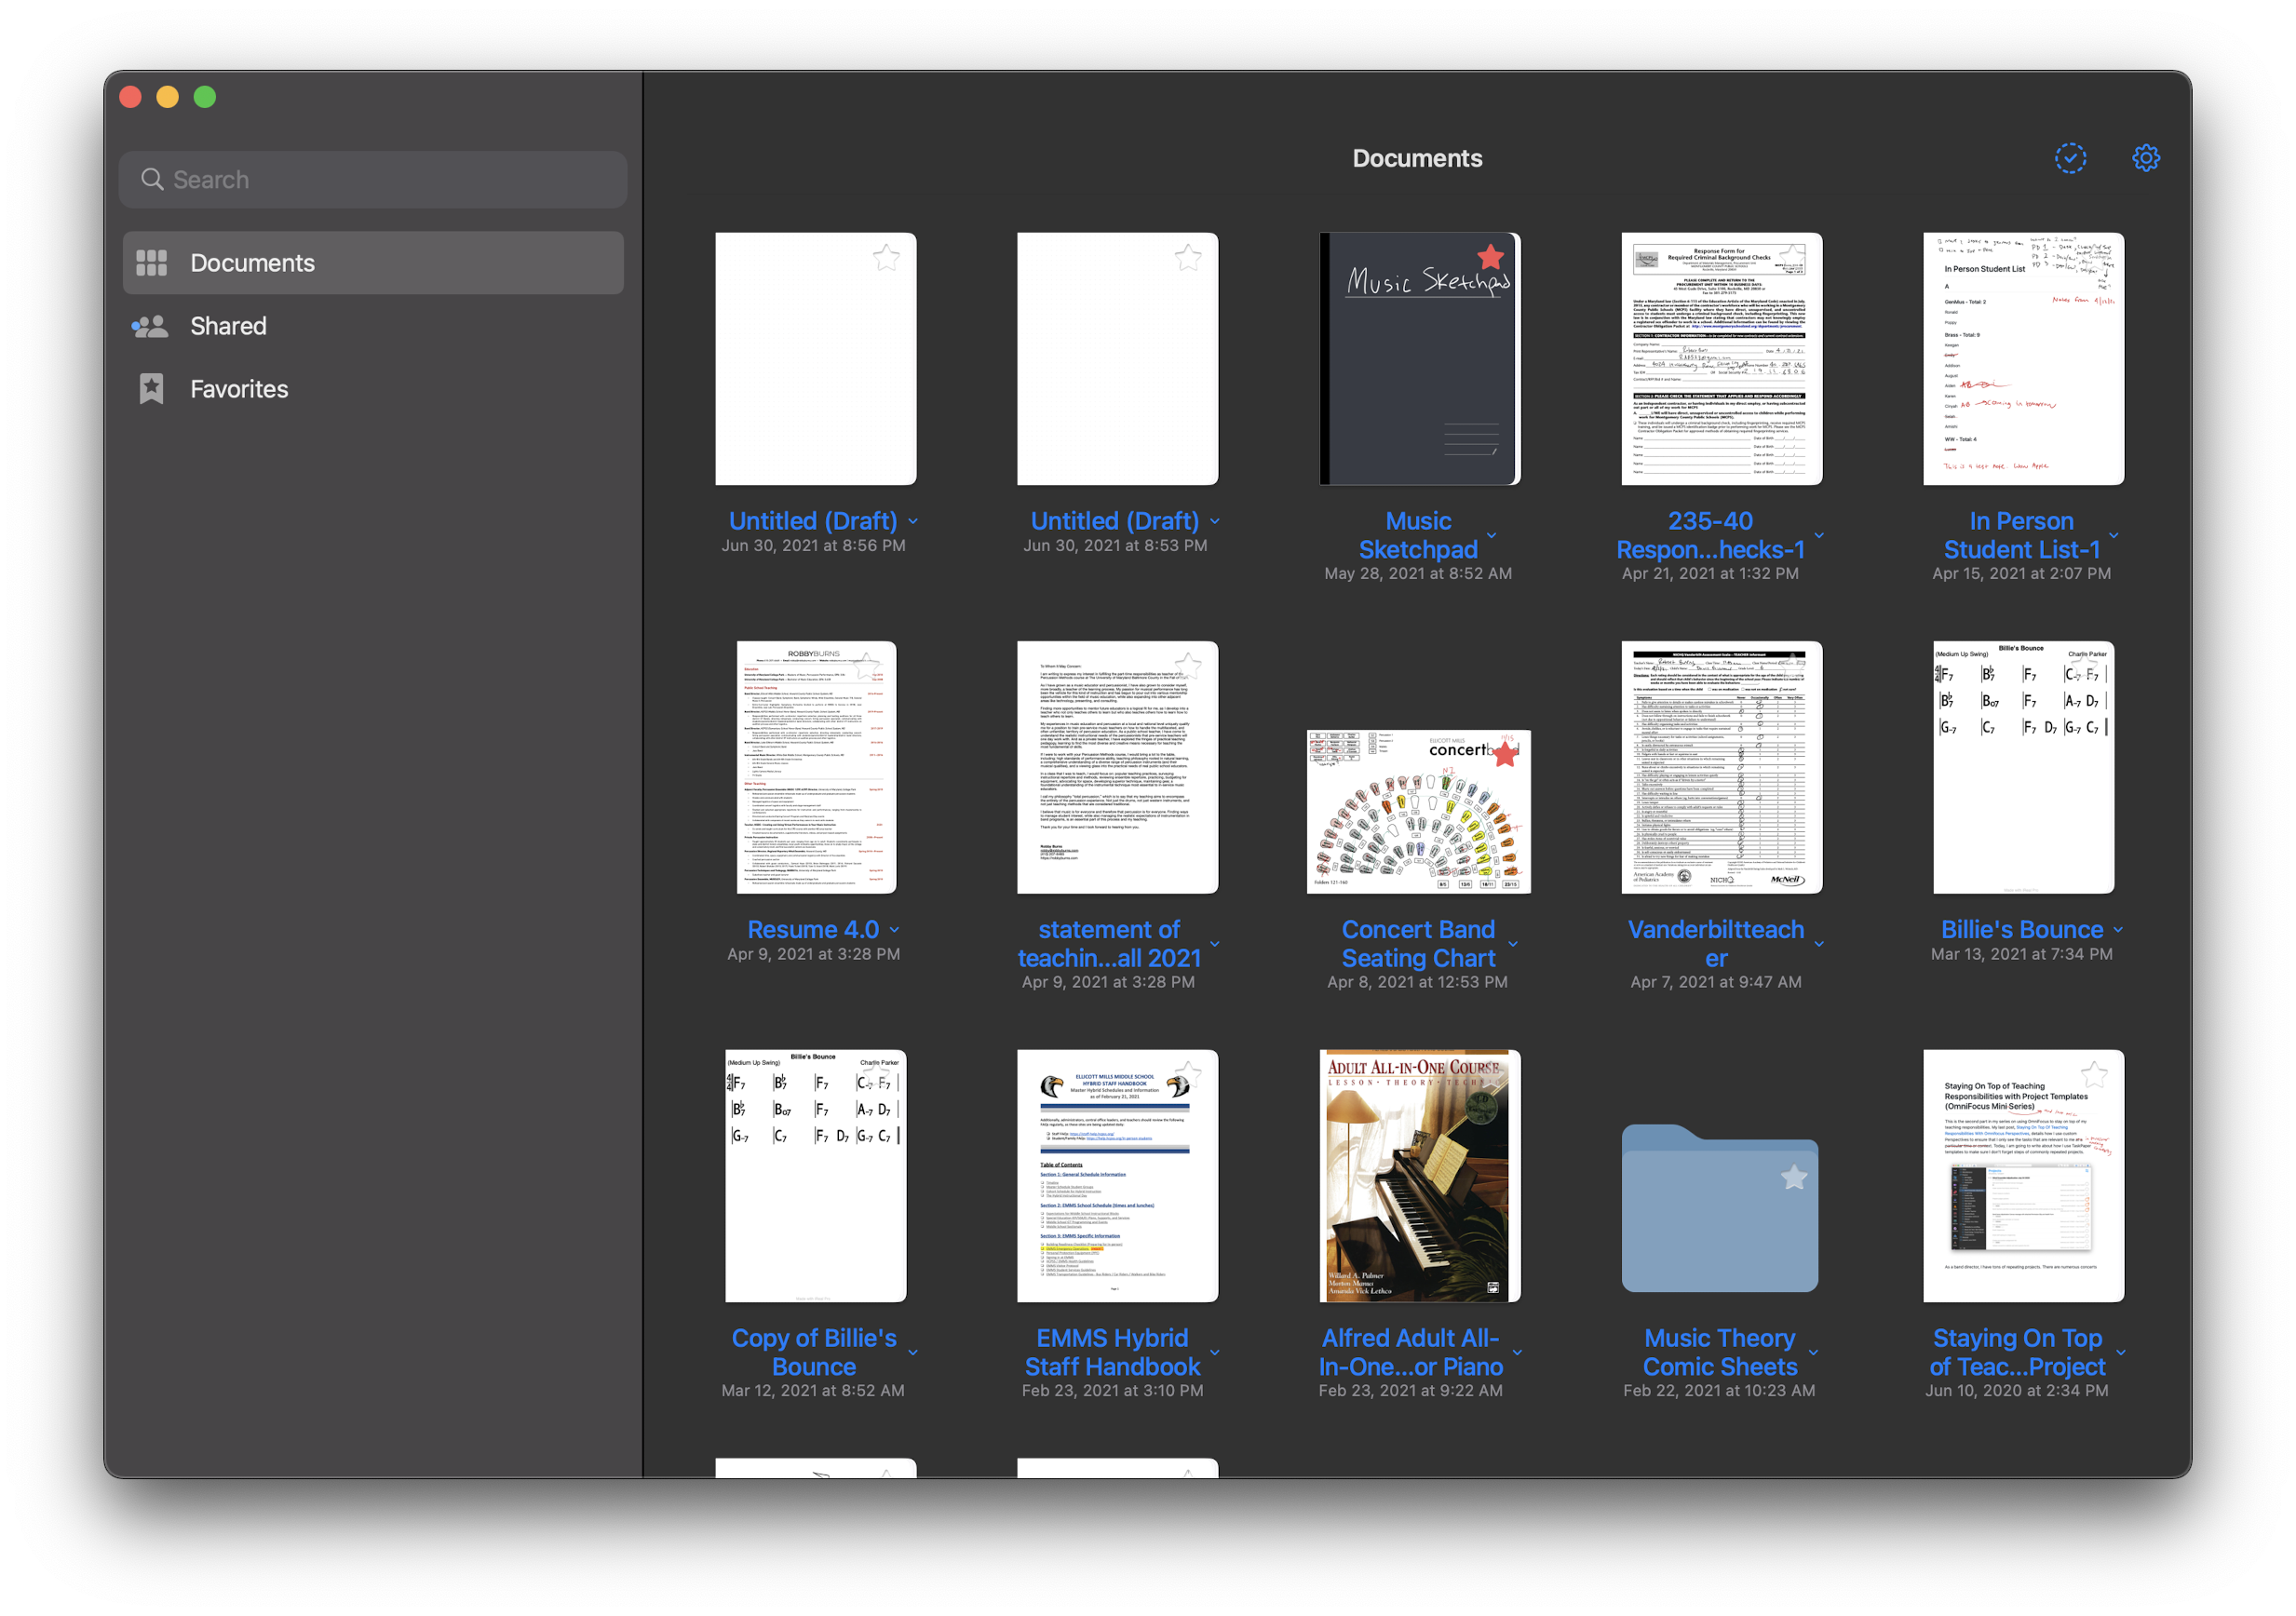
- Documents by Readdle
- Spark Mail
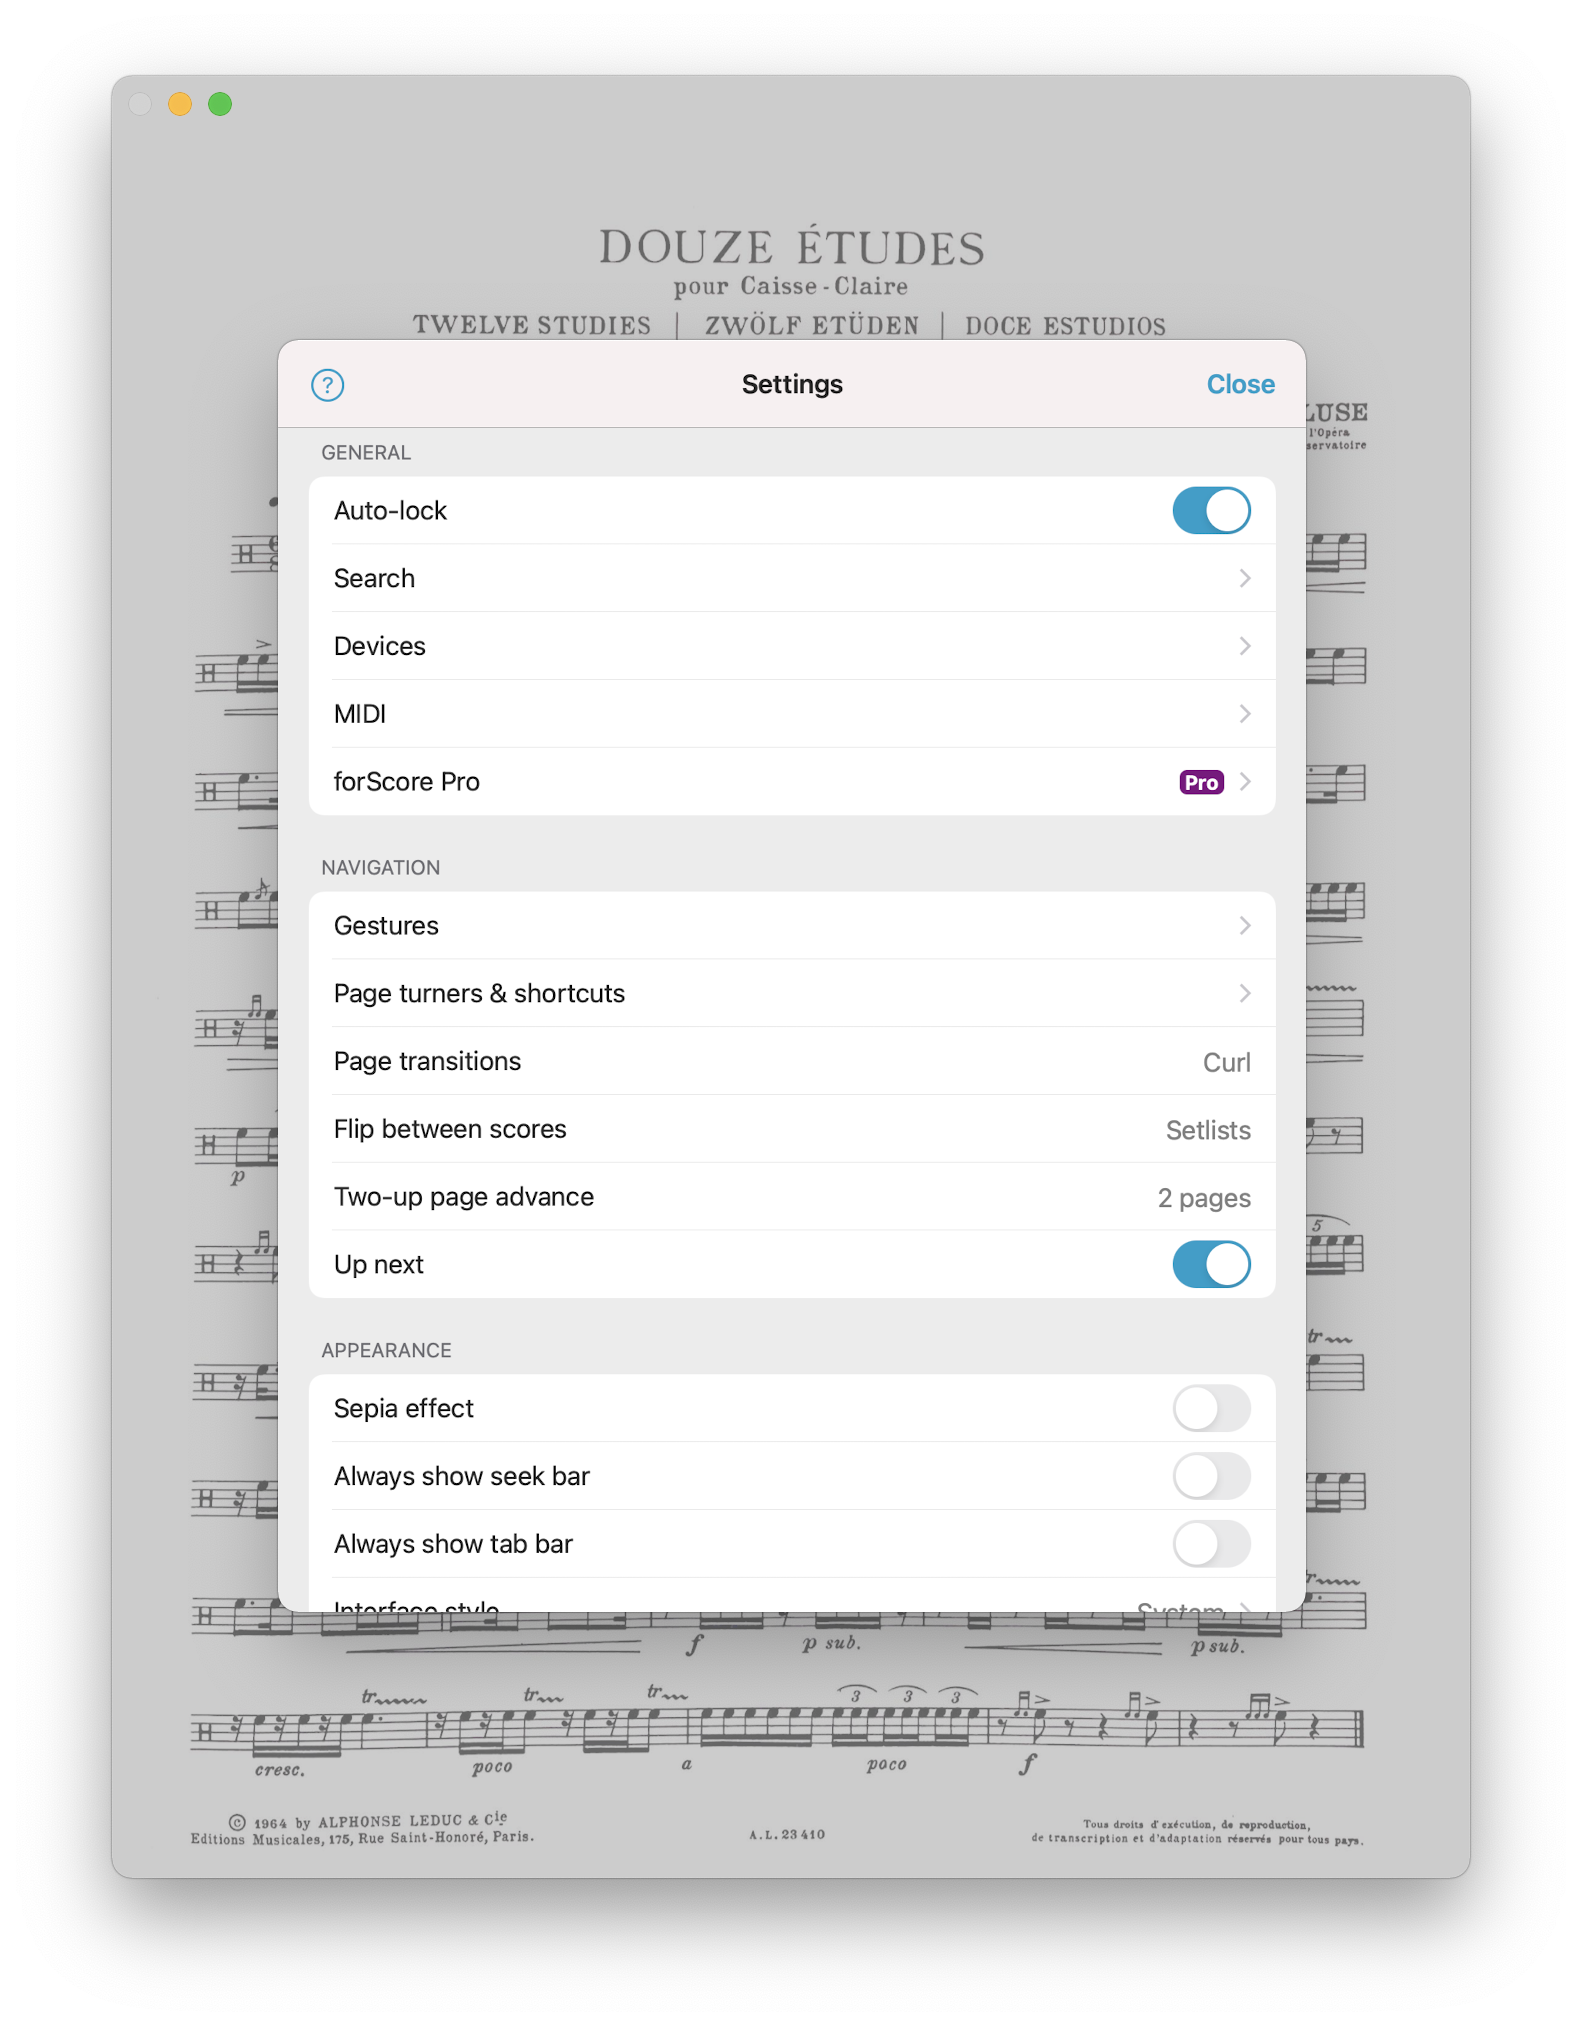
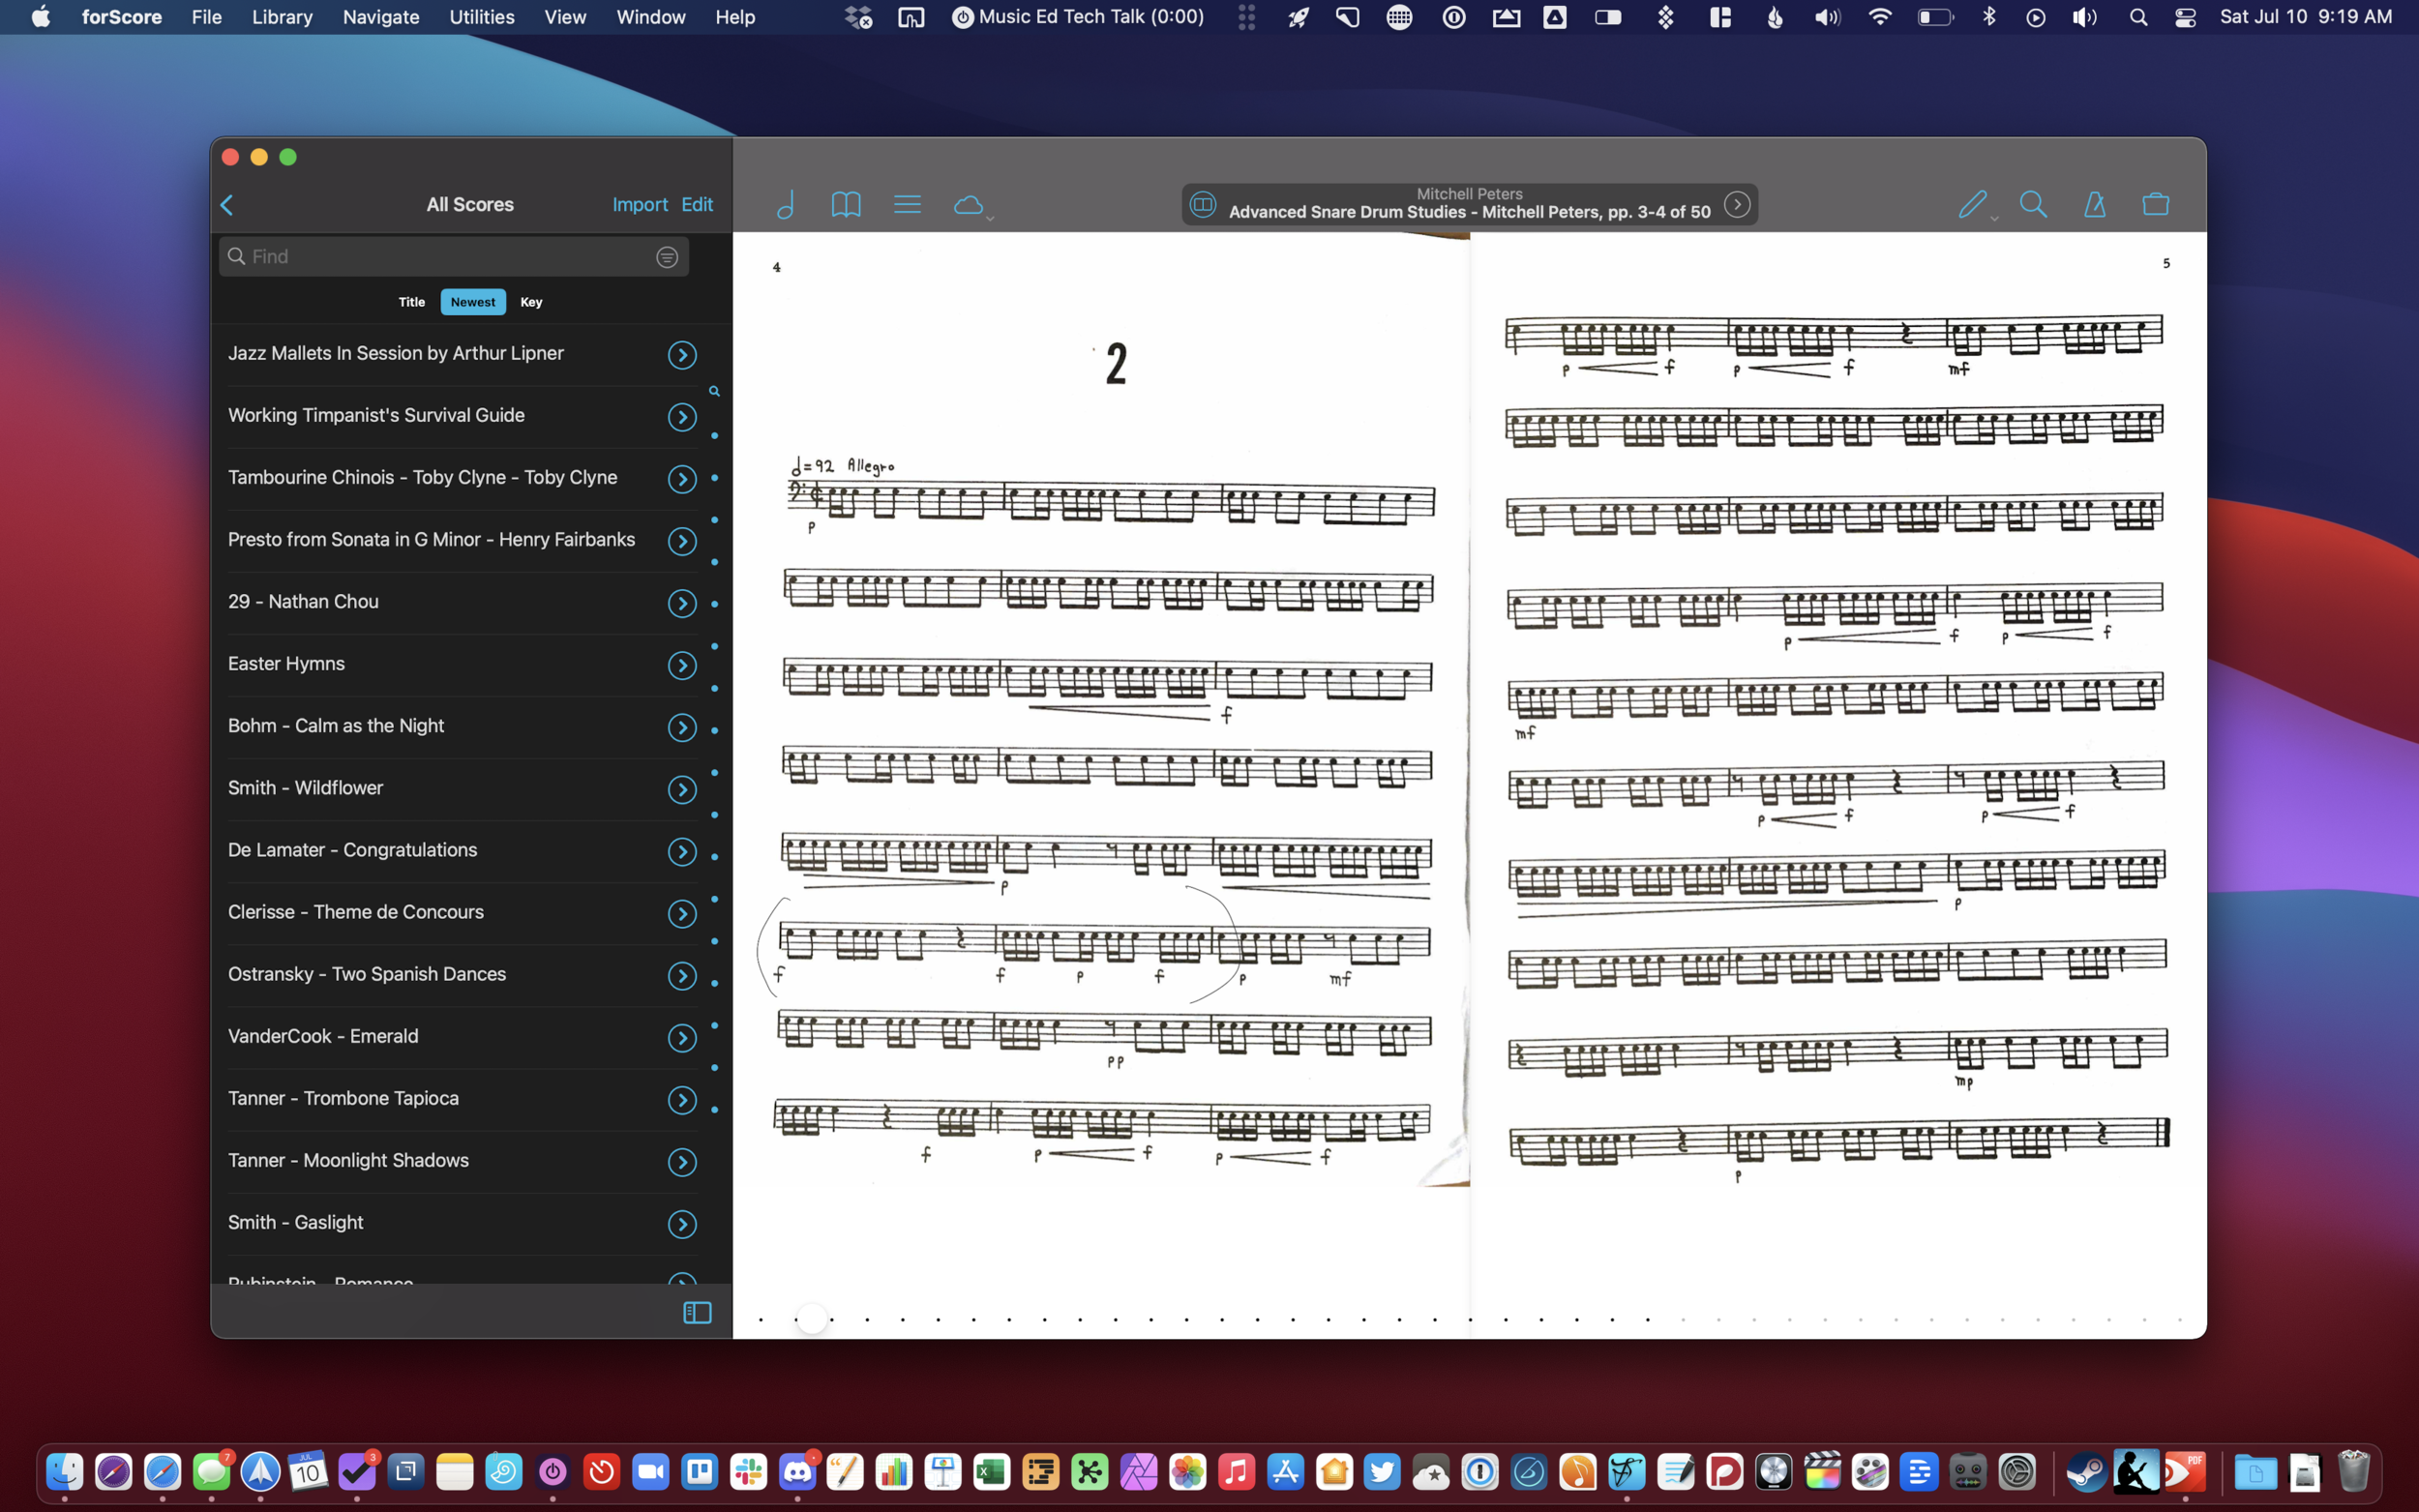
- forScore
- Sheet Music Scanner
- Michael Good, inventor of MusicXML | Scoring Notes podcast interview
- Music XML
- Apple Shortcuts User Guide
- OmniGroup JavaScript Automation
- My Audio Hijack blog post - Audio Hijack 4, Shortcuts, Podcasting Automation
- What's New in Audio Hijack 4
App of the Week:
Robby - Audio Hijack 4
Anthony - Dorico
Music of the Week:
Robby - Listen to This - Audio Guide
Anthony - On BBC's first ever live broadcast of Beatrice Harrison, featuring cellist Clare Deniz
Tech Tip of the Week:
Robby - Universal Control
Anthony - iPad multitasking
Where to Find Us:
Robby - Twitter | Blog | Book
Anthony - Twitter | Website
Please don't forget to rate the show and share it with others!