iphone

Should You Keep Dropbox?

One of the reasons I continue using Apple products is that they work well together. The better the features work across devices, the less often users need third party software to get things done.

Now that iCloud Drive supports the sharing of files and folders, a lot of vocal Mac and iOS users have debated if they can finally let go of Dropbox.

Productivity master, David Sparks, had some things to say about it on his blog this week:

I’m Keeping Dropbox — MacSparky

All that said, Dropbox still has many features that sure would be nice in iCloud, like a much better implementation of version history and deletion recovery. I was hoping we would get some more functionality for iCloud Drive this year at WWDC, but we didn’t. I was hoping I could throw Dropbox overboard. One less service and one less thing to pay for sure sounded nice.

For me, the major hole in iCloud Drive is that I cannot control what lives on my hard drive and what stays in the cloud. Both Dropbox and iCloud have a feature where they will smartly try to make this decision for you, uploading files you haven't touched in months to the cloud so that they don't take up hard drive space. 

Sometimes I need the control to be able to tell a service to keep a folder or a file permanently downloaded, no matter what. And iCloud Drive still can't do this task.

iCloud folder and file sharing are reliable in my use, but setting up the share is far less intuitive than Dropbox, which presents its options to you with clear iconography when you right-click on a folder or file in the Finder.

Why Apple can't get right what Dropbox figured out over ten years ago still confuses me. Hopefully they will tweak it and make it better.

I am fortunate that my free Dropbox account is large enough that I don't need to pay. iCloud remains my primary storage solution but I keep Dropbox around for miscellaneous purposes, including sharing with others who don't use iCloud.

If you want to use Dropbox on a Mac, but avoid installing it, I recommend the app Transmit. While the app is marketed as an FTP client, it can also act as a Google Drive or Dropbox client, allowing you to upload, download, copy, and share files, using a native macOS experience, and without allowing Dropbox to run in the background.

iCloud Dropbox Question Mark image for blog post july 2020.jpg

Routing Audio from Your Apps Directly Into Your Zoom Call (Or Other Voice Chat App) with Loopback

UPDATE: Learn more about Loopback from my interview with CEO Paul Kafasis on my podcast. Listen and subscribe below…

Loopback is an app that creates custom audio ins and outs for the Mac using the audio of other apps.

Loopback is an app that creates custom audio ins and outs for the Mac using the audio of other apps.

Have you been teaching a class in Google Meet or Zoom and wanted to play a song from iTunes for your digital classroom? Or perhaps a YouTube video or any other application with audio?

Sure, you can play it right on your computer and let the audio from your speakers go straight back into the microphone input of your computer. This works ok in my opinion. But it isn't going to produce a pure representation of the audio I am trying to send. And in some cases, it creates issues with echo, delay, or a nasty feedback loop.

So what do you do? Rogue Amoeba makes excellent Mac apps that, for lack of better explanation, hack into the audio system of your Mac. I have written about Audio Hijack here before, their app that allows you to record audio from other applications (and that's just the start of all the powerful things it can do). Rogue Amoeba also makes an excellent utility called Loopback.

What does Loopback do? Think about your computer's audio settings. You have an Input and an Output. The Input is, by default, your computer microphone, and the Output is the speakers. If you connect an audio interface that has higher quality microphone and speakers plugged in, you would need to set the Input and Output to that interface to get the input and out put the be the microphone and speakers, respectively.

Usually my computer microphone is a Device that can be set to the computer’s Input. In the scenario above, Loopback has allowed me to combine the audio from my microphone and the Music app into a new audio Device called “Music+Mic” that can be selec…

Usually my computer microphone is a Device that can be set to the computer’s Input. In the scenario above, Loopback has allowed me to combine the audio from my microphone and the Music app into a new audio Device called “Music+Mic” that can be selected as the input of my Mac or any individual app.

Your Inputs and Outputs can be controlled from the Sound settings of your computer. Some audio apps also let you control how, specifically, they behave. For example, I have manually set up GarageBand and Skype to use my audio interface as the Device I use for input so that whether I am recording for my podcast, or simply catching up with a relative, they hear me through the microphone, no matter what Device my Mac’s audio Output is set to in the System Preferences.

Loopback allows you to create Inputs and Outputs that are accessible to your Mac's Sound settings as well as your apps. In the example above, I have created an Input that combines my Mac's microphone (the usual Input) with the output of the Apple Music app, something I might want to use to play a recording example for my students in a Google Meet.

Selecting my new audio Device from the System Preferences.

Selecting my new audio Device from the System Preferences.

Look now as I go to my computer's Sound settings, and I can select this new custom Input to be used across the entire operating system! This way, when I am in a Google Meet, students are hearing both me speaking through the mic and all of the output of the Music app.

Now I can route my band warm up tracks, reference recordings, or any other audio I desire, into my Google Meet classrooms.

Now I can route my band warm up tracks, reference recordings, or any other audio I desire, into my Google Meet classrooms.

🔗 Choir Creator: All-in-One Virtual Ensemble Maker App, Shipping Next Month on iOS

New app for creating virtual ensembles coming next month. Click the link to read more information directly from the developer’s website and sign up to be notified when it is released.

Choir Creator: The All-in-One Virtual Choir Builder:

Choir Creator is the easiest way to organize and produce a virtual choir video. Releasing to the United States and Canada in August 2020 for iPhone and iPad running iOS 12.4 or later.

From the YouTube demo on the developer’s website, it looks like the workflow solves nearly all of the friction of this process. The business model of charging the teacher a considerable (but reasonable) amount of money and nothing to the student is solid.

That said, this process does not leave a lot of room for control. I would like to be able to, for example, turn up the tuba if it isn’t loud enough. I can think of numerous other ways that I would want to exercise more control than the output of this app would allow. That said, there is a strong market for software that makes it this easy. I think it may do well.

It’s iOS only at launch, which is not a surprise, but will limit school systems where students are using Chromebooks.

Edit: I have spoken with the developers of this app. They informed me that Choir Creator will support basic audio editing features at launch, like changing the volume and panning of each track. They said they have more audio editing features to come. Good to know!

My very straightforward and very successful setup for teaching virtual private lessons

Edit: I have received numerous Instagram and Facebook questions about this post and thought I would clarify some things. Scroll to the bottom for more information on choosing the right voice app, my studio set up, and links to the extra gear I use if you want to level up. I am adding these details because some people want to take it beyond the basics. That said, my point stands that you really only need an internet connected cell phone and a voice chat app to teach online.


I’m seeing a lot of questions from teachers flying around social media fussing over new voice chat apps, microphone set up, and elaborate private teaching workflows. 

I have moved my private teaching studio of 22 students to live video over the past three weeks. For or better or worse, the technical demands of teaching remote are very simple. 


1. Use a phone (the quality is way better)
2. Use FaceTime (unless you can’t then use Google or Skype)


I made a video about it below. I am being kind of sarcastically dry in my tone, but my points are absolutely true. And if you watch it all the way, I actually do have some hardware recommendations to improve the experience. You do not need to be fancy. Most phones already have a voice chat app installed on them.

Zoom is the new hot thing. They are also in the news a lot this week for concerns over privacy (though its arguable that they are doing no worse than any other company out there.) There is absolutely no reason to make your students download a new thing just because it is being talked about. For what its worth, I hear from many educators that Zoom has poor audio quality compared to some of the others. If you want to read more on Zoom, I think this article from The Verge explains their rise to success and the risks that come with it.

Virtual lessons are going very well for me. No one gets into music to learn and play together remotely, but the human connection of music is something that we are just going to have to reinvent for a little while.

There are some real benefits to doing lessons remote. Seeing a student in their own practice space, using their own tools, is instantaneously valuable. I have noticed poor posture, inefficient instrument set up, wacky music stand placement, and more. It is also eye opening to ask a student to use a pencil, tuner, or metronome, and hear them tell you it is in another room! These are things you can’t coach in your own environment. And they spend way more time practicing in theirs than in yours.

Furthermore, a lot of my students need so much coaching on practice process that I am instructing mostly the same way I would in my studio. Teaching them how to break things down, assigning exercises, discussing long term practice goals and pacing. These are ideas I tell them verbally and are therefore not lost over the poor quality of an internet connected call.

I am fortunate that percussion technique has physiological components that are seen out of the body. I can see stick height, movement, placement, and grip, no matter how good or bad the audio quality is.

Many musical features can be heard just as adequately over a voice call: rhythm, style, tempo, and accuracy, to name a few. The major musical qualities I continue to miss out on are dynamics and tone quality which do not translate well over the compression of most smart phone microphones. These are, of course, two of the most important things to a musician. Like I said, this isn’t ideal for the long term, but it is viable for a time.

This is an uncertain time. Technological changes cause us to to question the nature of our work and personal engagements. But you do not need to reinvent your profession. If you have a smartphone and an internet connection, you have everything you need.


Common Questions:

  1. Is that Shure MV88 the best Mic for the money? No! It is actually very cost inefficient compared to other stuff on the market. But it is very convenient! It plugs right into the bottom of the iPhone without adding a cord or significant weight to the device. Click here to buy it. If you want something for a little more money that is way better in audio quality, check out the AKG P120, which I think sounds better than the wildly popular Blue Yeti and Snowball mics. It is also on sale right now.

  2. What tripod do you use? Amazon Essentials. It’s cheaply built, but effective. It will hold together if it doesn’t leave your studio.

  3. Why are you so opinionated about voice apps? I try to use what works for my students. If we both happen to have an iPhone, I prefer FaceTime because it has the best audio and video quality of all the apps I have tried. Google apps are second best, followed by Skype/WhatsApp. Zoom was by far the weakest audio/video quality and required the most fussing around to set up.

  4. Do you have connectivity issues? Rarely, but most of my students have more than one of the voice chat apps installed and we can usually get the second attempt up and running.

  5. What is your studio set up like? Lately, I position the iPhone on my desk like a webcam so that I can see my sheet music (on iPad) and notes (on Mac) and make eye contact with students at the same time. I keep a snare drum to my side and bring the camera with tripod around the room in my studio to model on other percussion instruments. See picture below.

  6. Wait! That picture is complicated! You said all I need is a phone and a voice app! Yes, this is all you need. I also choose to share my students notes with them over a Google Calendar and read my music digitally. You don’t have to use technology for those things. If you do, you can use secondary devices. Alternatively, you could start a voice call on the iPad or Mac and then use other apps on the screen while the voice call keeps running in the background. Your phone is going to give you the best quality video though. 

IMG_5222.jpeg


My Favorite Music and Apps of 2019

Things have been quiet on the blog lately. My wife and I bought a new house in late October and are expecting our first child any day now. Once I can find some time again, I have some very exciting work I am looking forward to here.

In the meantime I wanted to squeeze in a few annual posts I usually do around this time. I have had plenty of time to reflect this year, just not as much time to write. So my descriptions will be more brief, if not absent. I always find it easier to write about technology because of the matter of fact way I can describe what it does.

Favorite Albums of 2019

Johann Sebastian Bach - Víkingur Ólafsson

The Other Side of Air - Myra Melford's Snowy Egret

Origami Harvest - Ambrose Akinmusire

Vibras - J Balvin

re:member - Ólafur Arnalds

Finding Gabriel - Brad Mehldau

BEAT MUSIC! BEAT MUSIC! BEAT MUSIC! - Mark Guilana

The Fearless Flyers II - EP

Motivational Music for the Syncopated Soul - Cory Wong

Favorite Live Shows

Ghost Note at Creative Alliance - When you take the percussionists from Snarky Puppy, Mono Neon on bass, and other members of the backup band for Prince, you get unbelievably funky.

Nickel Creek/Punch Brothers at Carnegie Hall - Beautiful hall to see two of my all time favorite bands performing together for the first time.

Louis Cole at U Street Music Hall - Just Louis Cole, a MIDI keyboard, drum set, and Logic Pro. It was fun in such an intimate venue to see how he uses Logic to handle all of his arrangement tracks. His keyboard playing was FUNKY and his drumming was technically impressive.

Favorite Apps

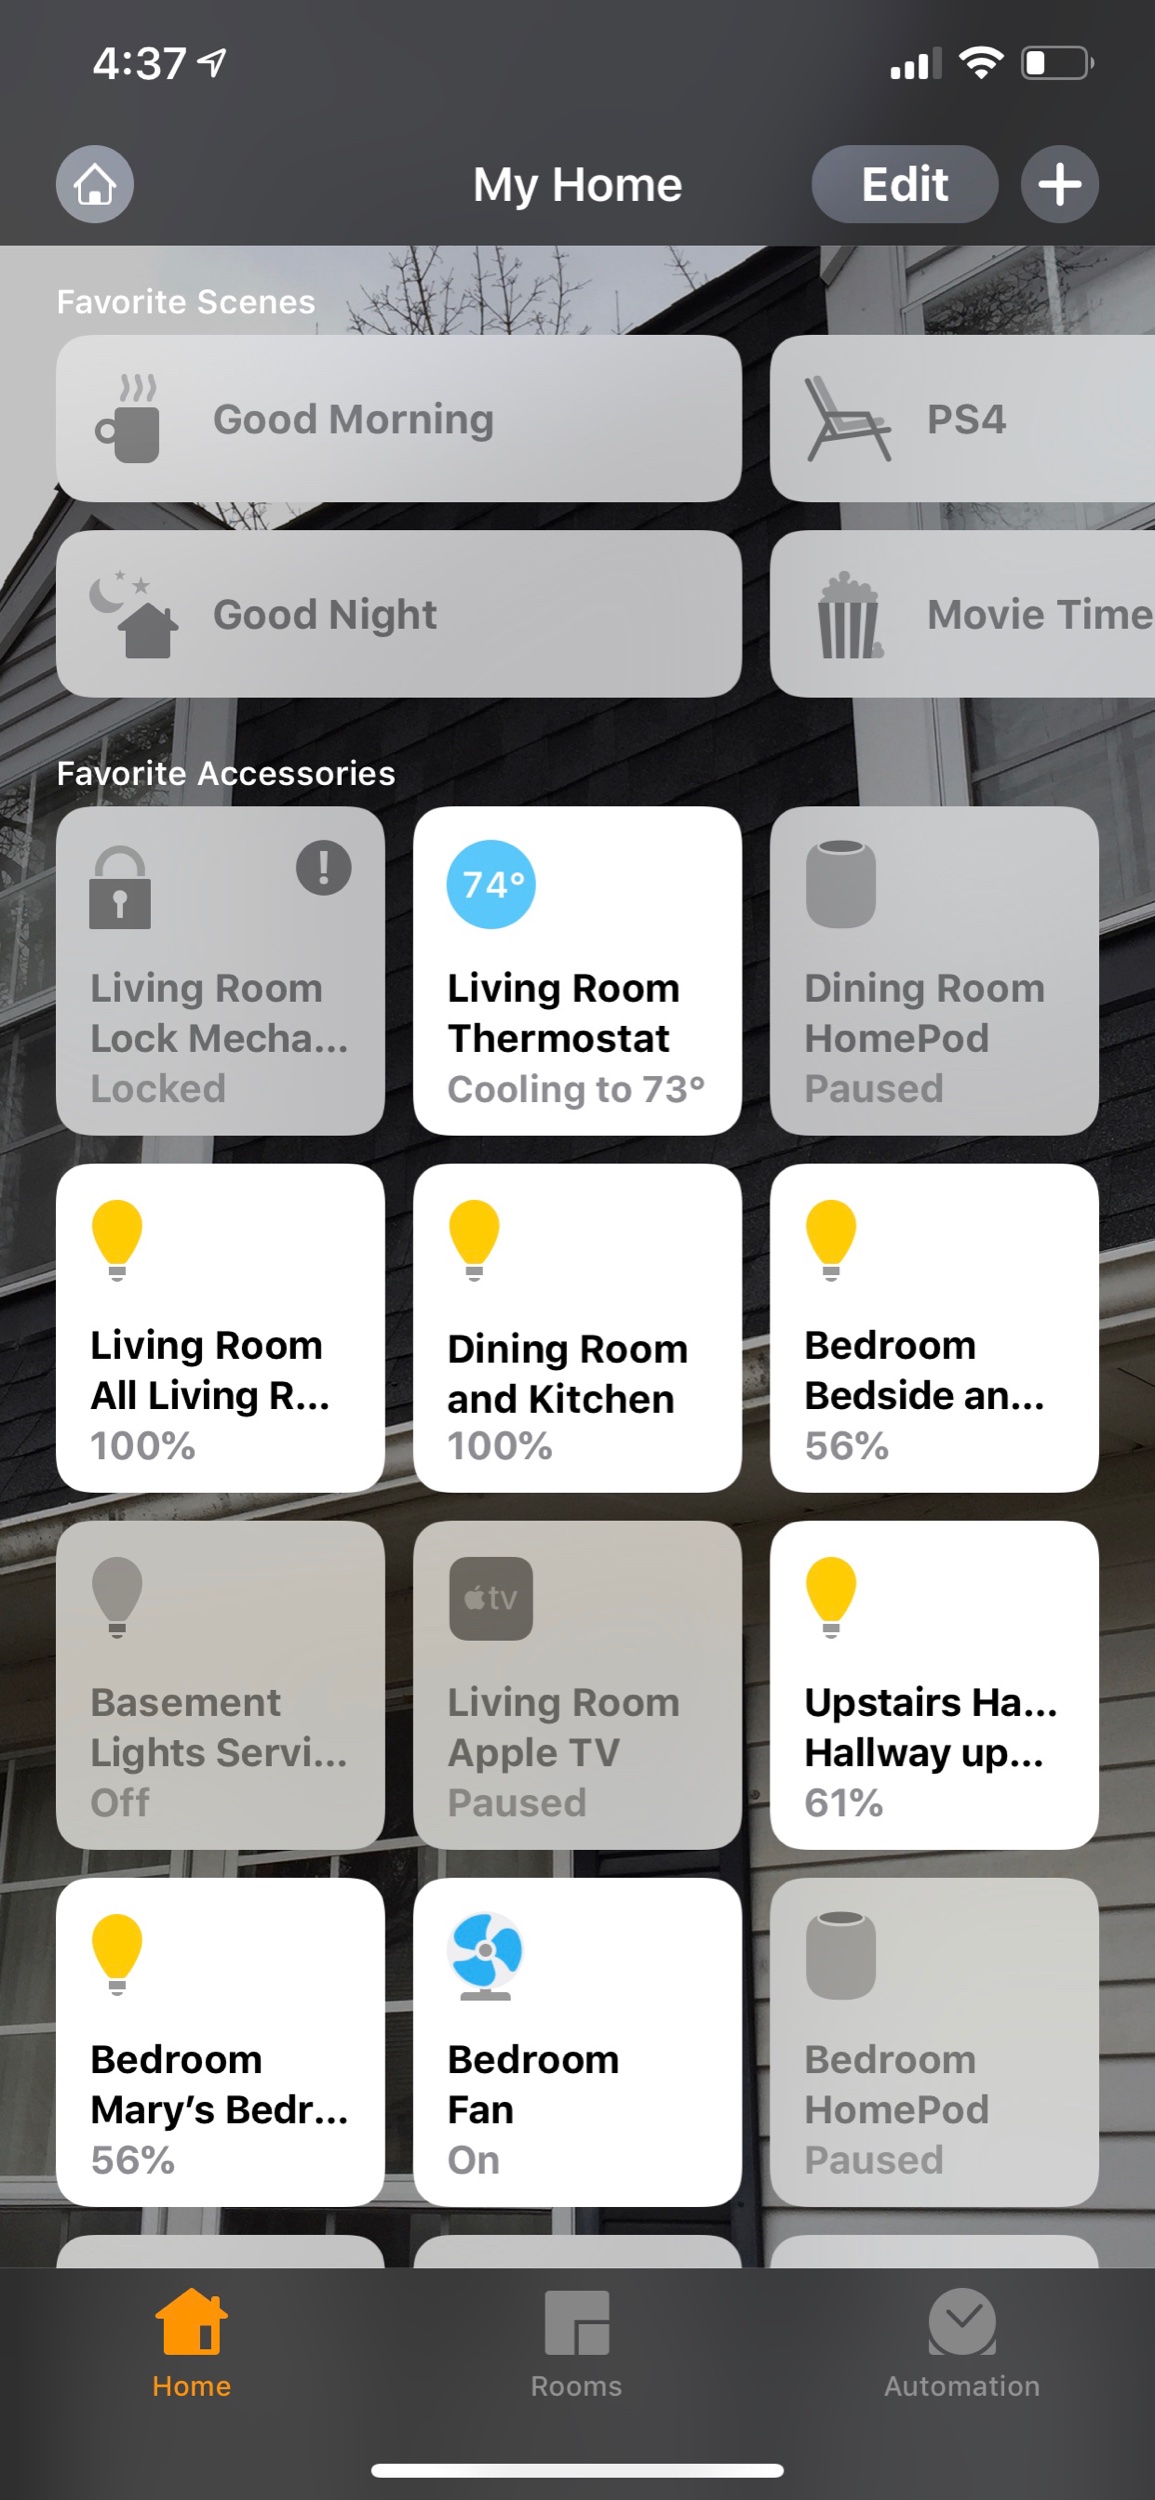
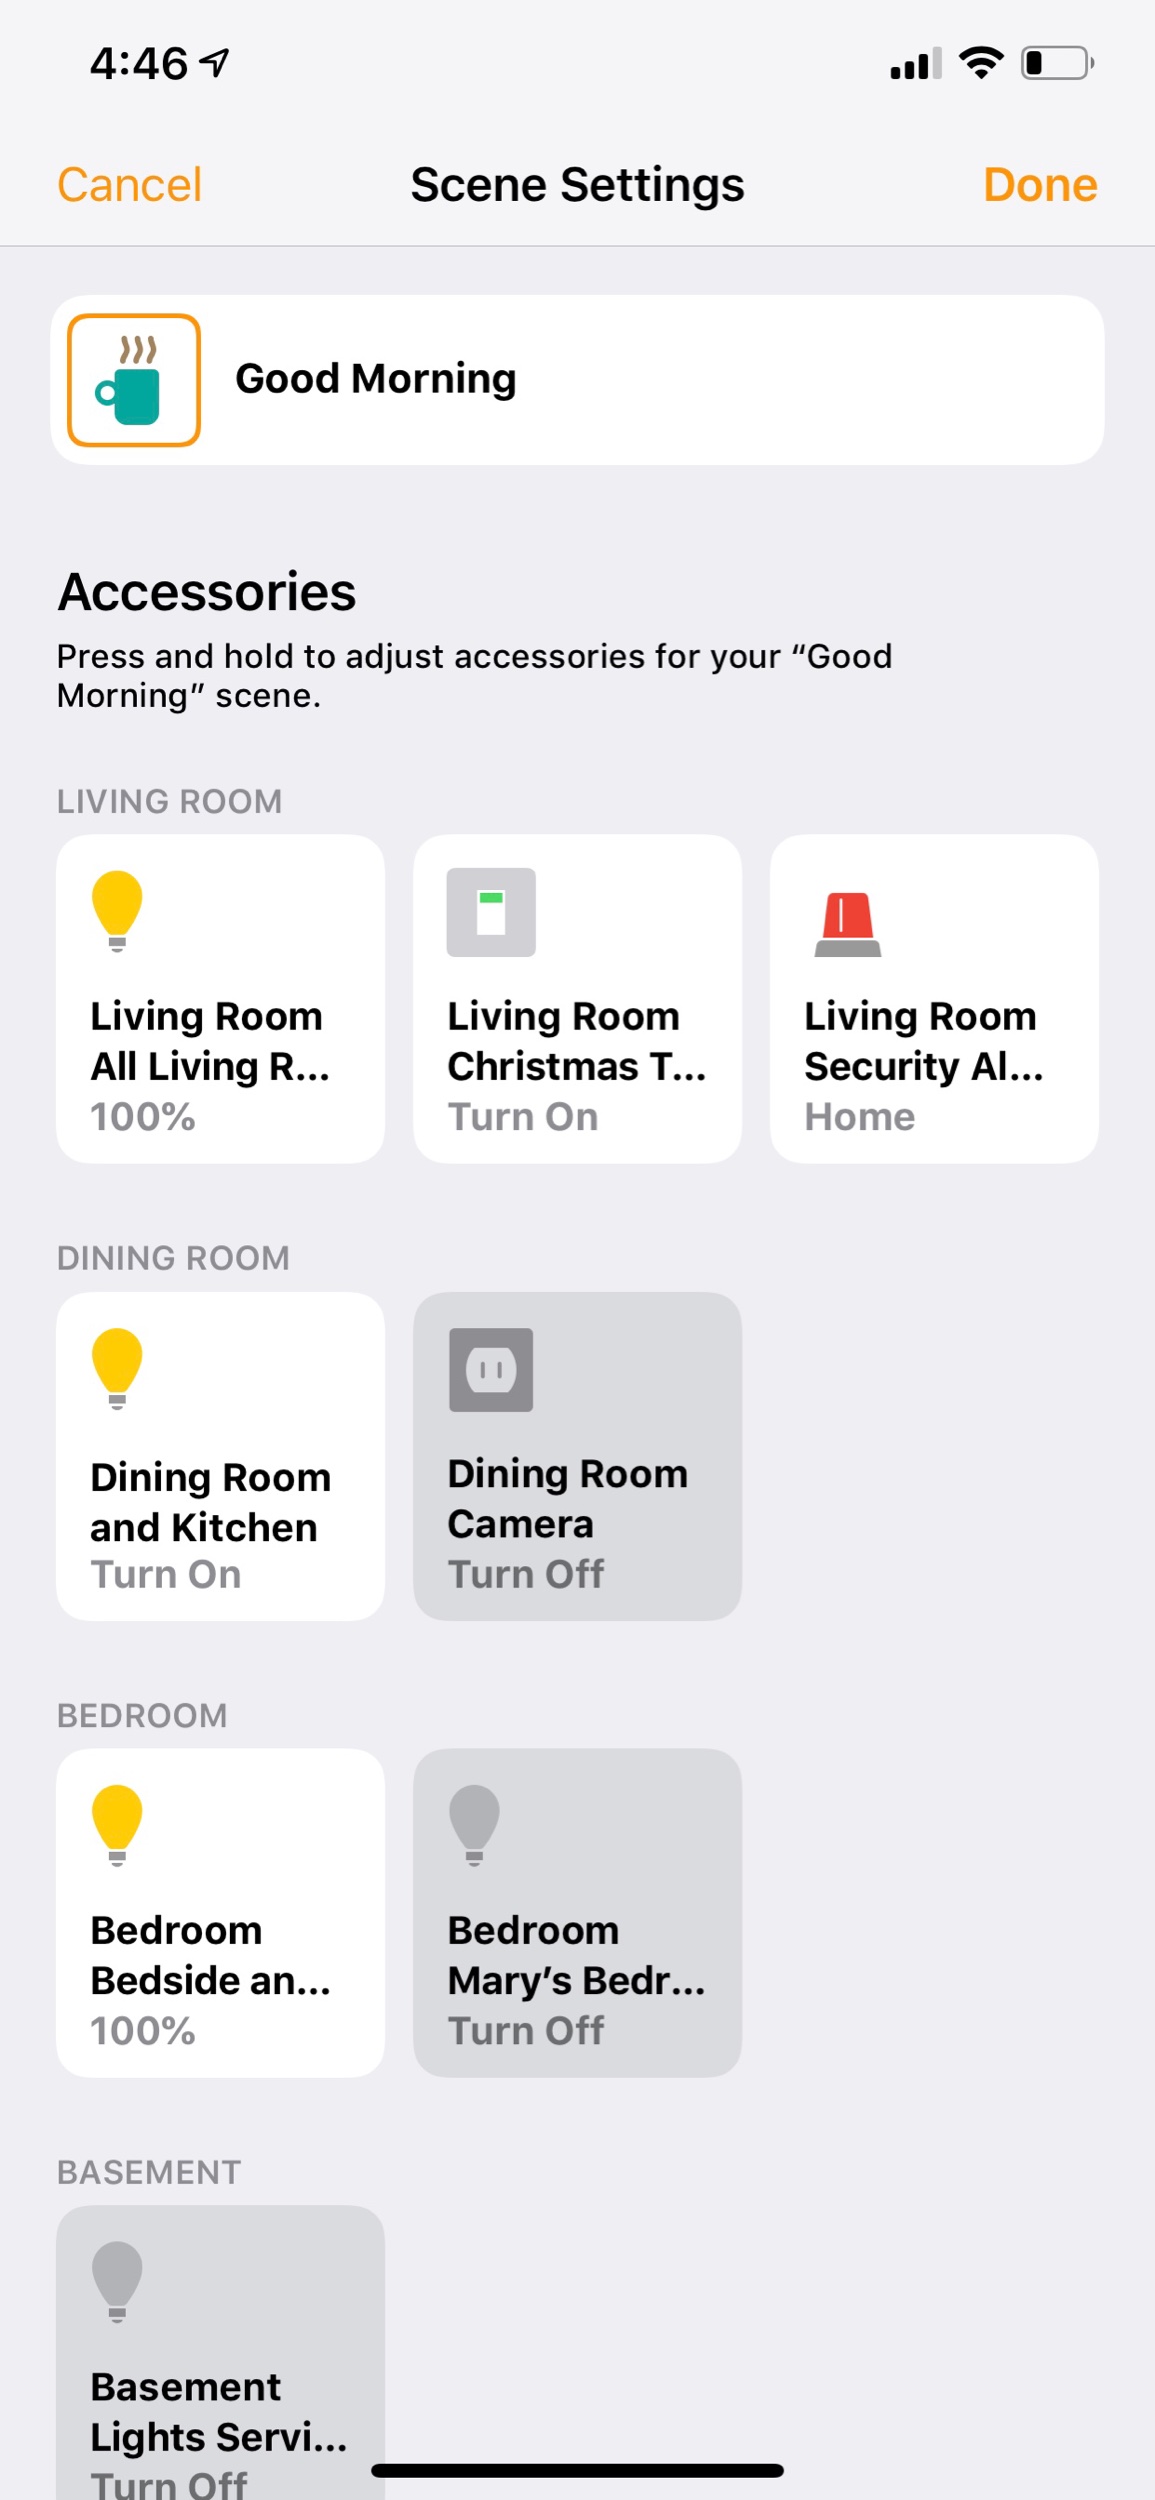
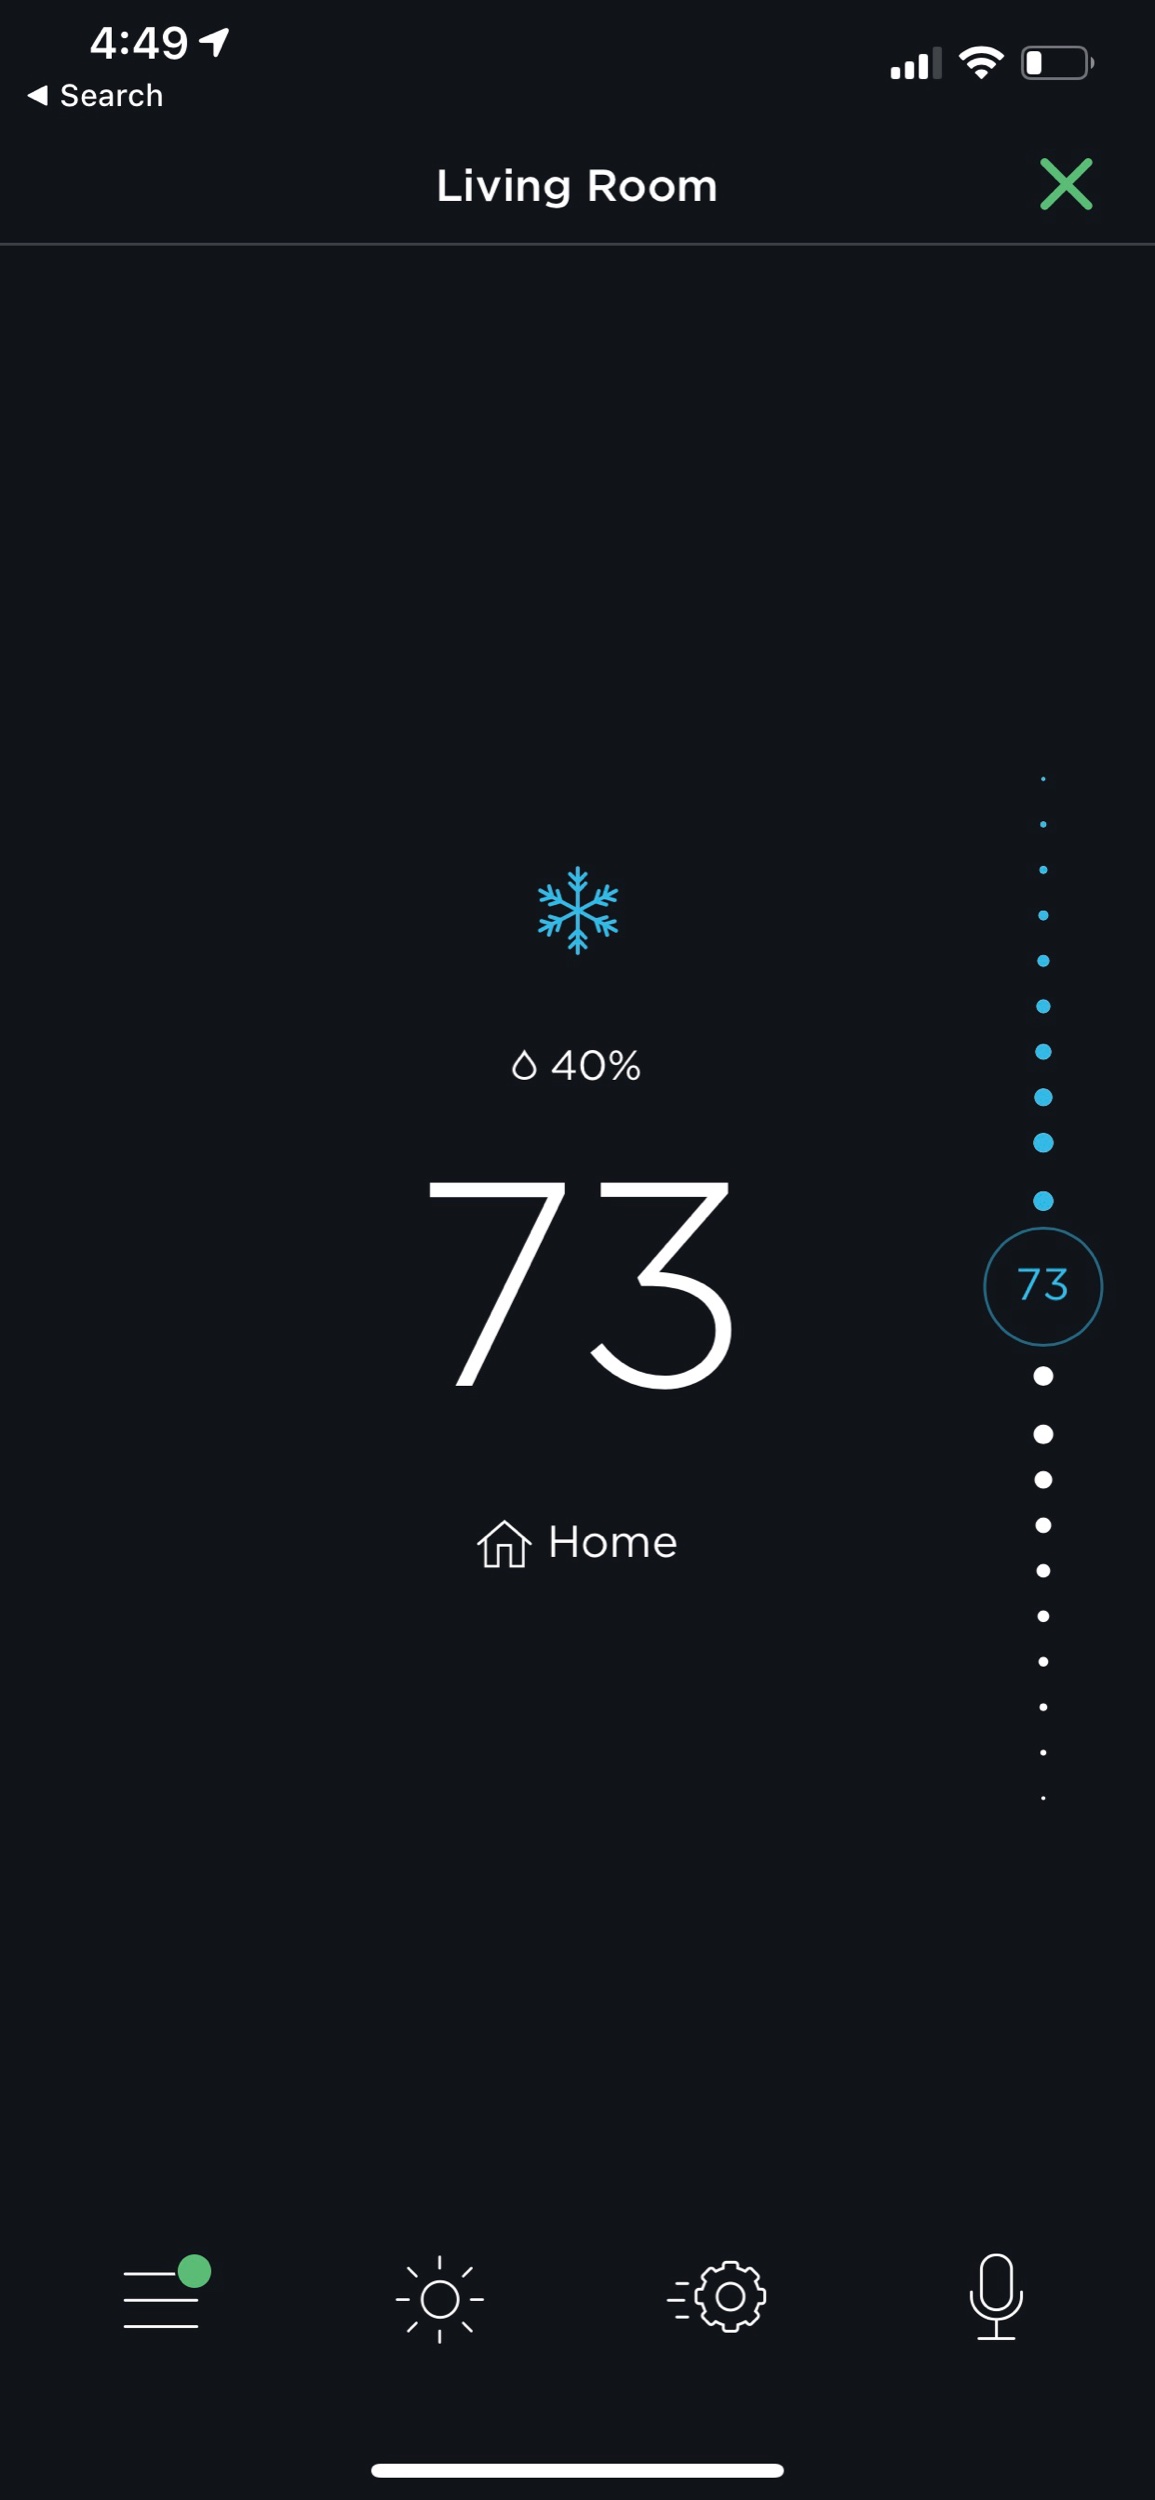
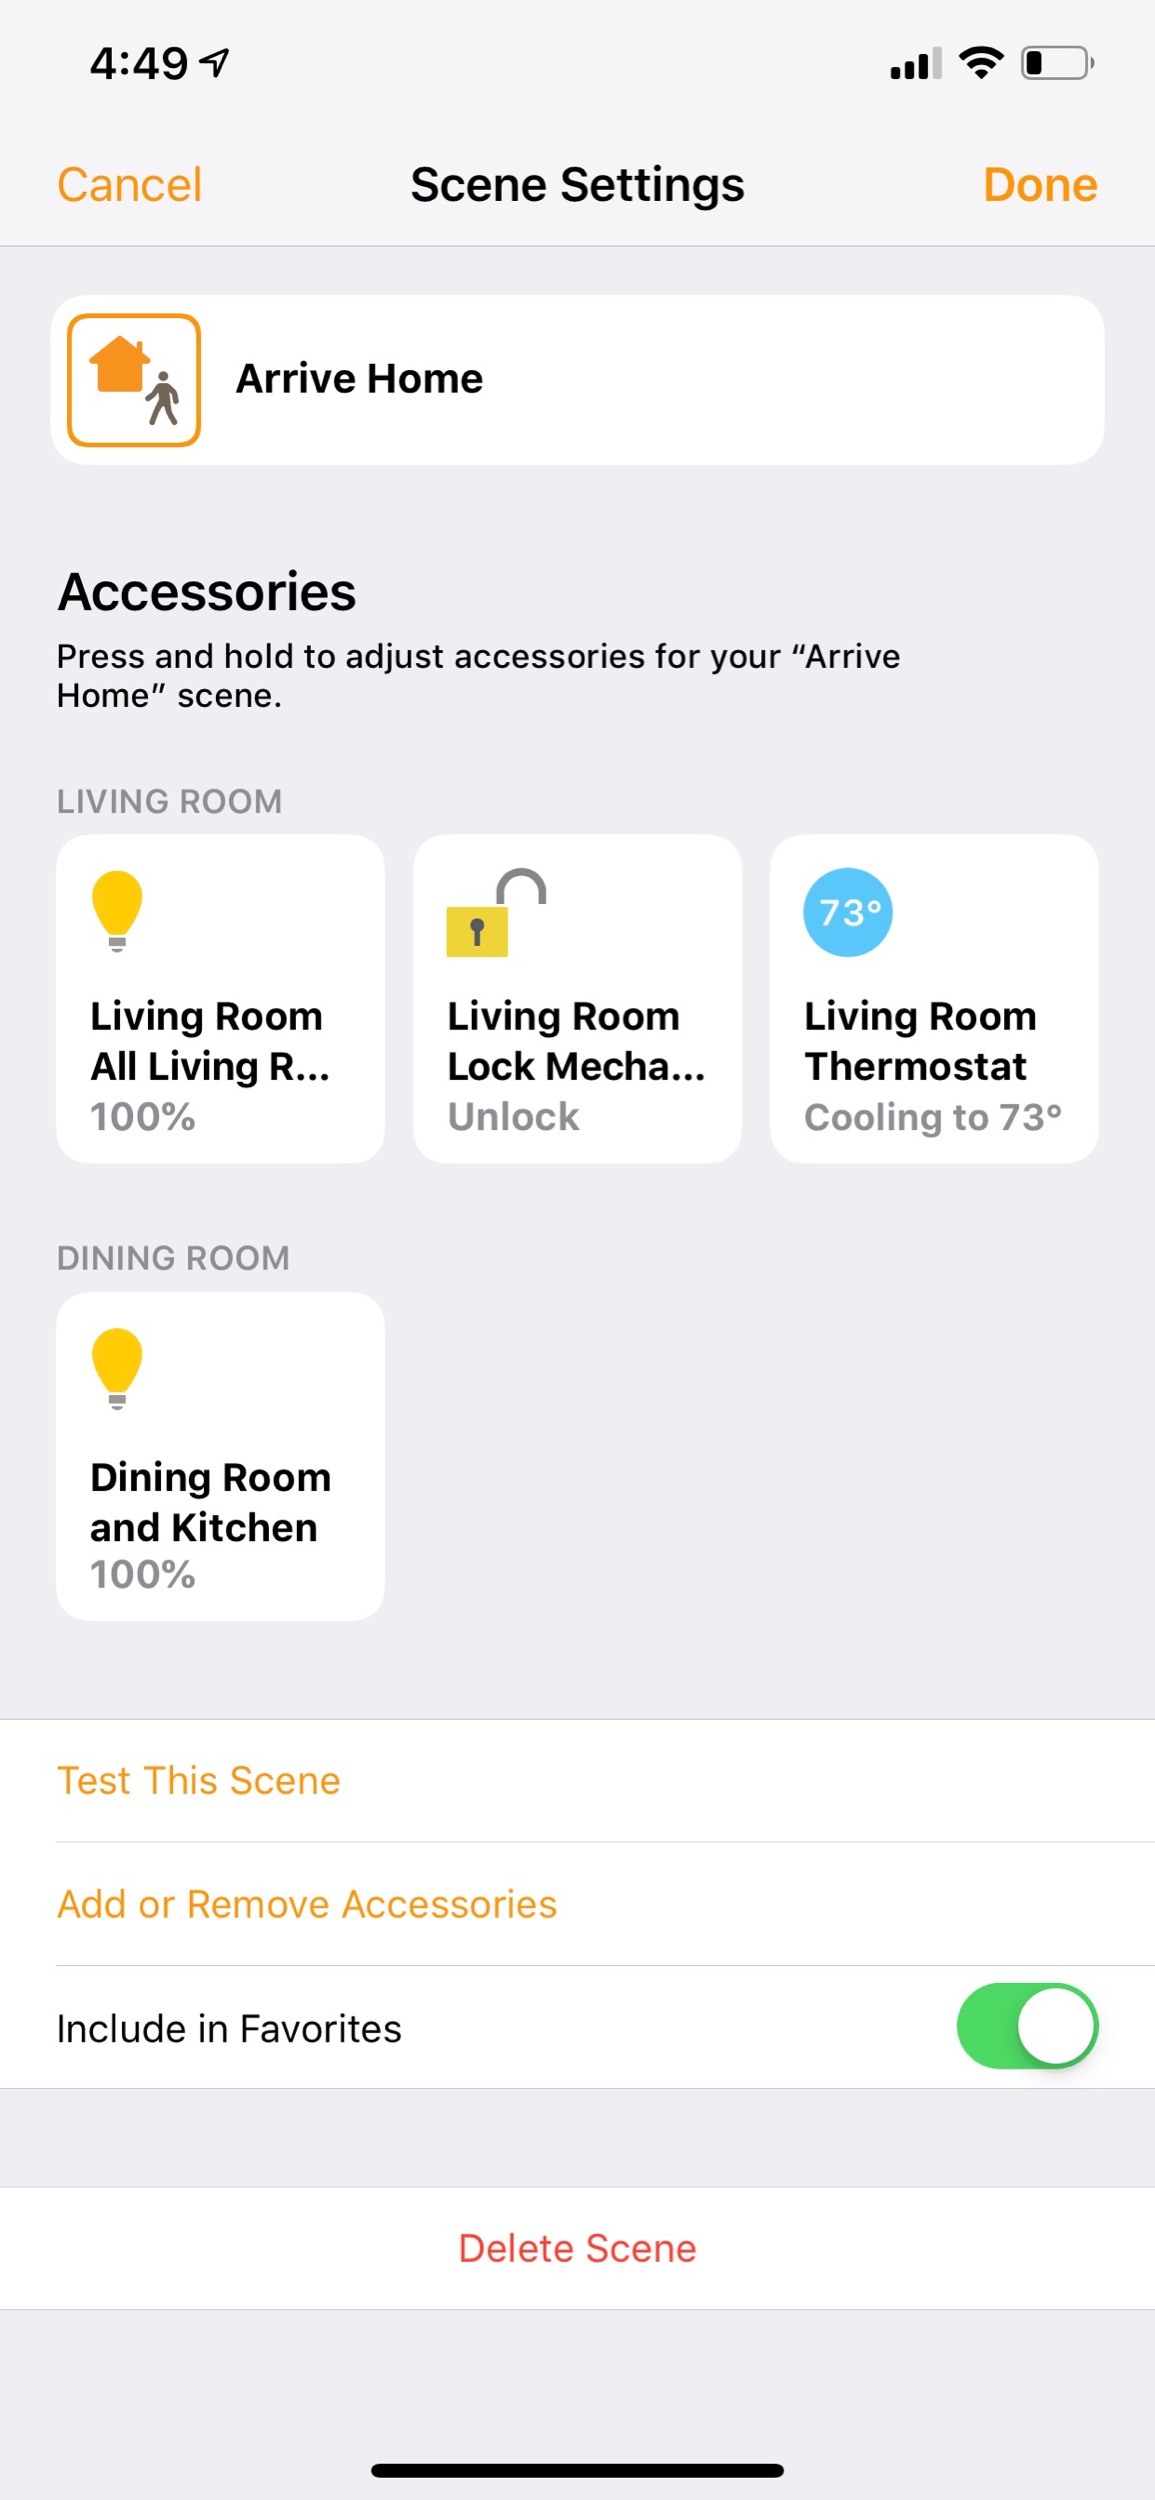
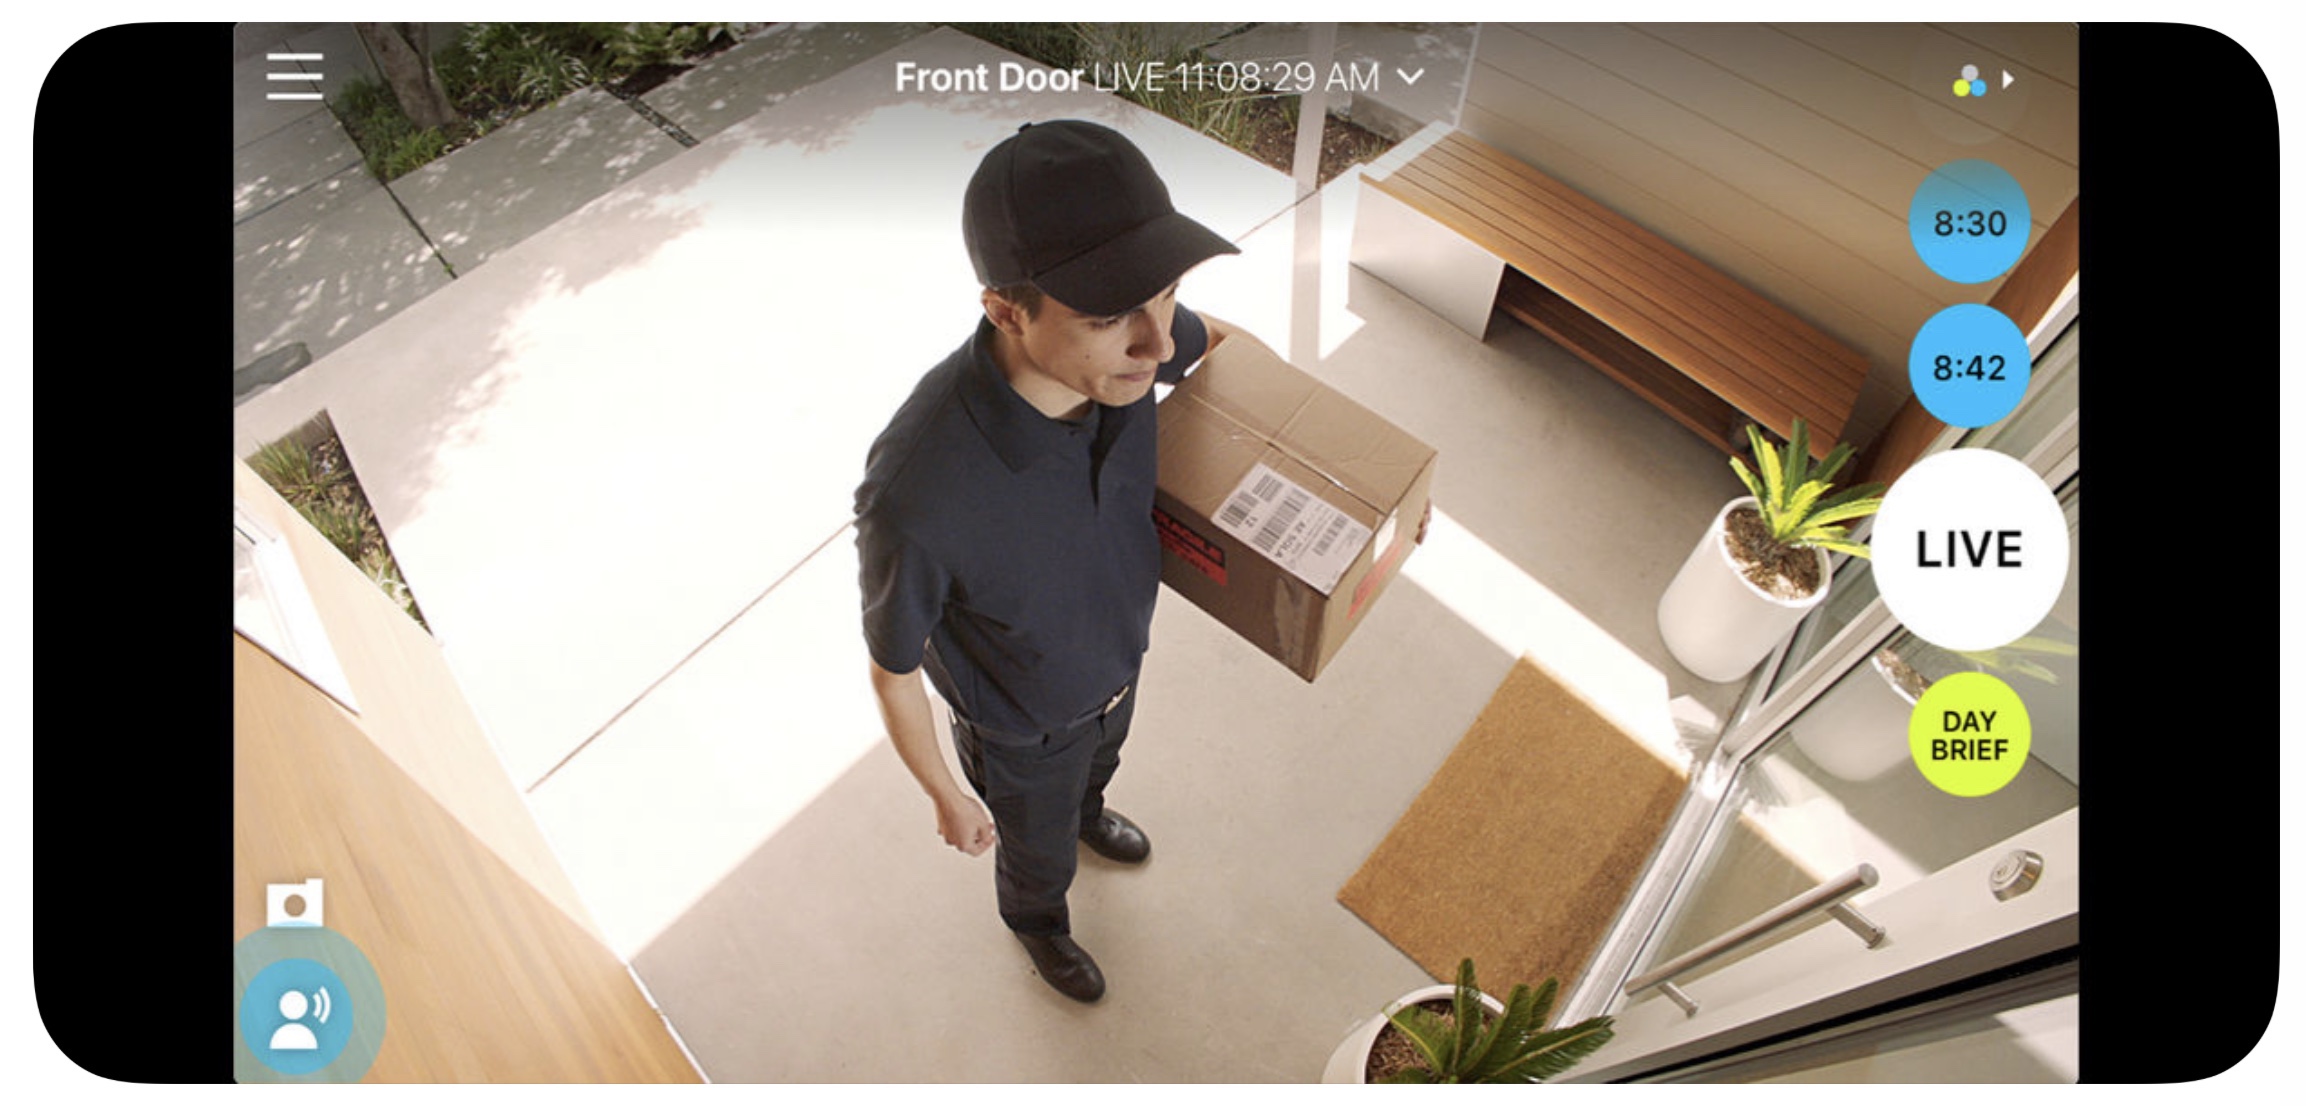
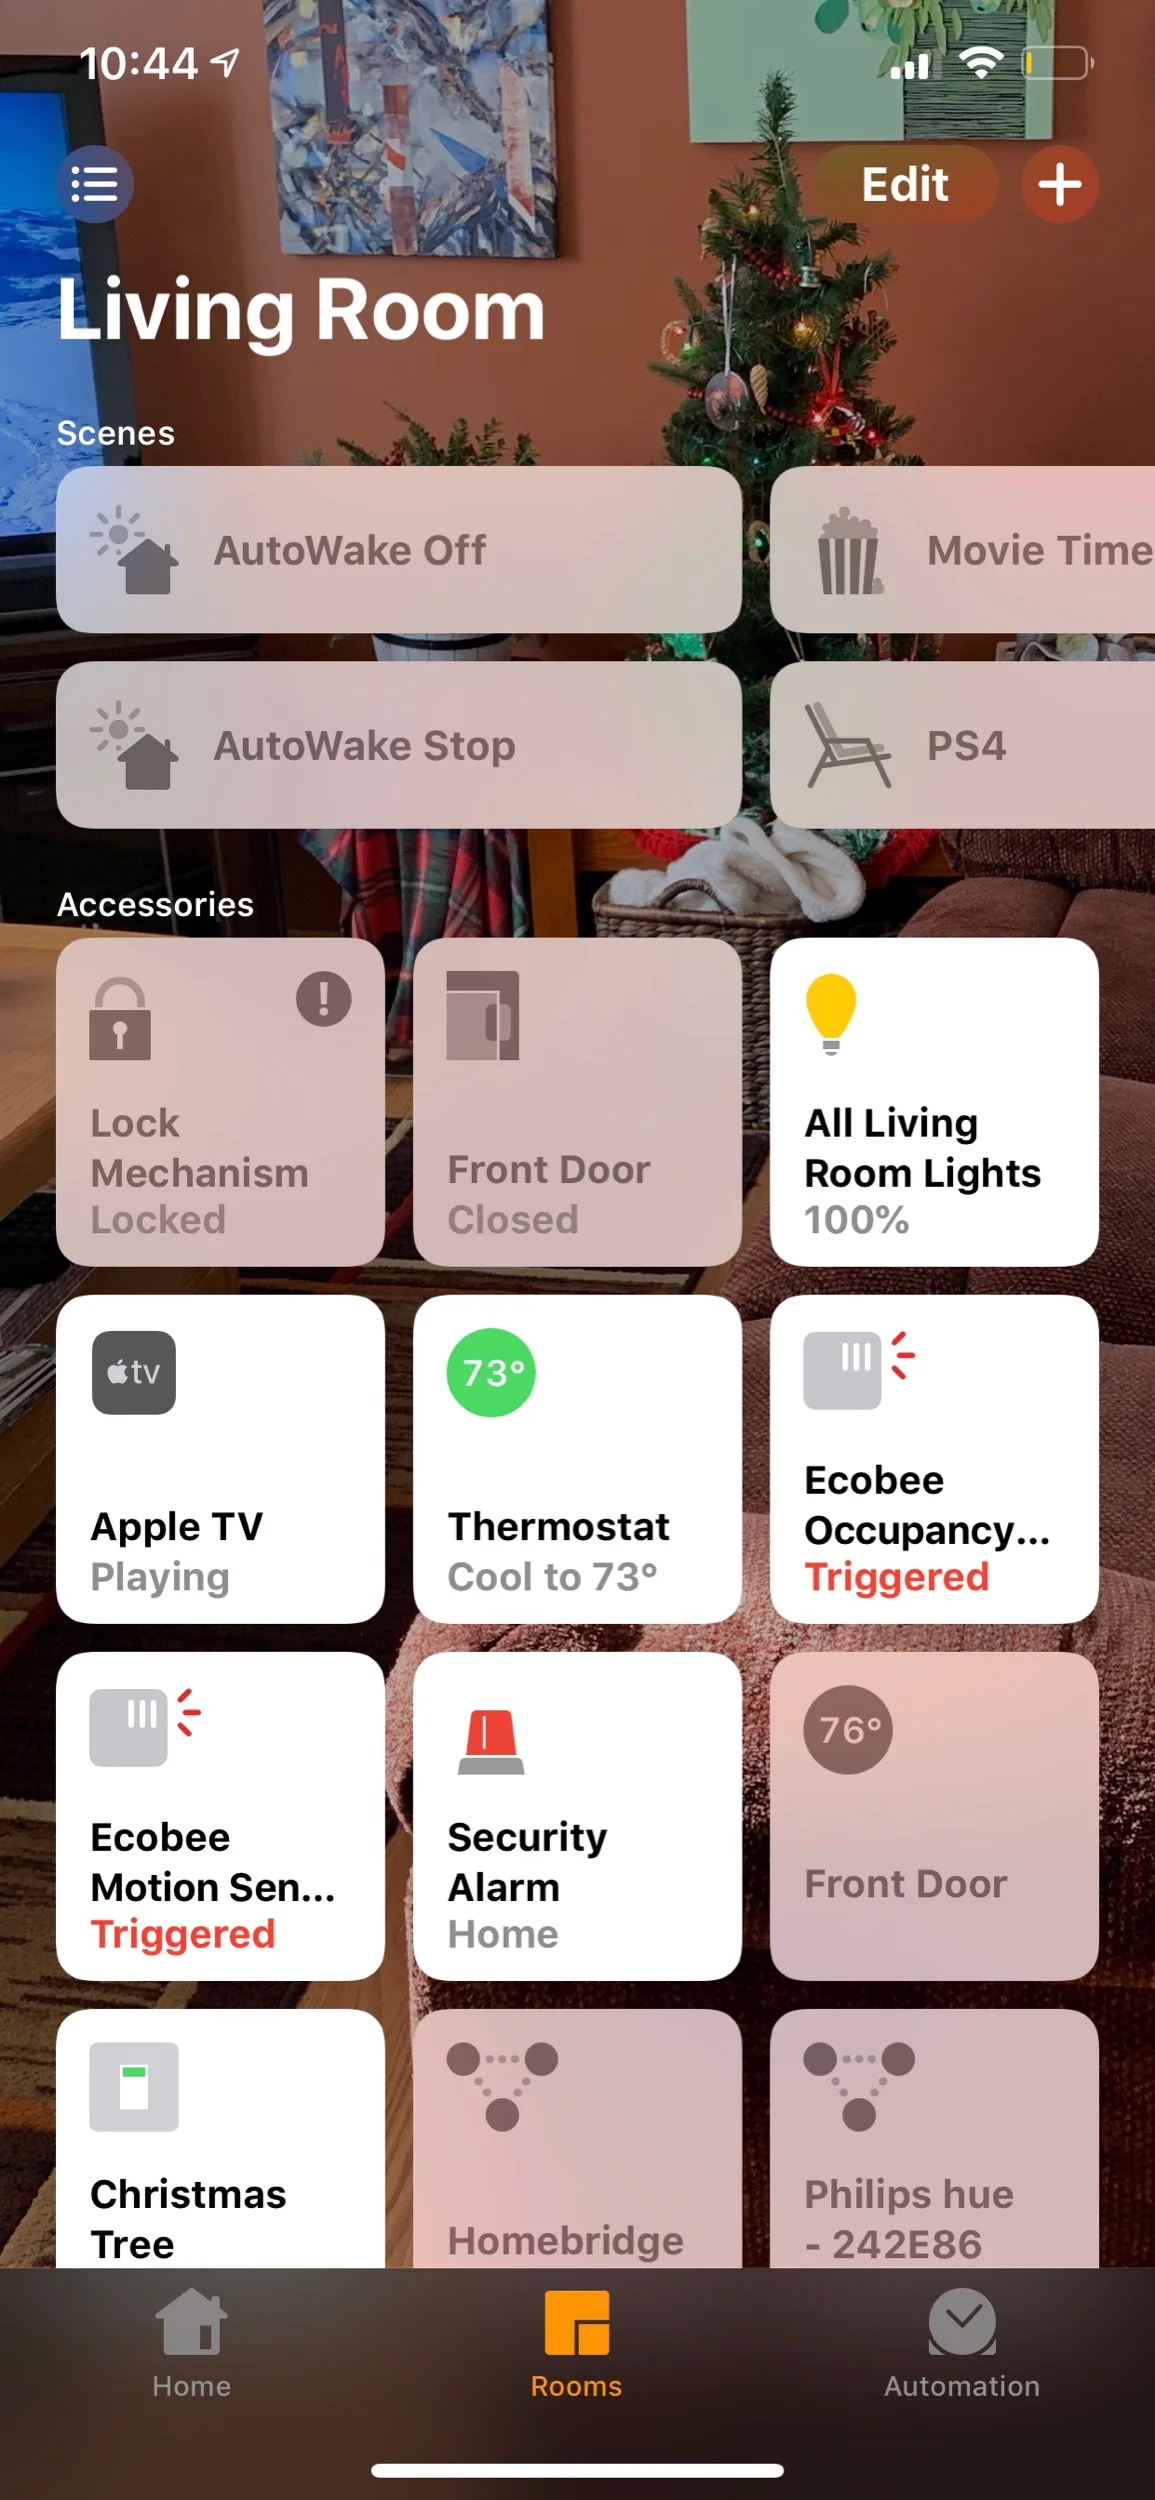
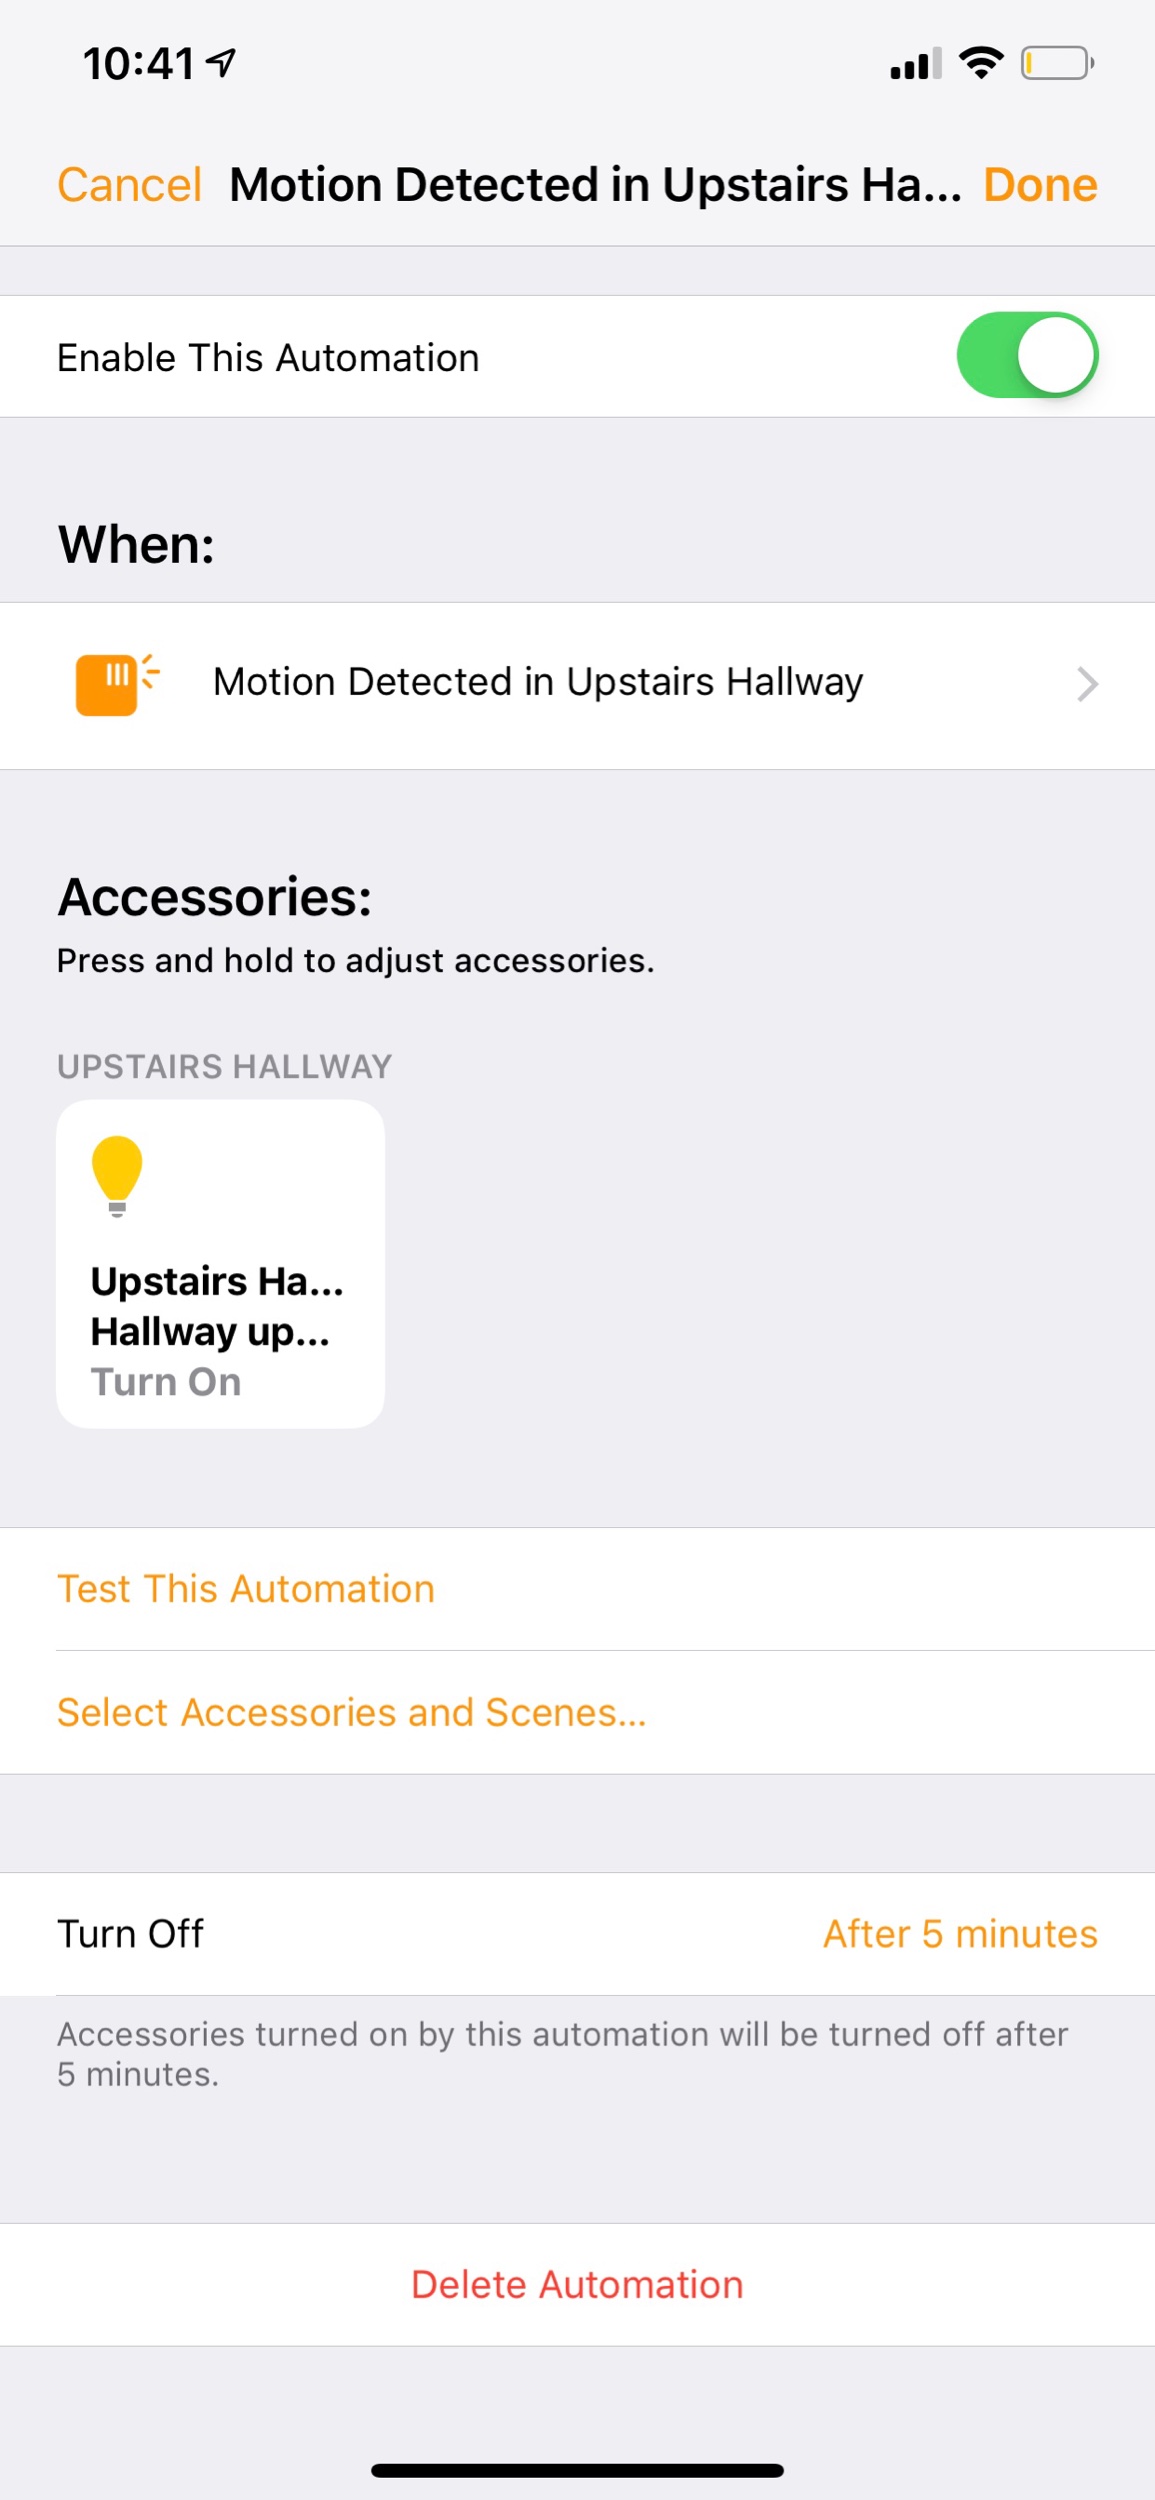
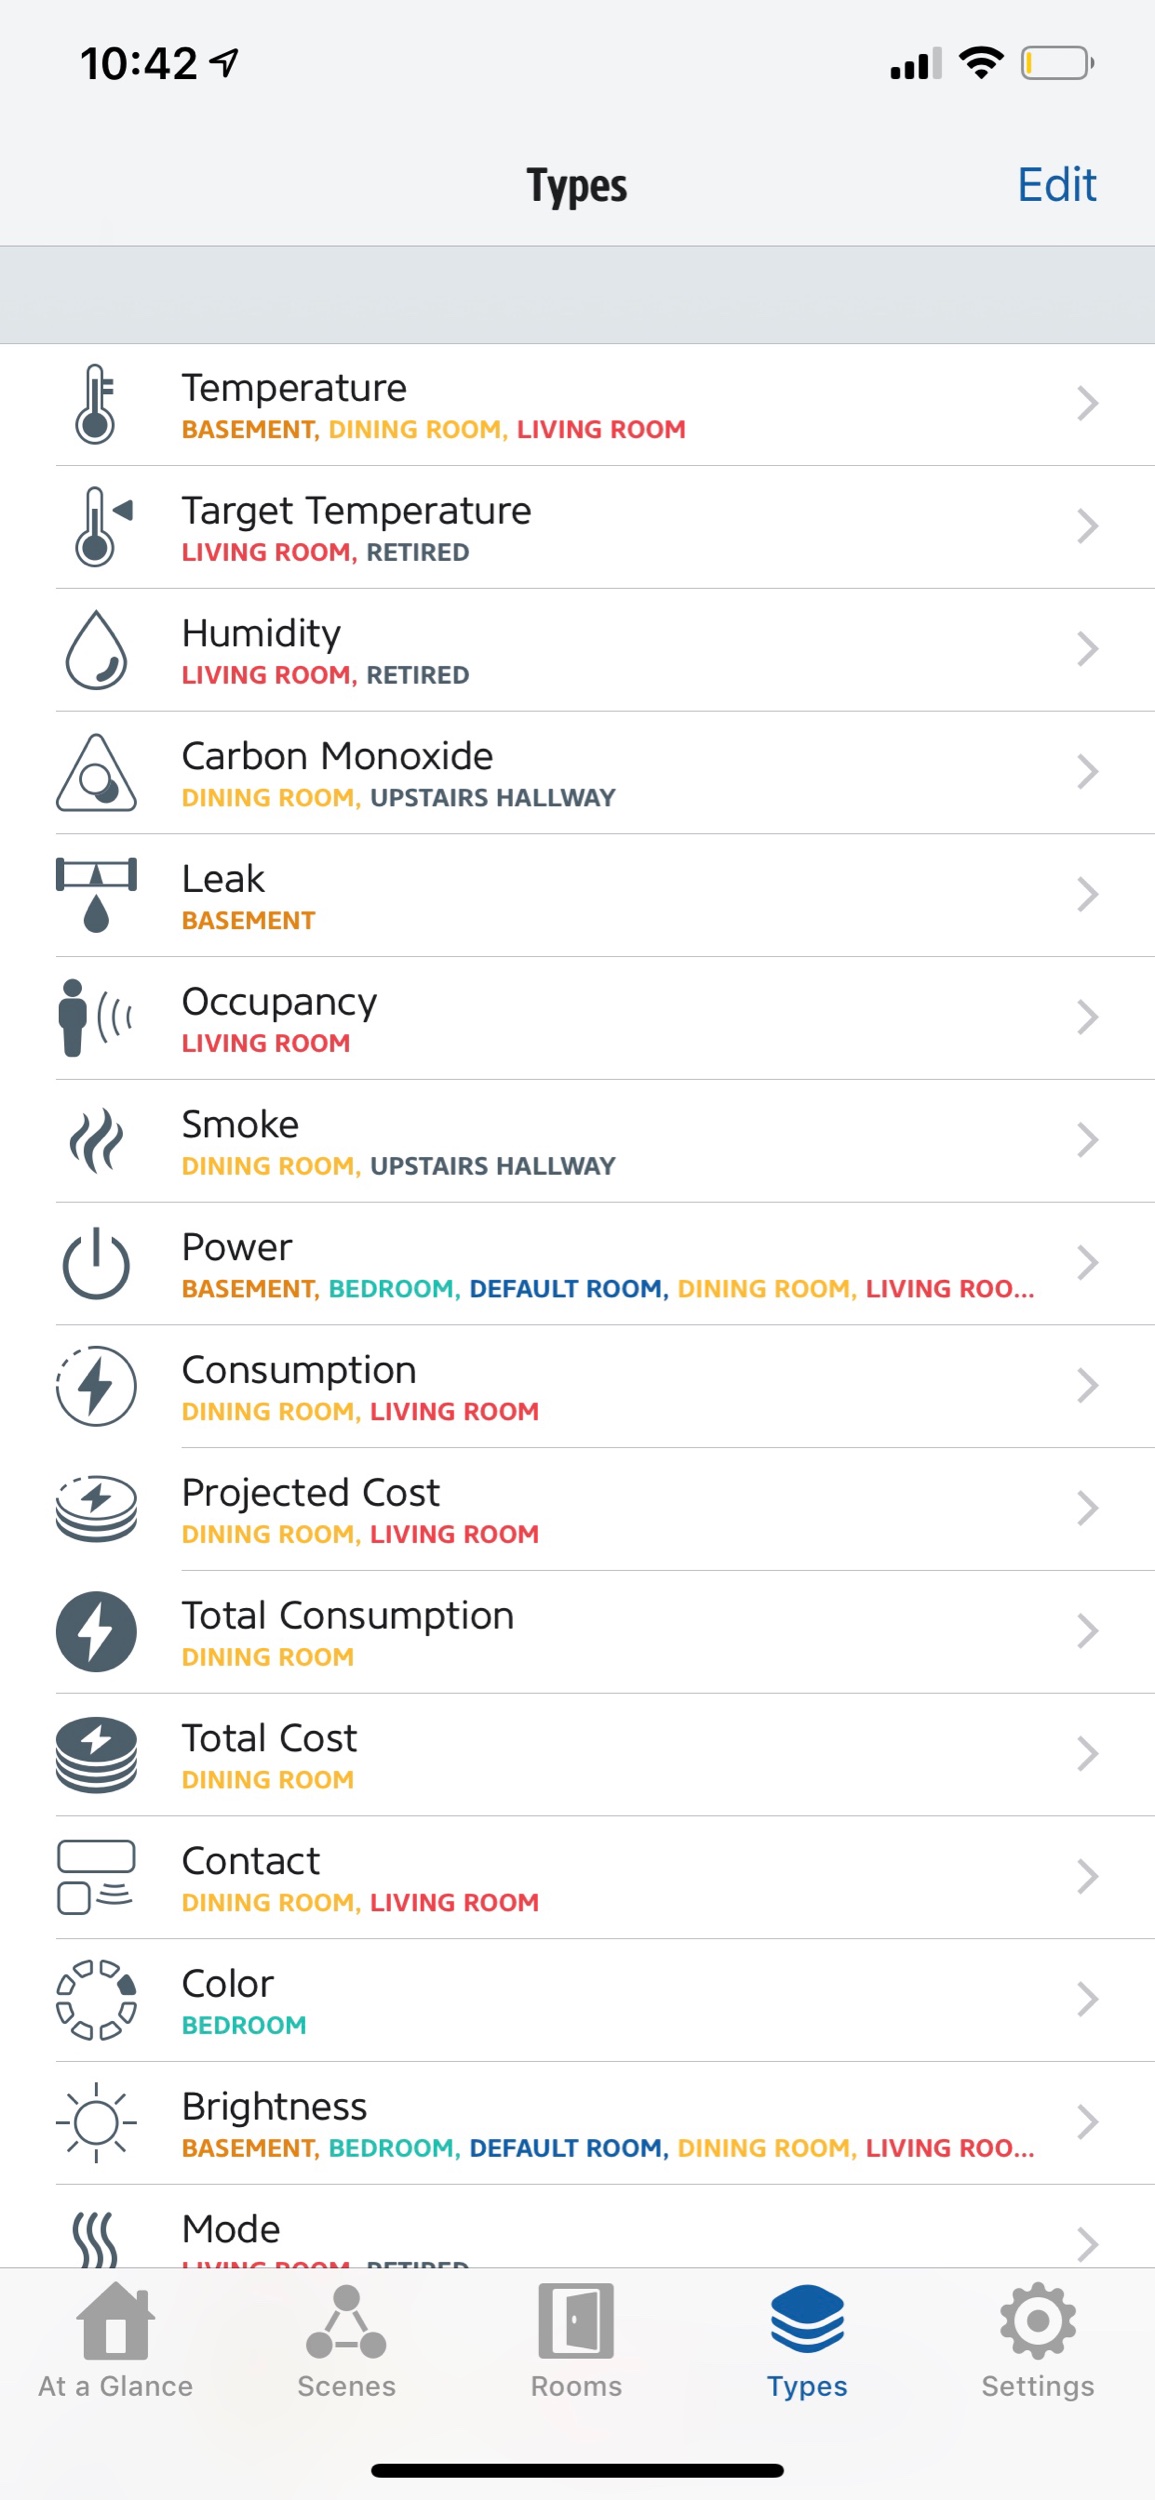
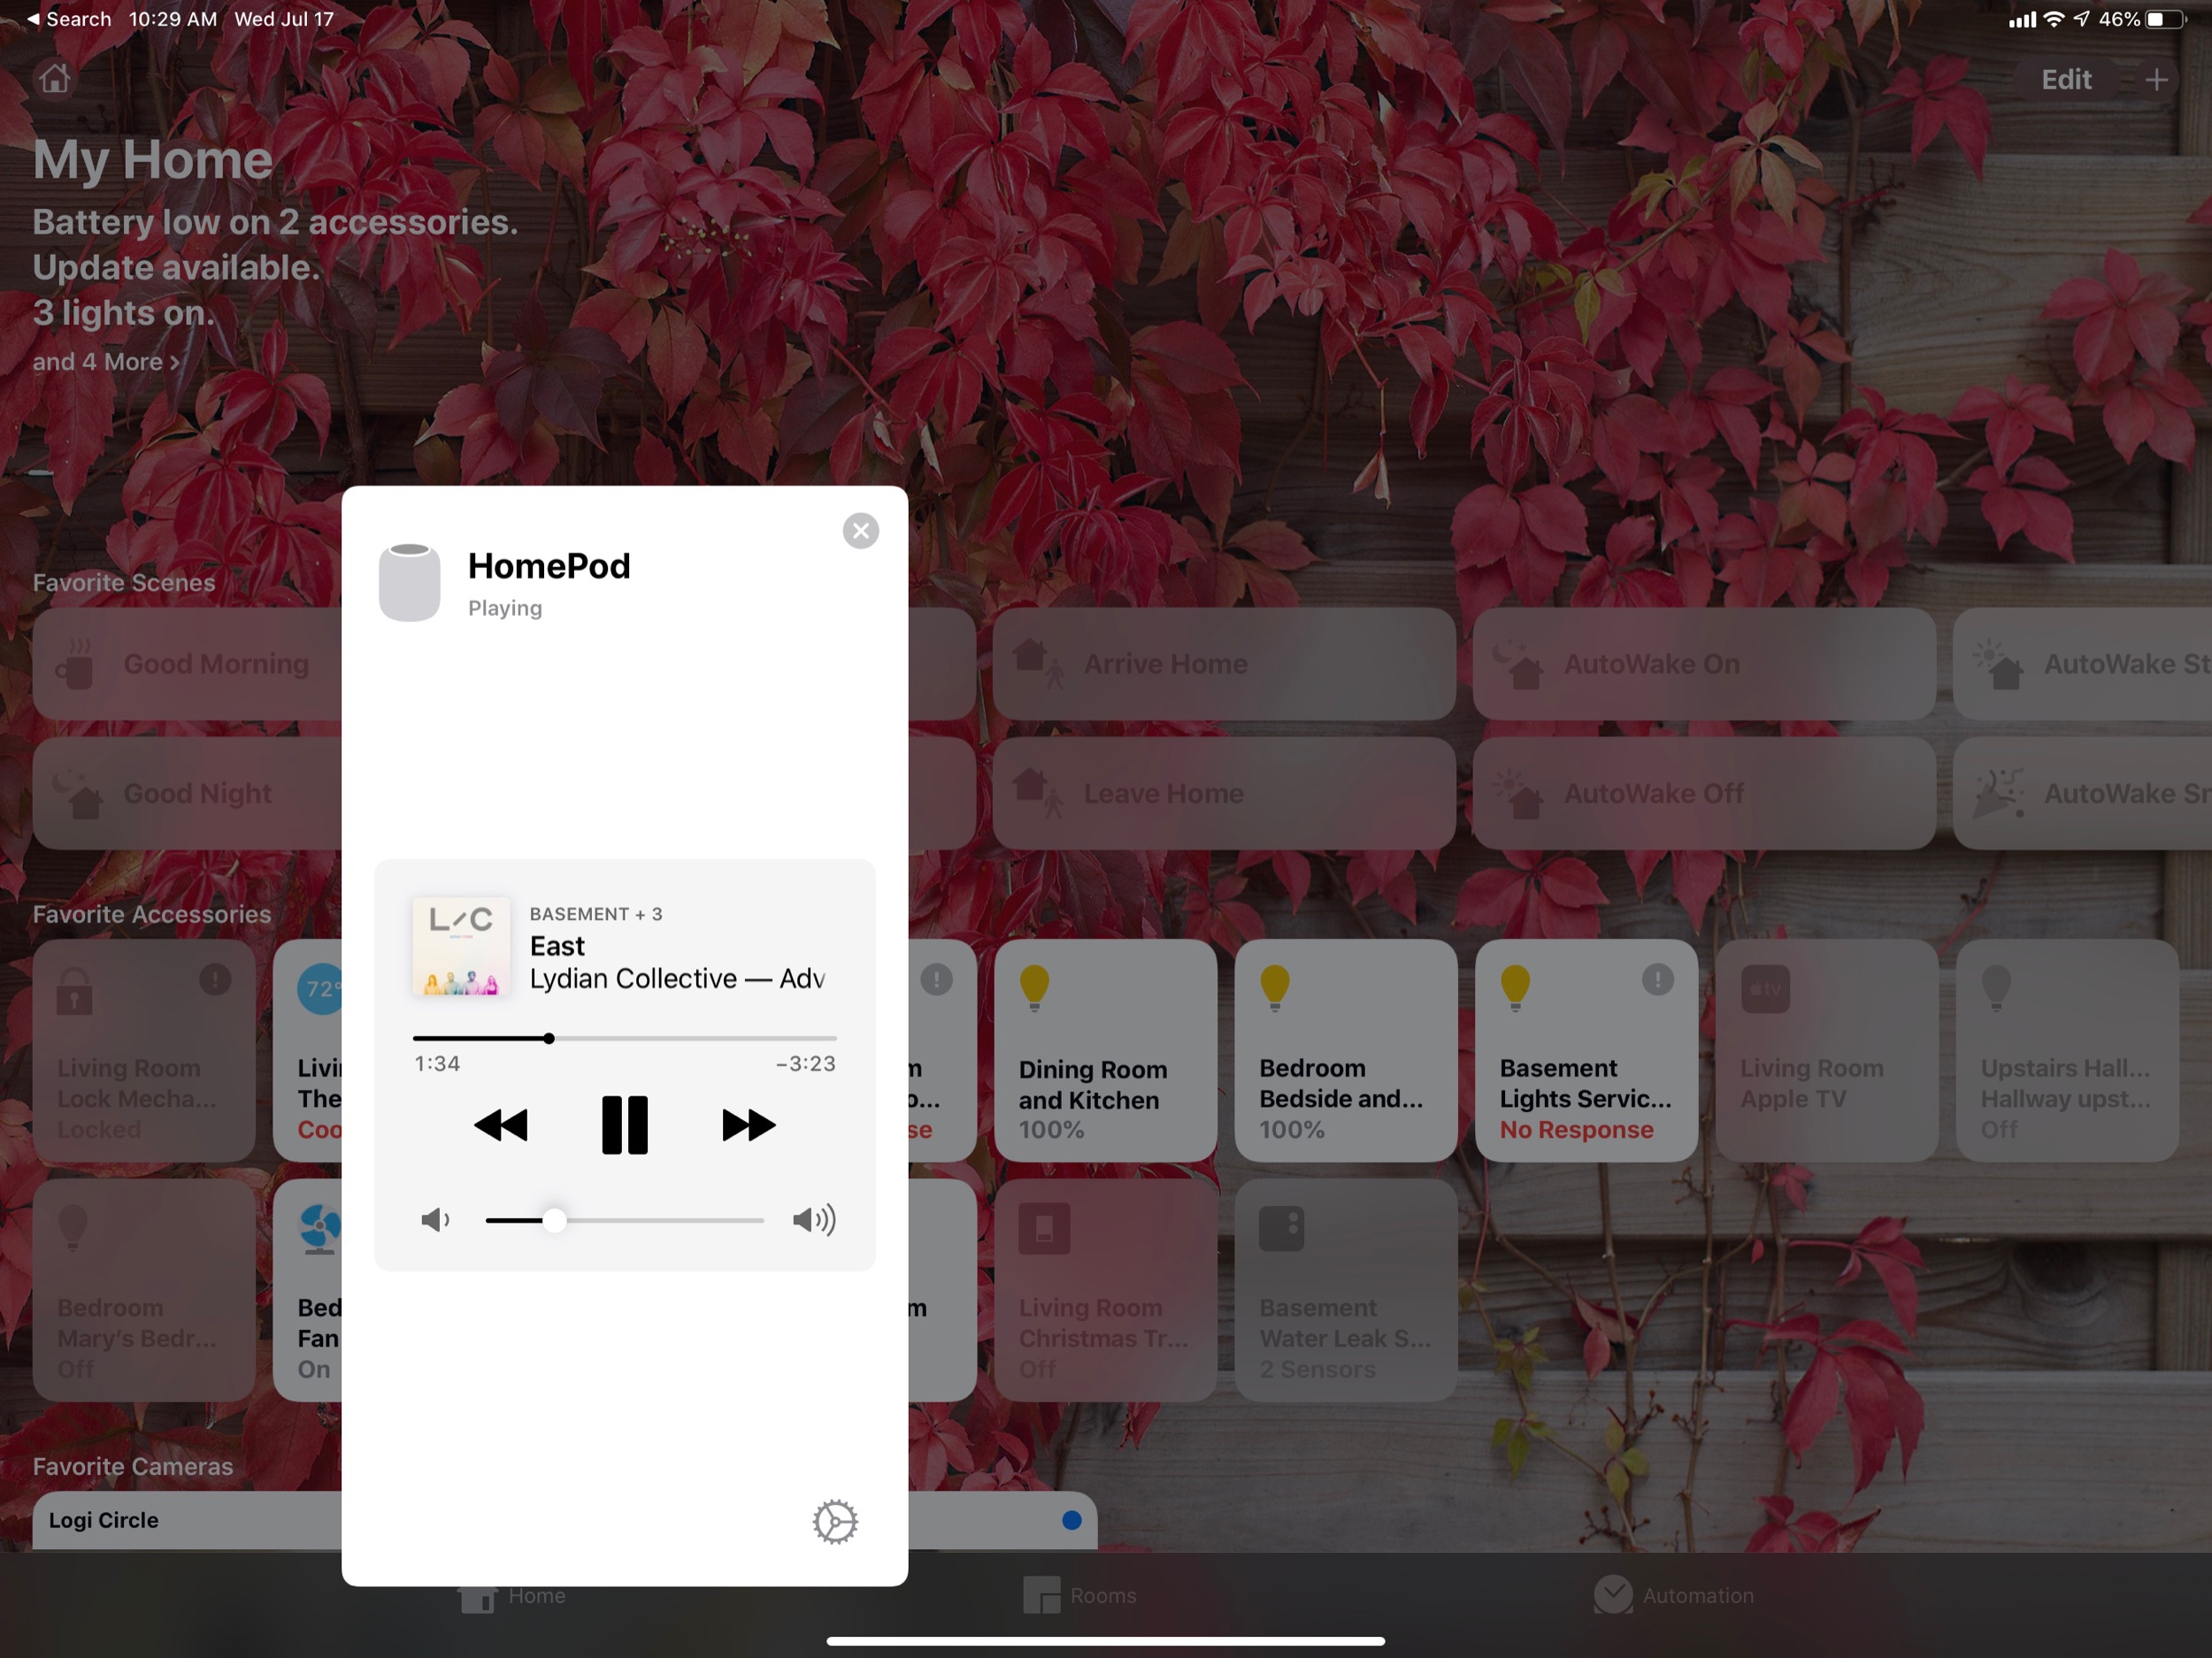
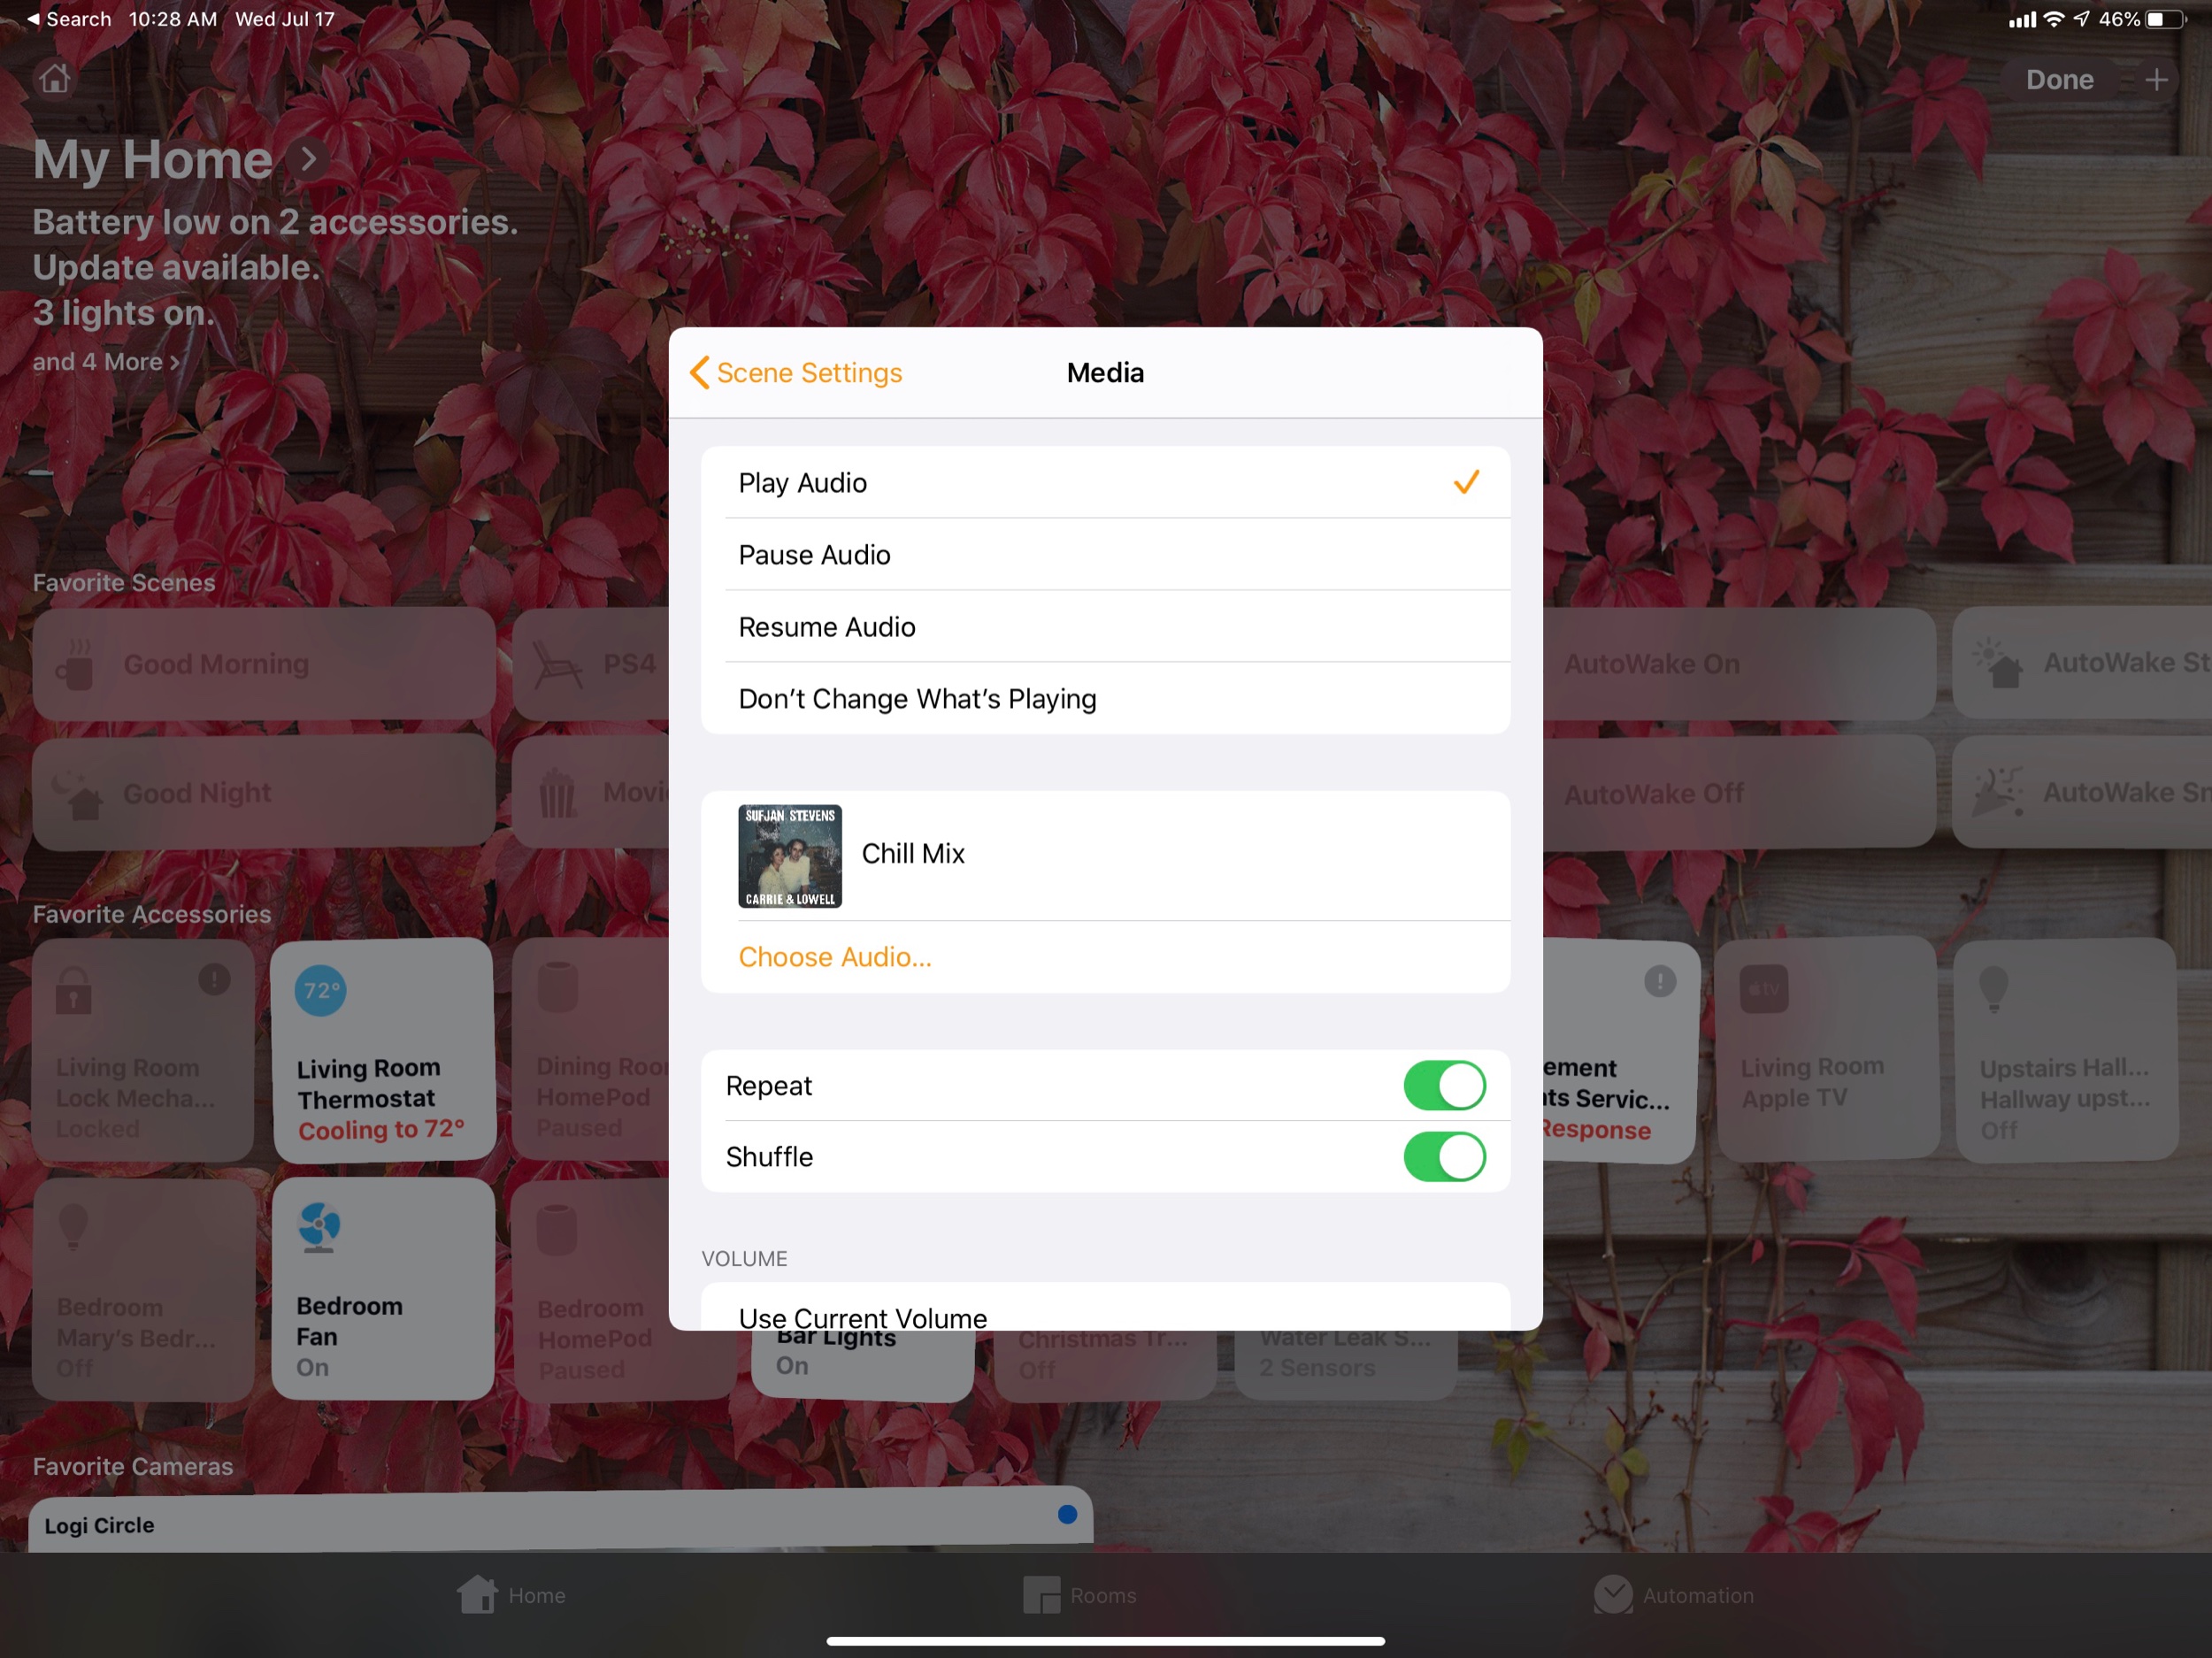
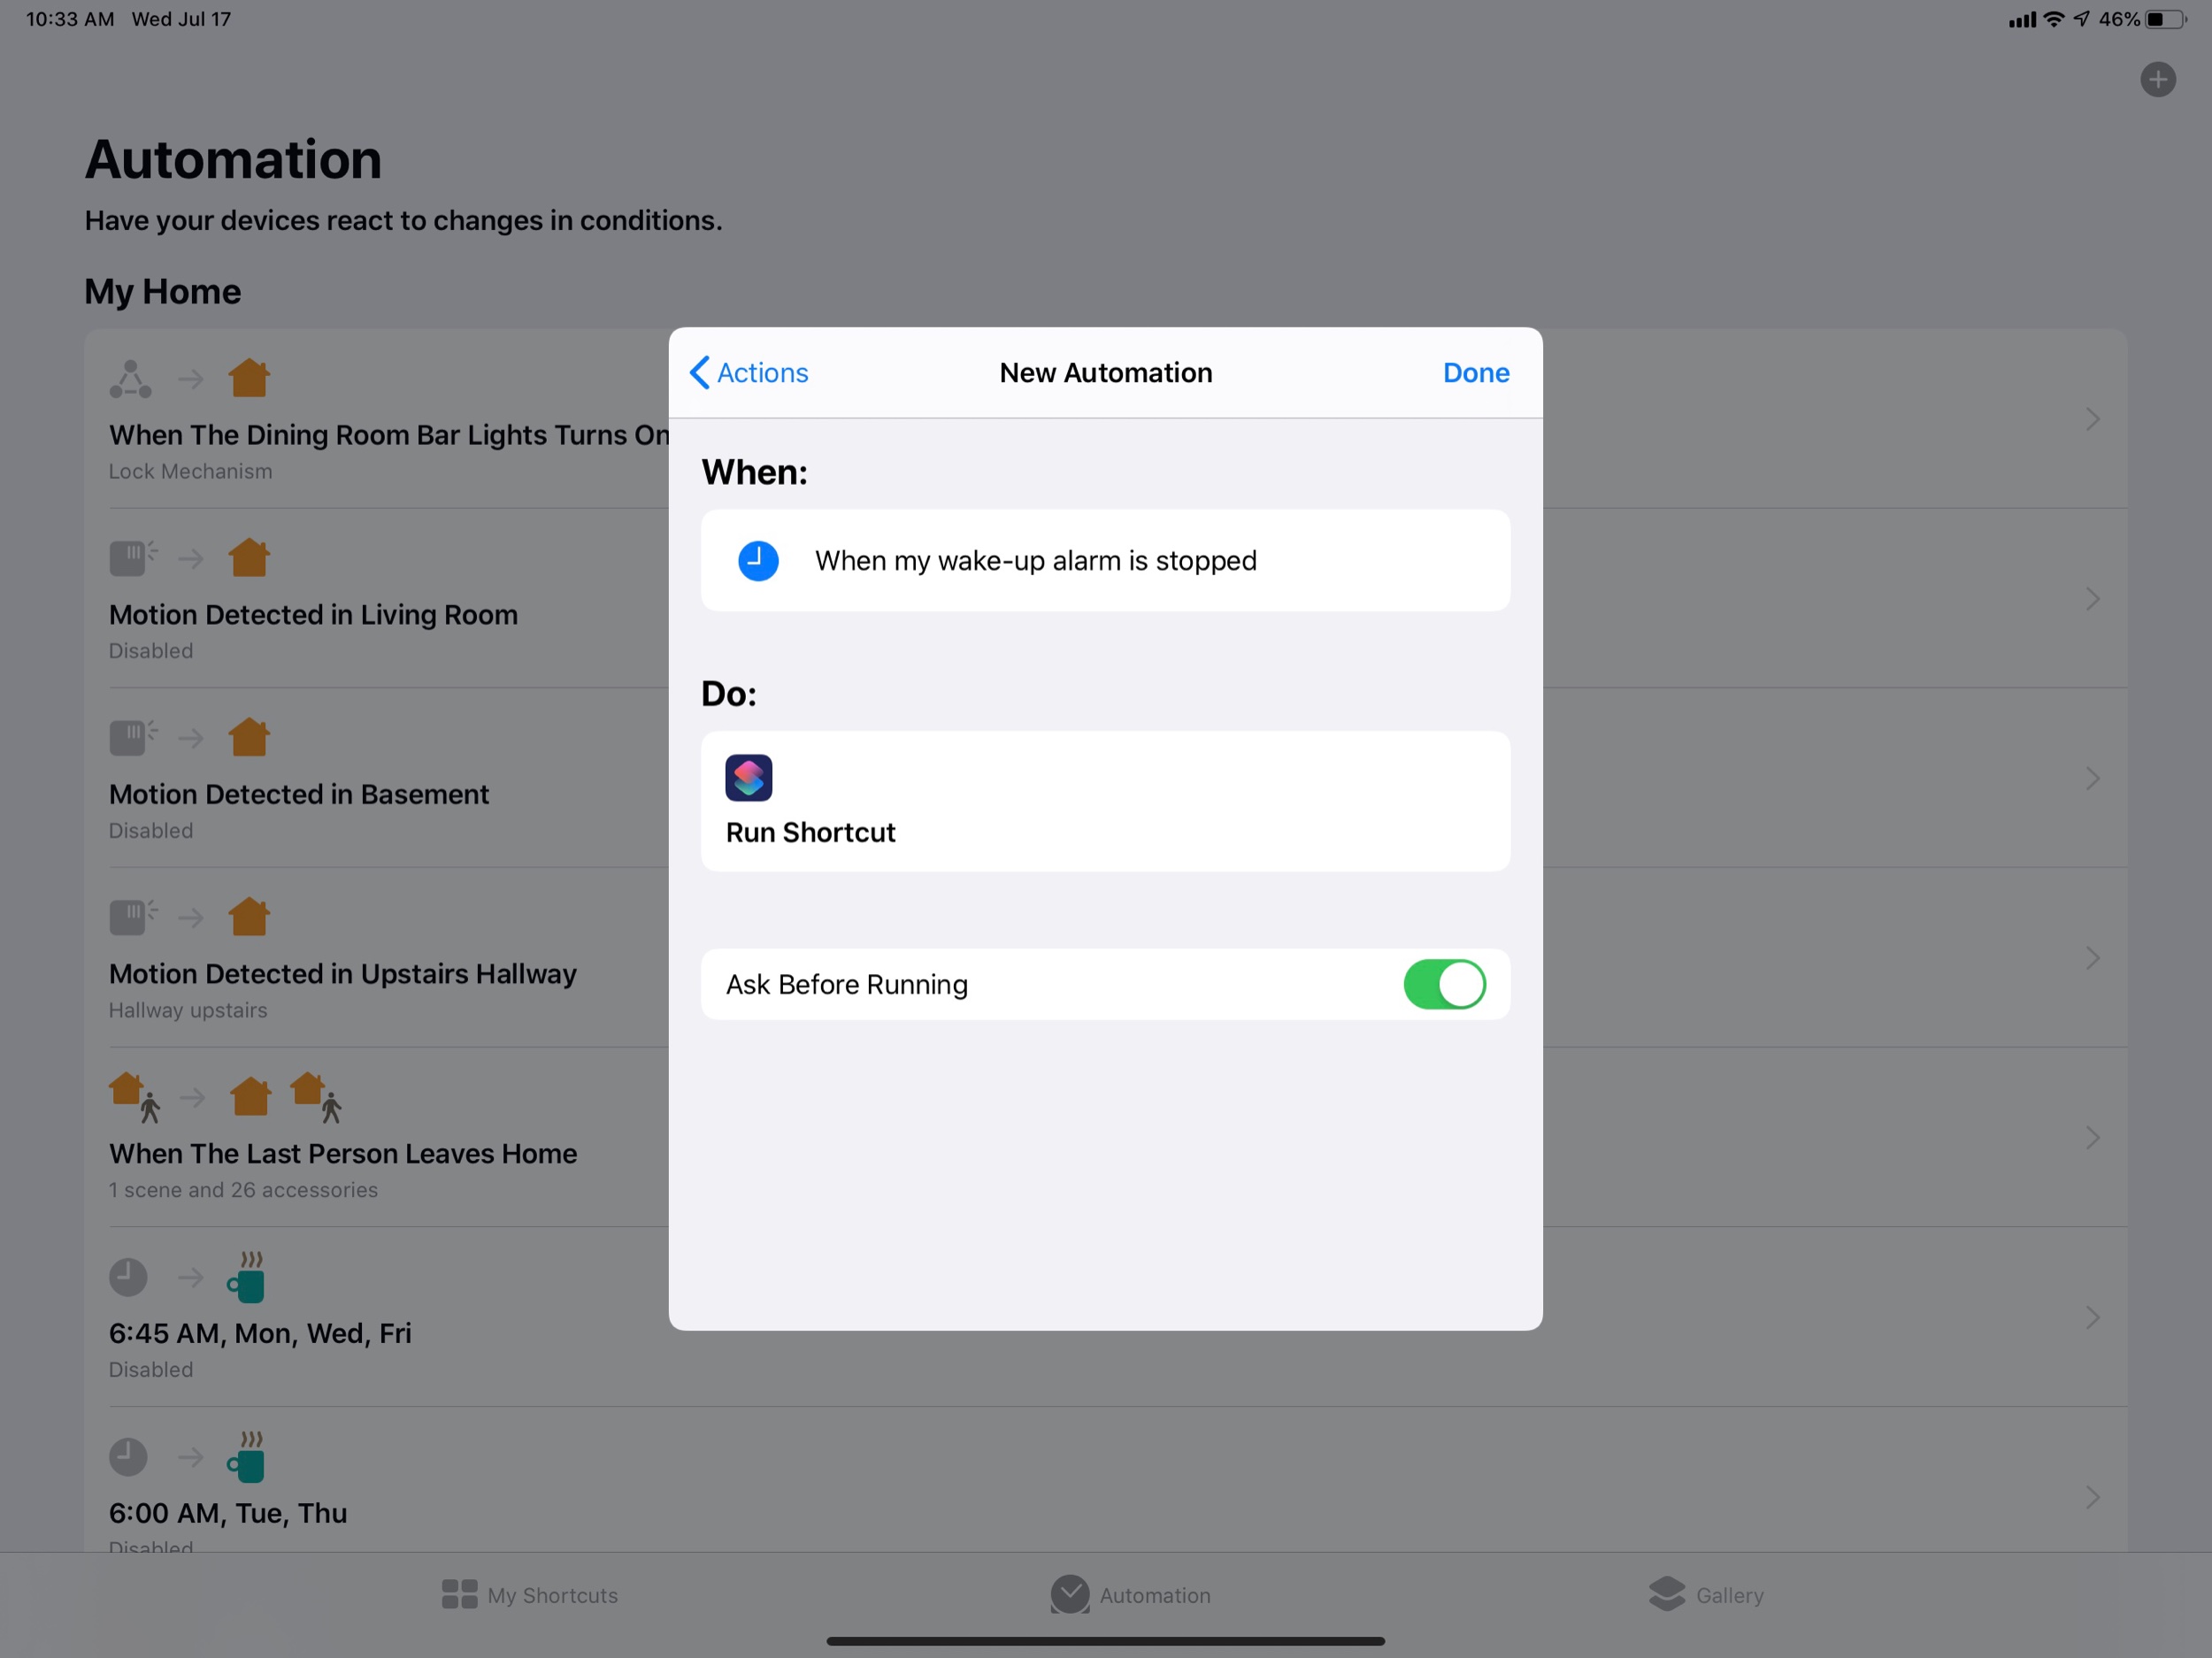
Home and home apps - I would consider my current favorite hobby to be automating my home. When we moved to the new house this year, I added some of the following stuff to my home automation setup: smart dimmers for the lights, baseboard thermostats, floodlight cameras, garage door openers, diffusers, smoke detectors, and more. The Apple Home app is my master control center for all of these devices, but I also really like Home+ 4 as it offers a superior and more customizable interface in some respects.

I also love HomeRun for customizing my Apple Watch watch face so that it always knows which scenes I want to run at my house based on time of day.

Peleton - I didn't think this service could be worth the hype but I am really buying in. We have a little bit of space in the new house to lay out some yoga gear and do some body weight working out. We are undecided on the bike so far, but the Peloton app is full of classes for strength, meditation, yoga, functional training, running, biking, and more!

There are always new classes, many are live, and they are highly specific. I can filter 5, 10, 15, and 20 minute classes when I only have a little bit of time. There are restorative yoga classes and body weight strength classes that just need a mat. Best of all, the iPhone app can send to my Apple TV and Apple Watch simultaneously so I can watch the instructor on the big screen and track my heart rate on the watch.

FileMaker - I live by this app. I only know the scripting well enough to program my own keyboard shortcuts. But for tracking students, musical repertoire, assignments, and everything else, this is the power app solution for every problem.

AnyTune Pro+ - This iOS and Mac app has finally replaced Transcribe! for me in most cases. It has great Music app integration, native keyboard shortcuts, and a rich user interface. I love using Downie to take YouTube videos from the internet and then slow them down in AnyTune so that my band students and private percussion students can practice to a superior performance at a reasonable speed.

Timery - This is a super impressive and scriptable time tracking app for iOS that has a great widget and Siri Shortcuts support.

Reeder 4 - Reeder is still the app my thumb reaches for first when I have some free time. I love reading my RSS subscriptions in its clean user interface. Now that it has Instapaper support, I don't need to leave the app to catch up on my read later list.

Cardhop for iOS - This is the contacts app replacement you NEED to install on your iOS devices. It takes the frustration out of adding to and updating your contacts. You must see it to believe it.

IDAGIO - This subscription app and service takes the metadata problem out of classical music by properly tagging composer, arranger, soloist, orchestra, and performer information and allowing it to be filtered. You can filter by year, ensemble, composer, conductor, and even soloist.

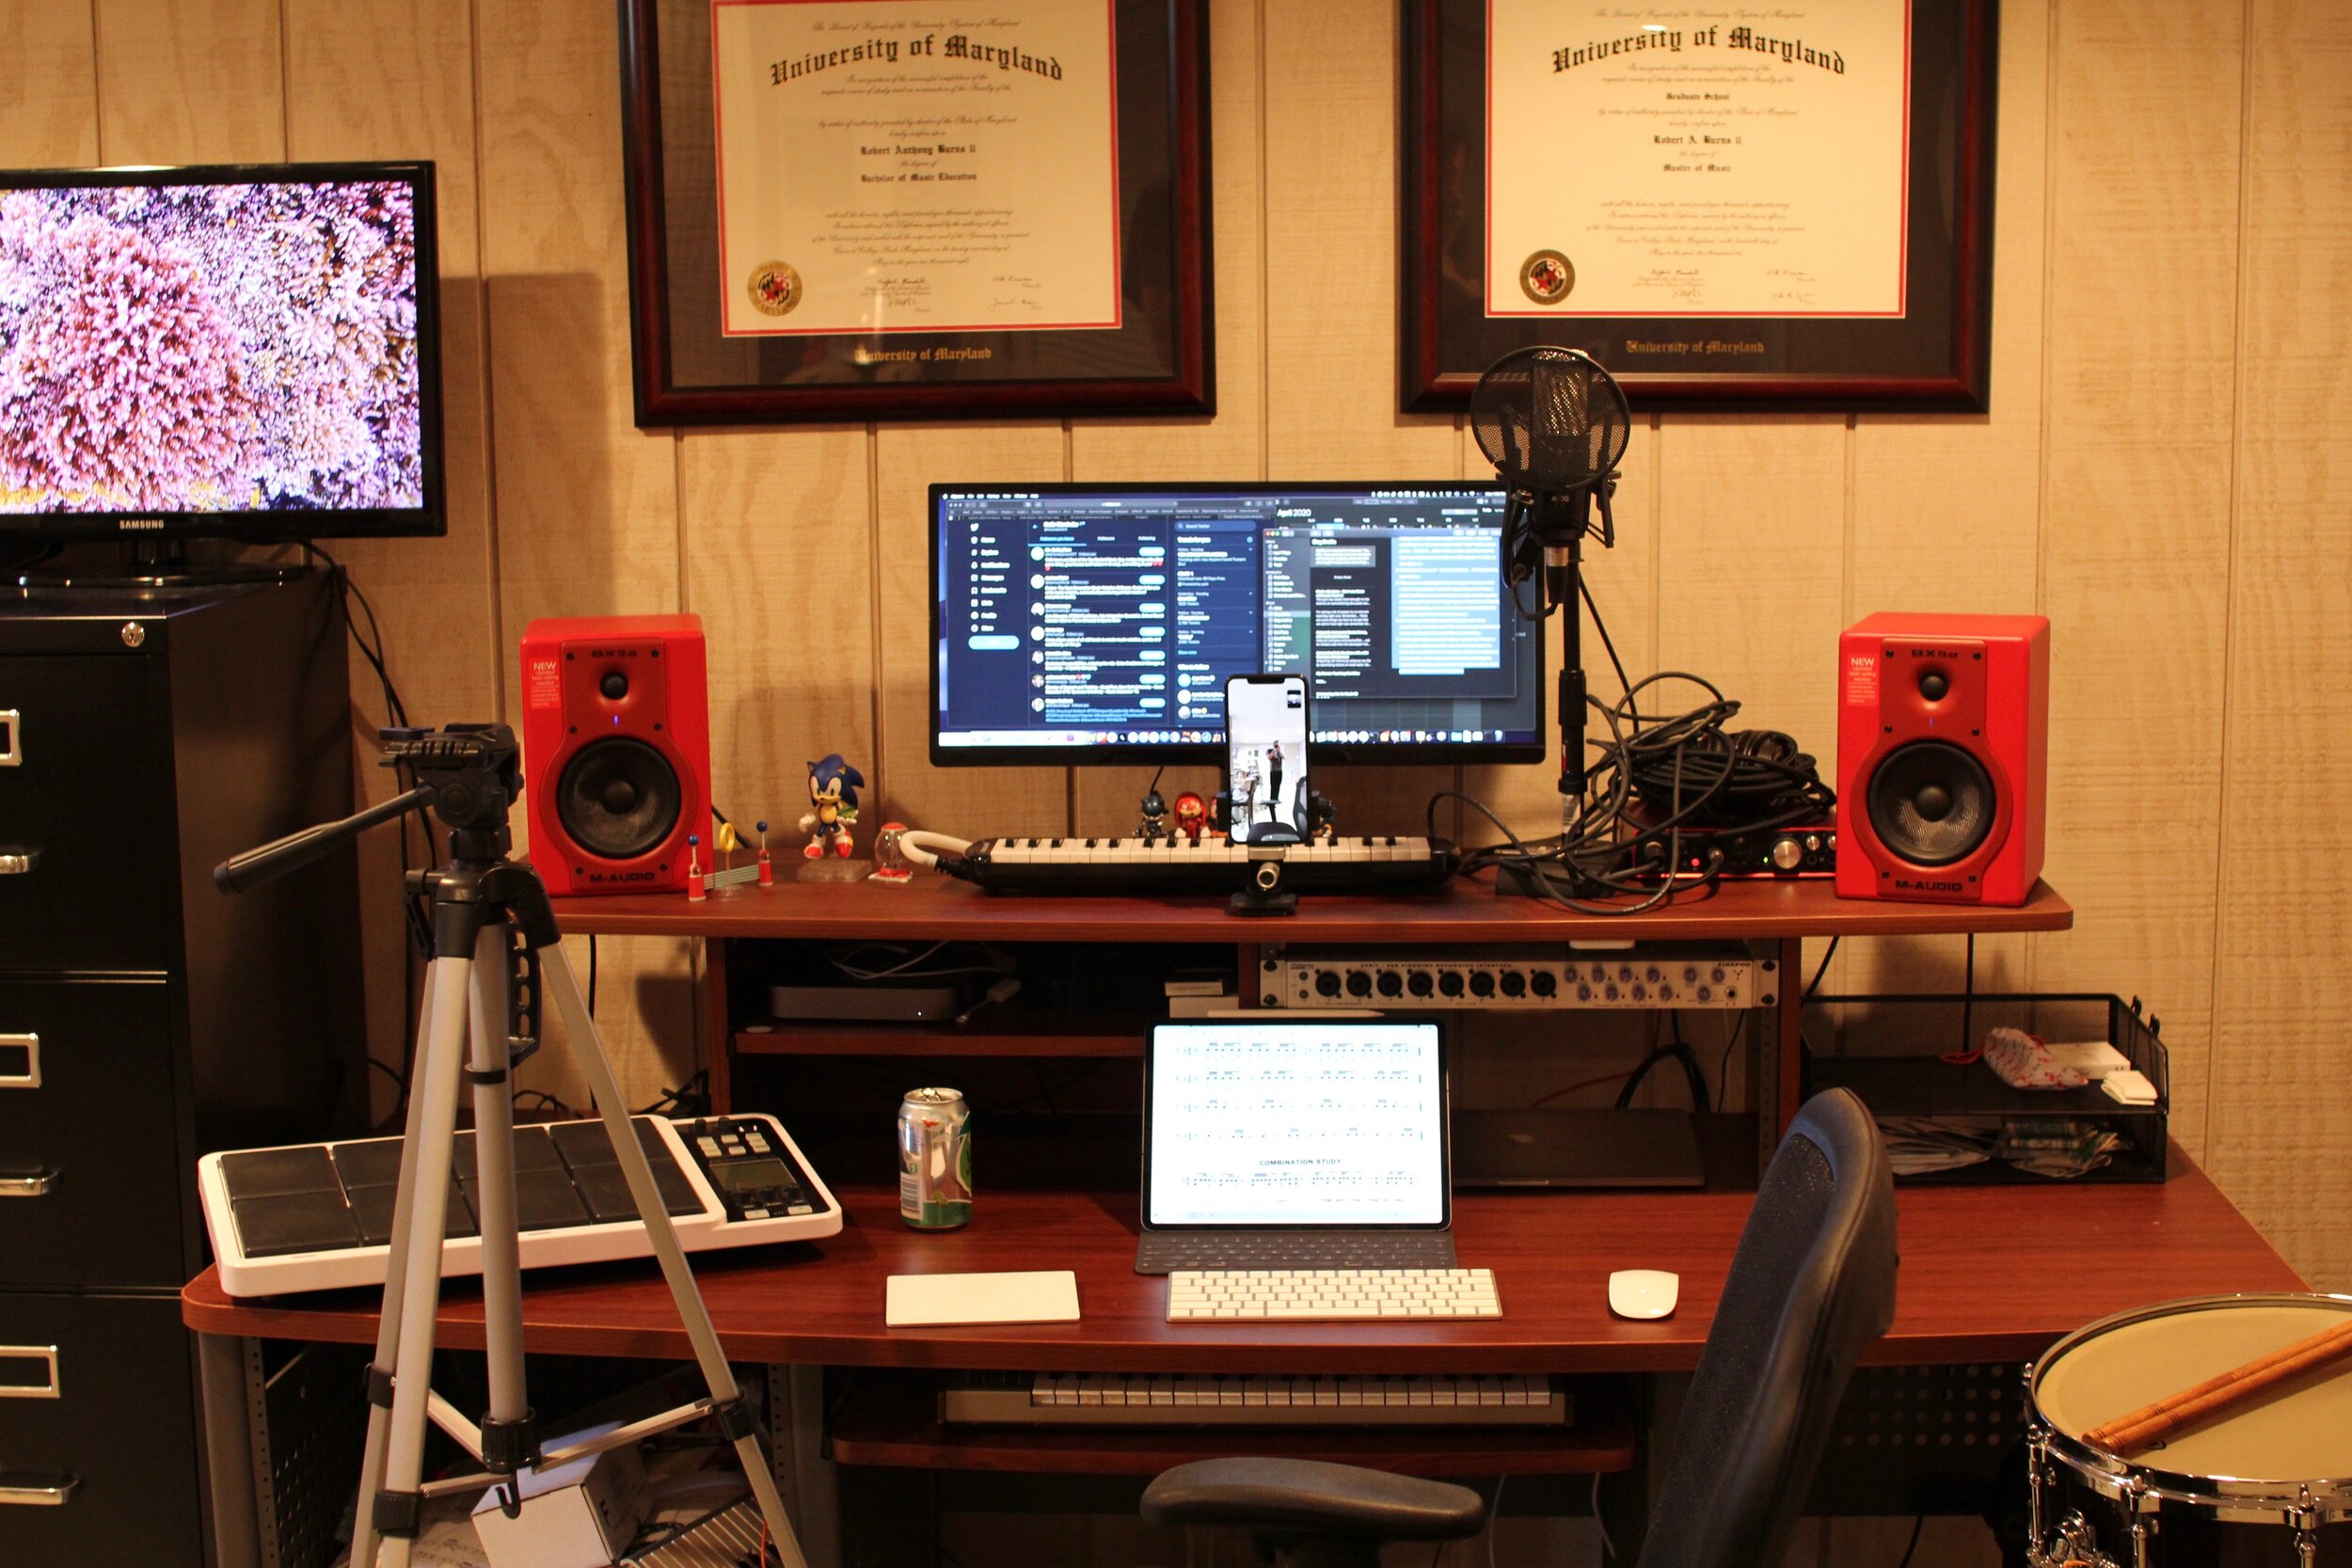
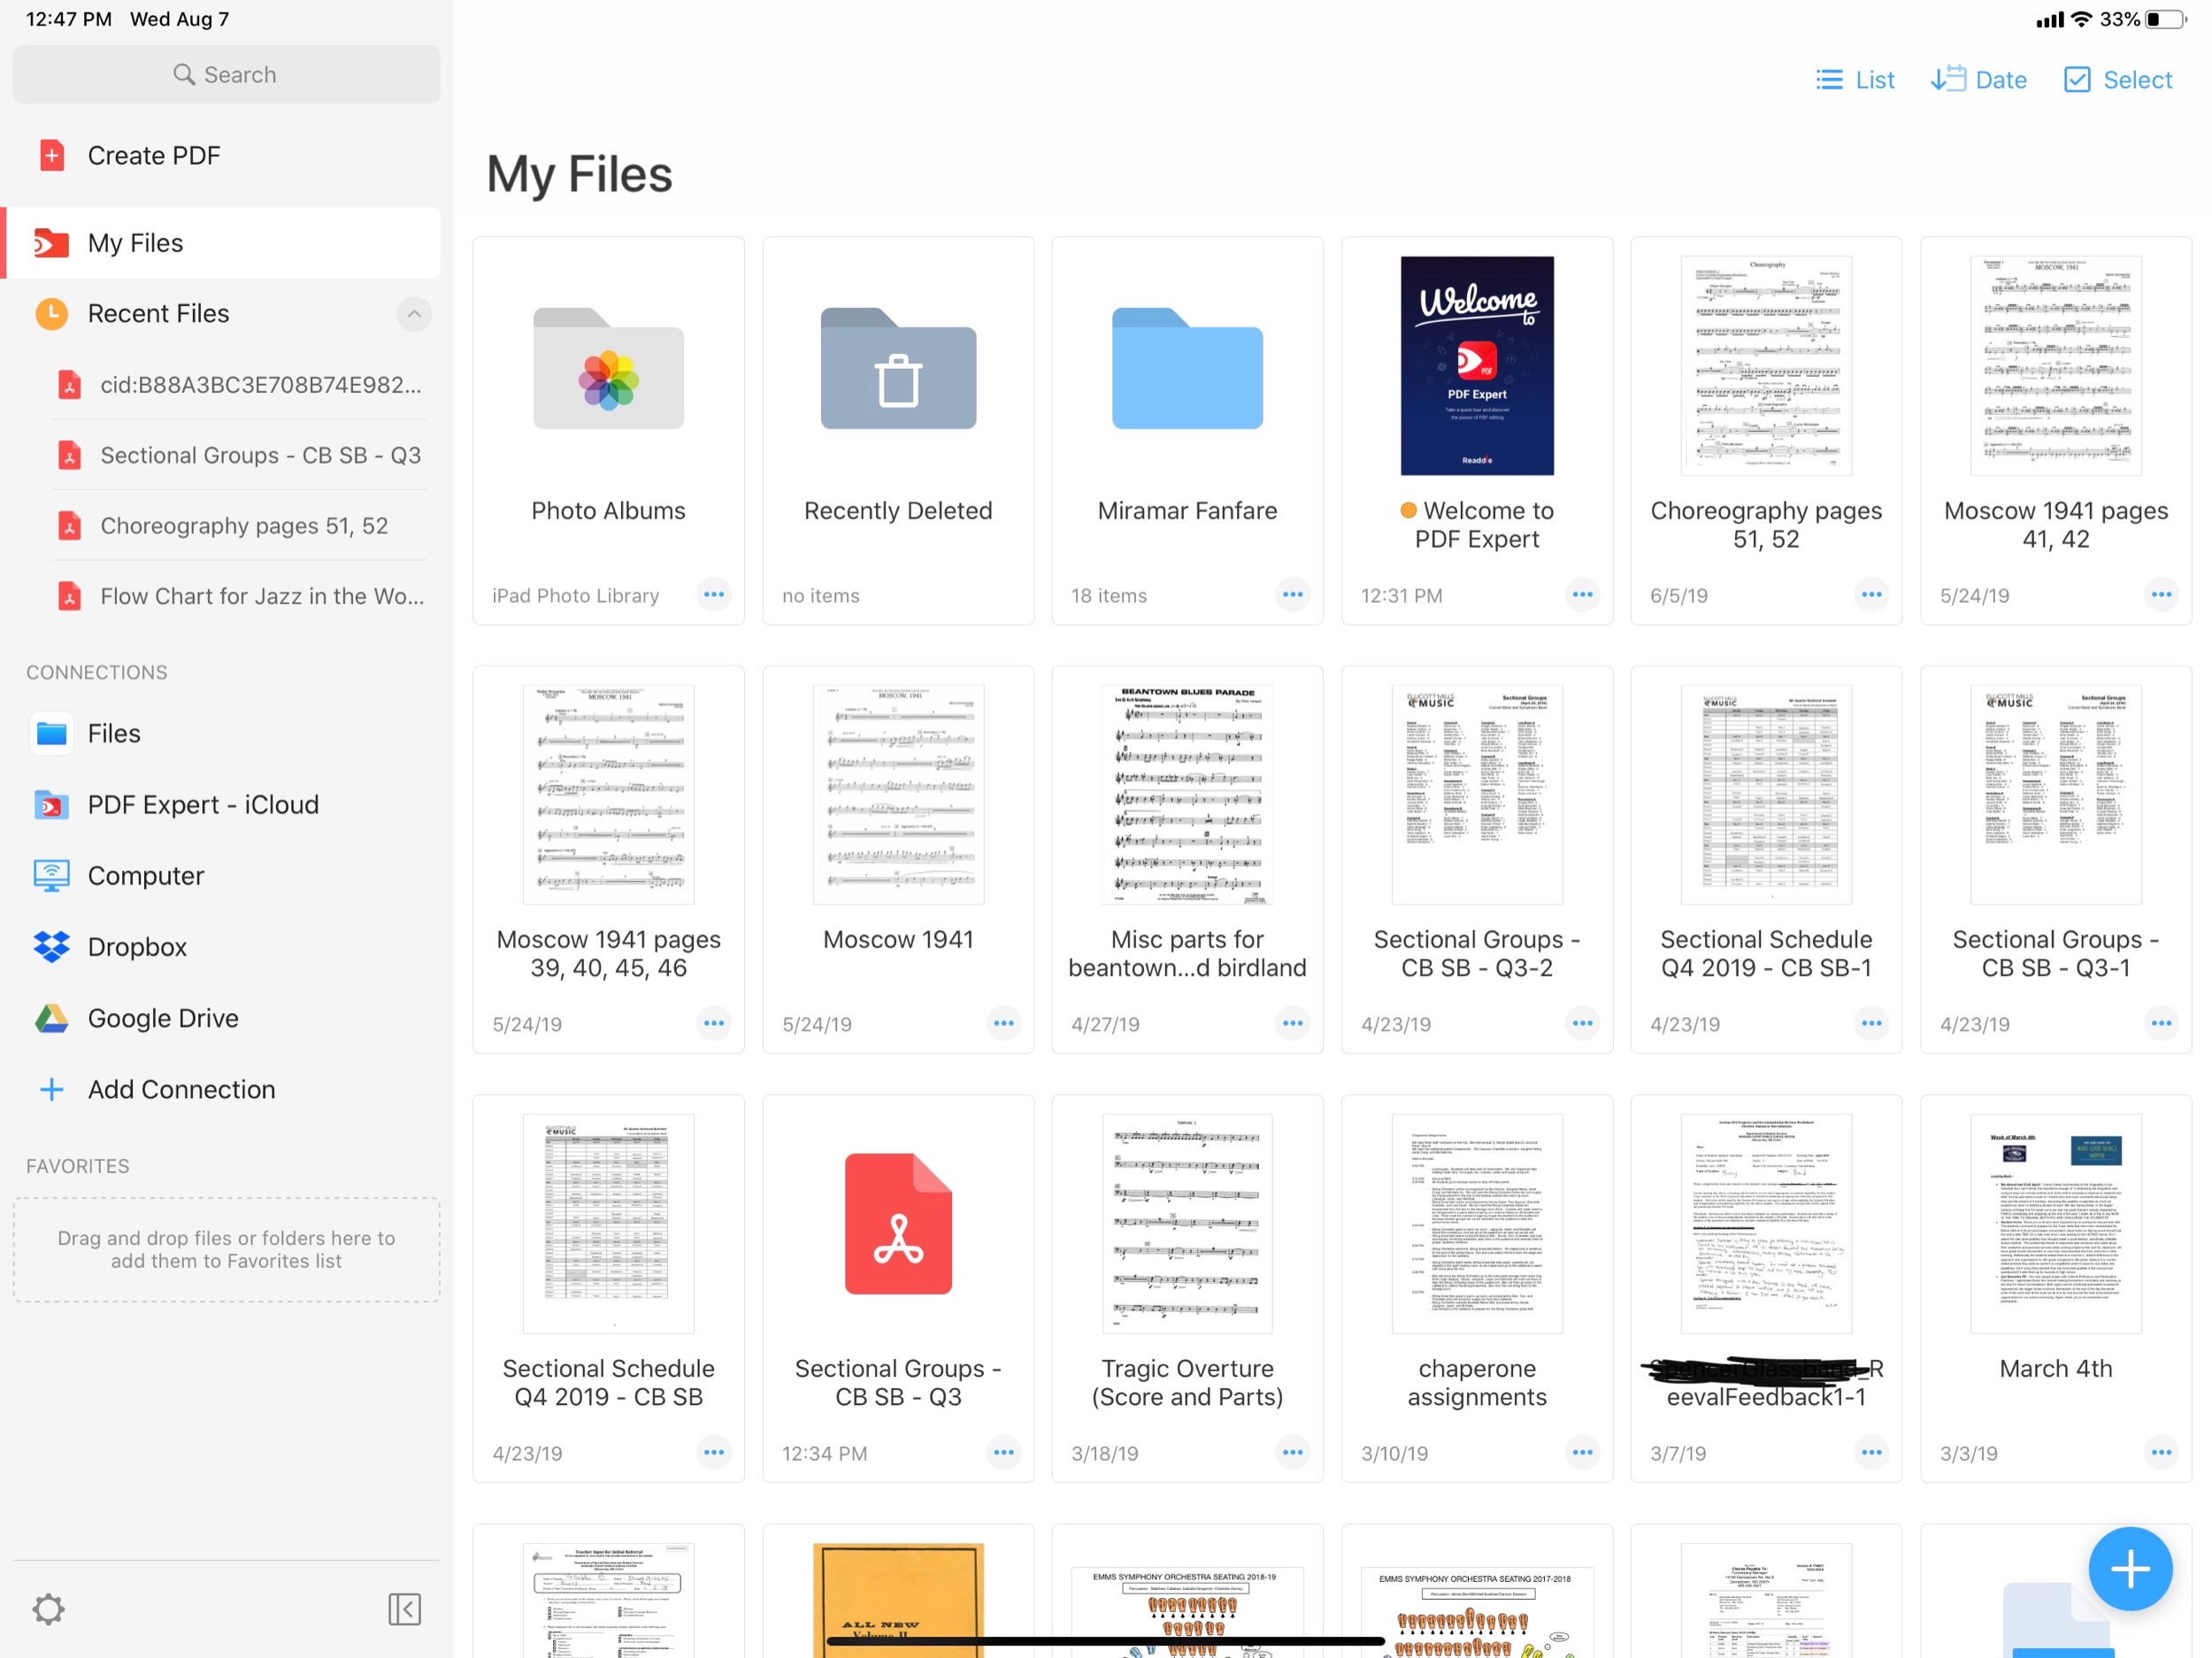
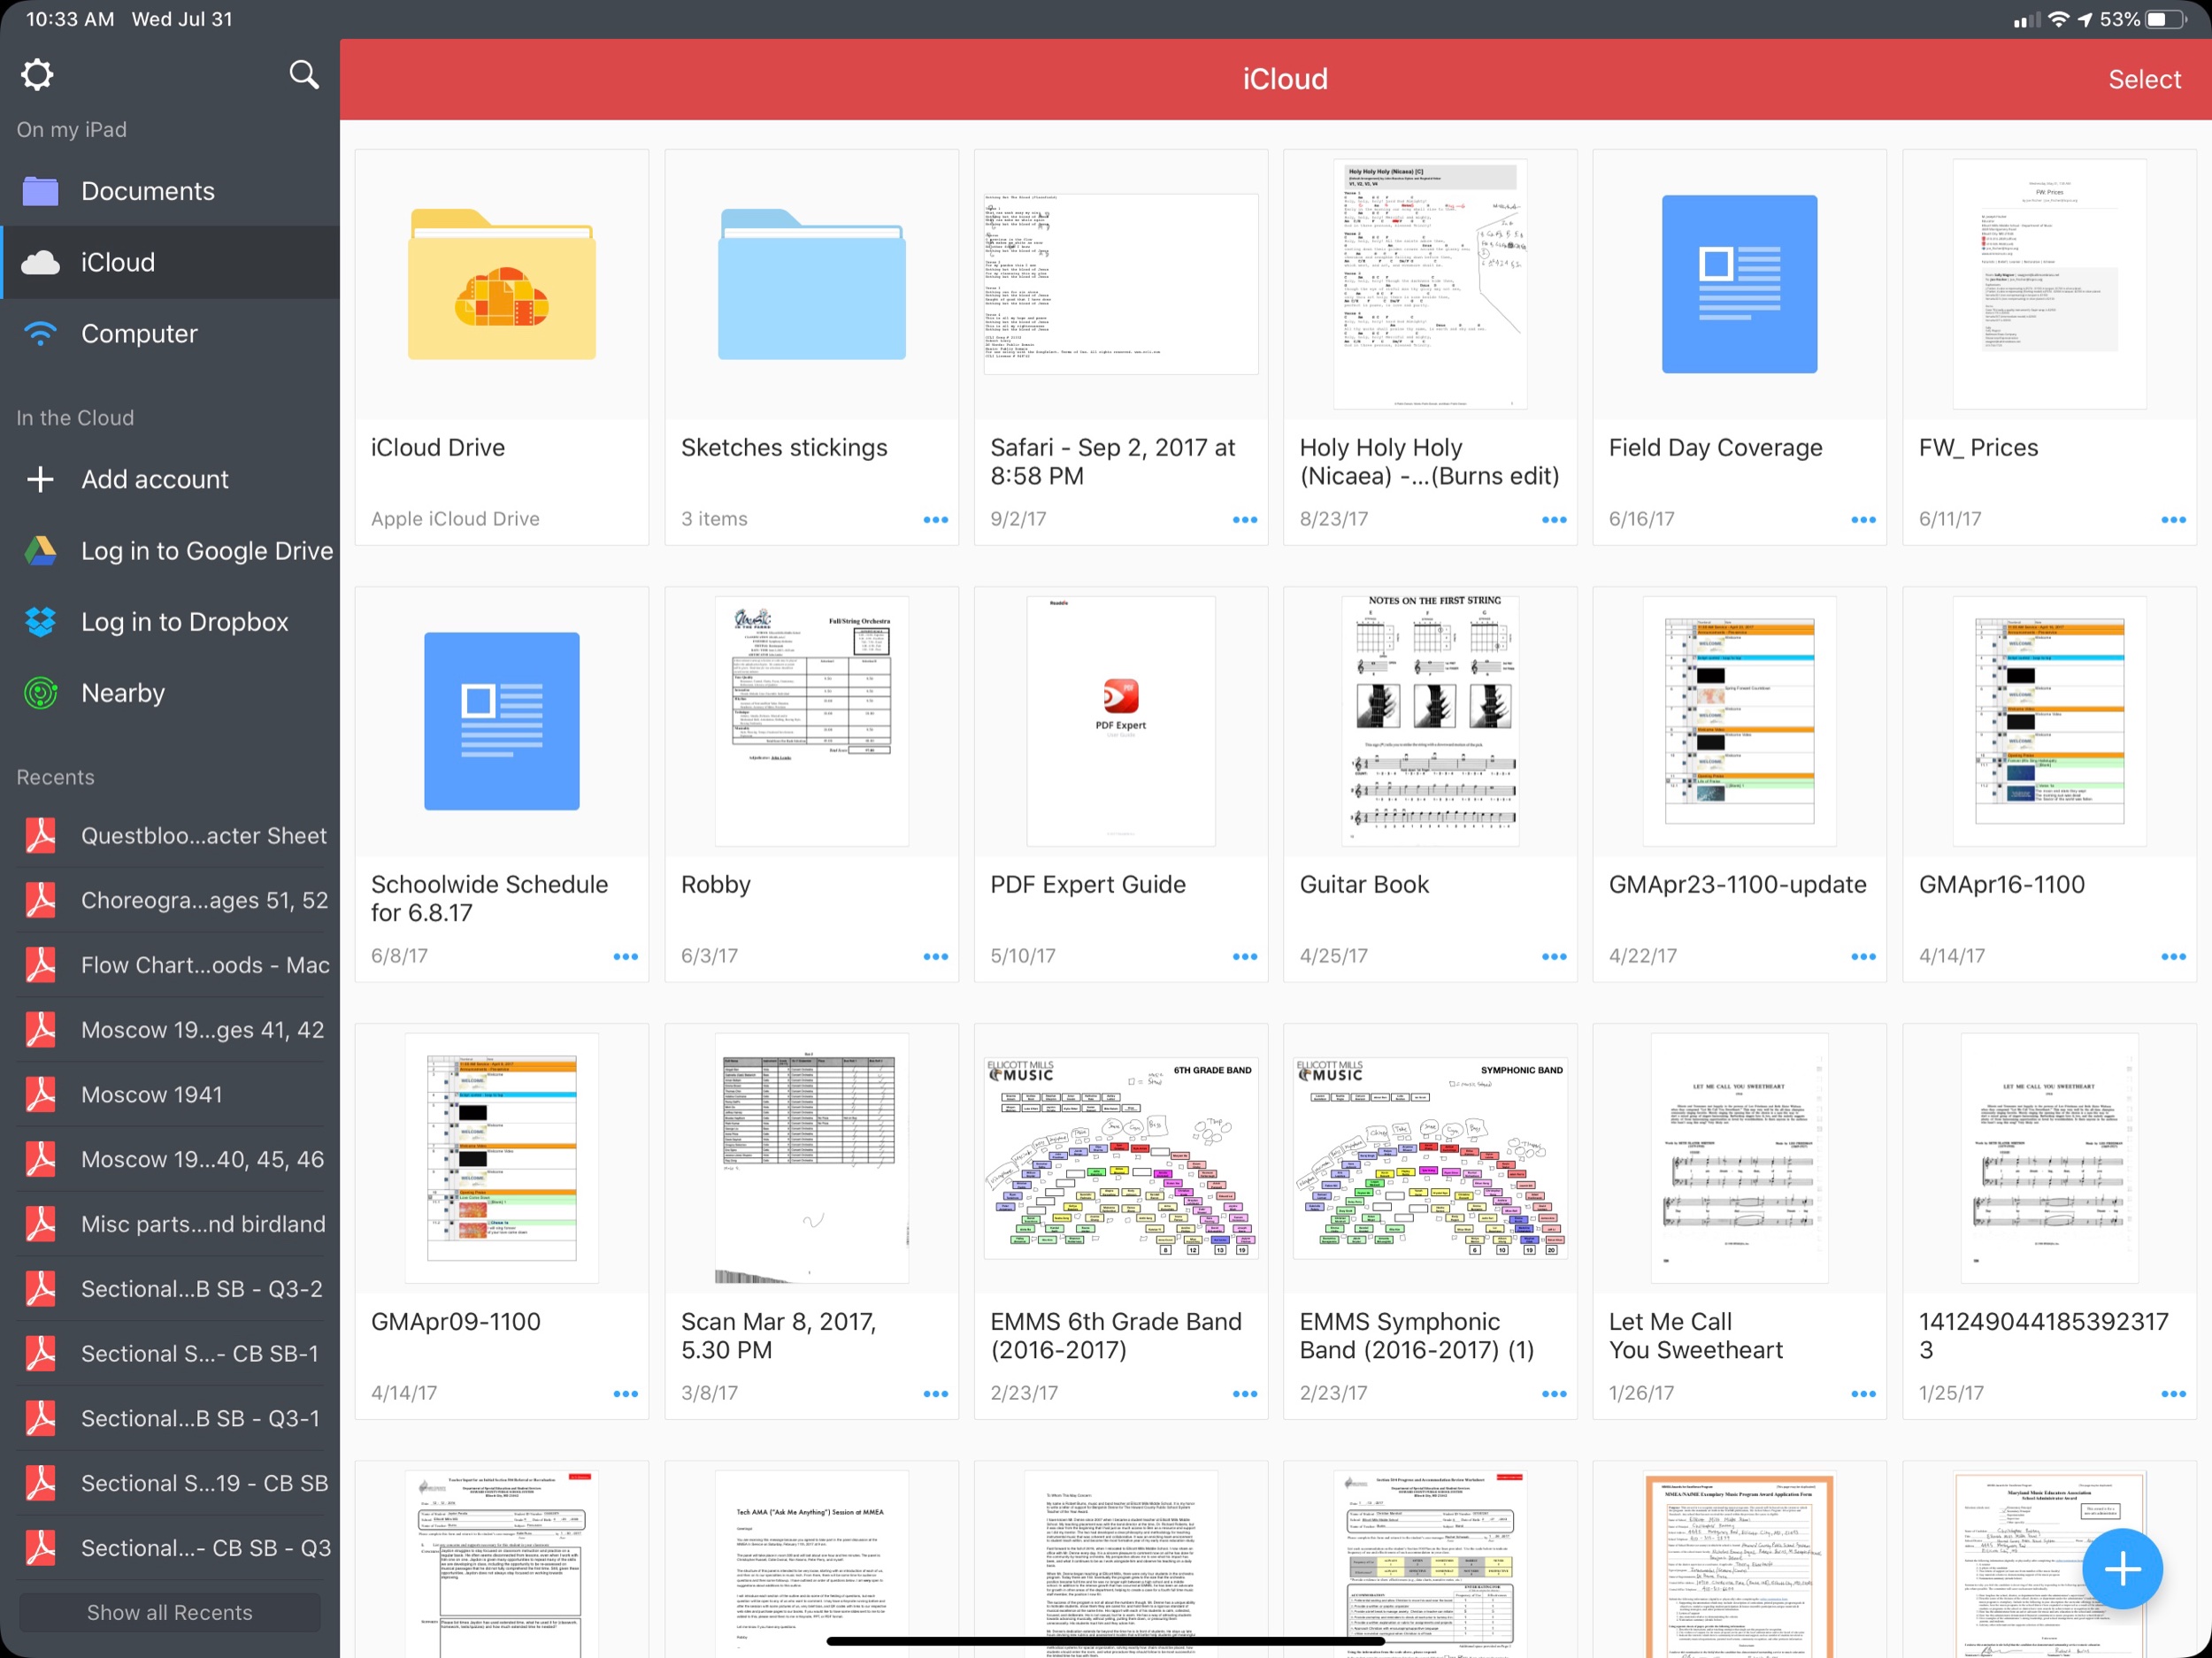
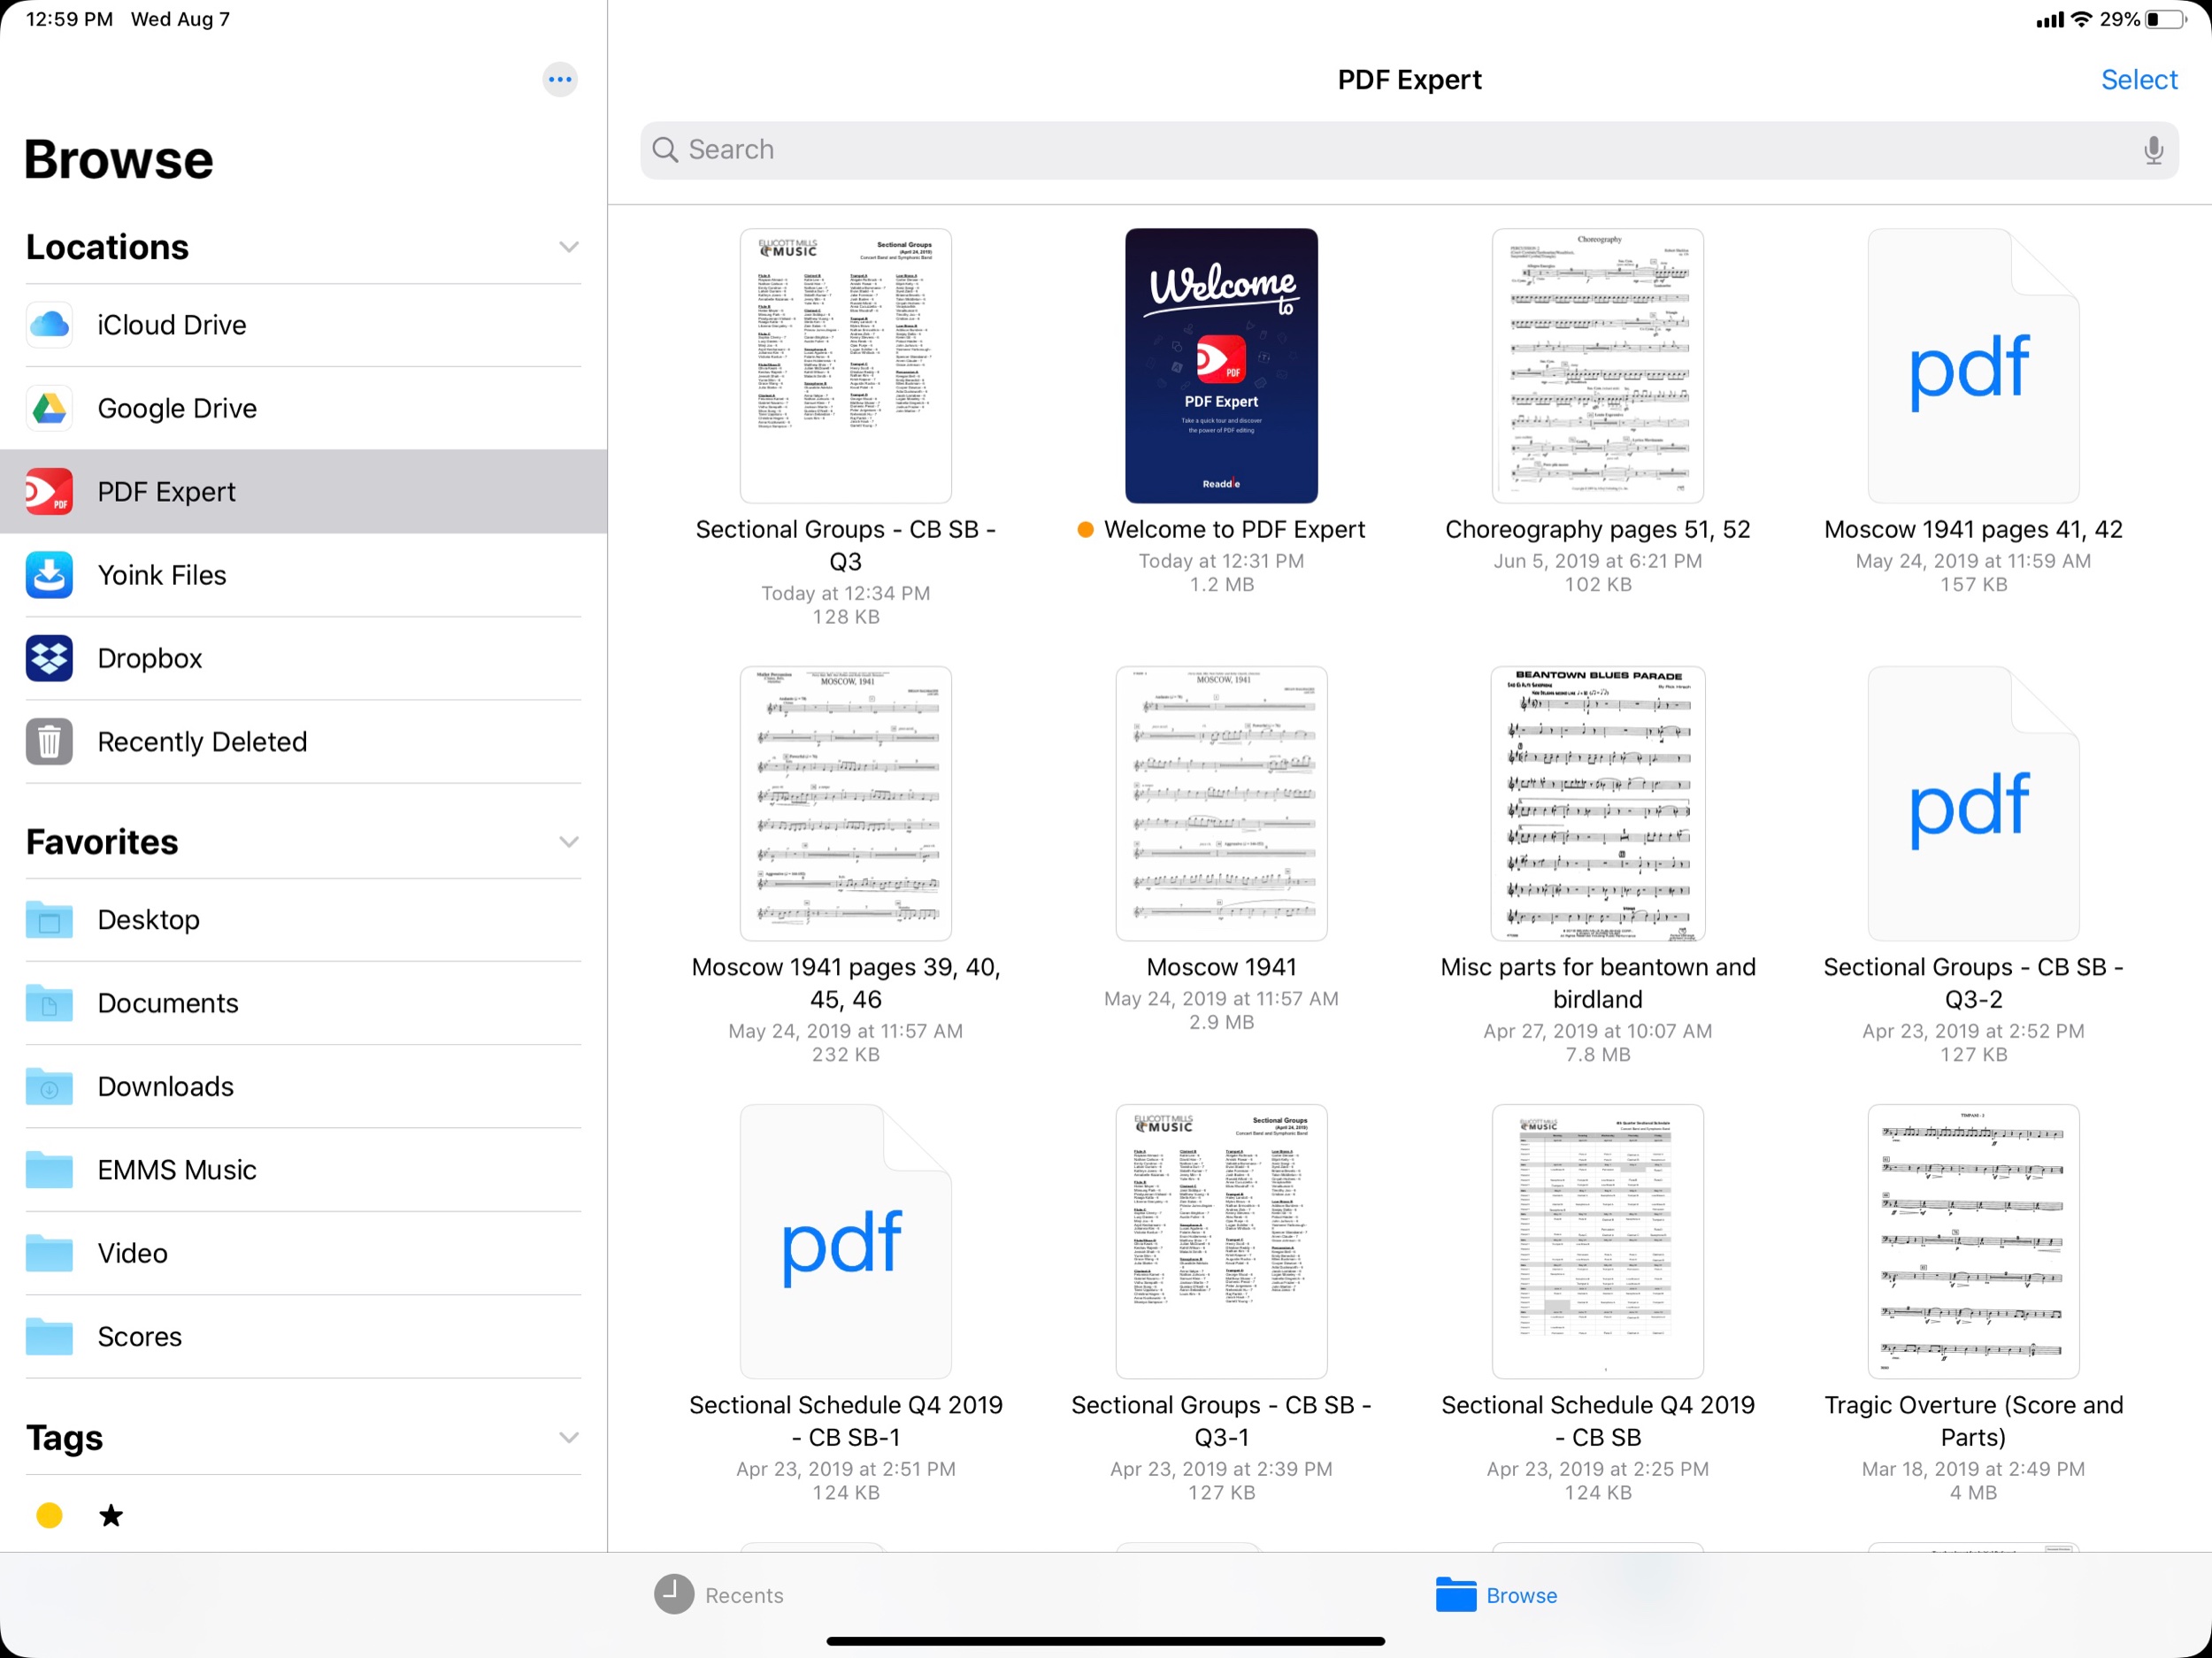
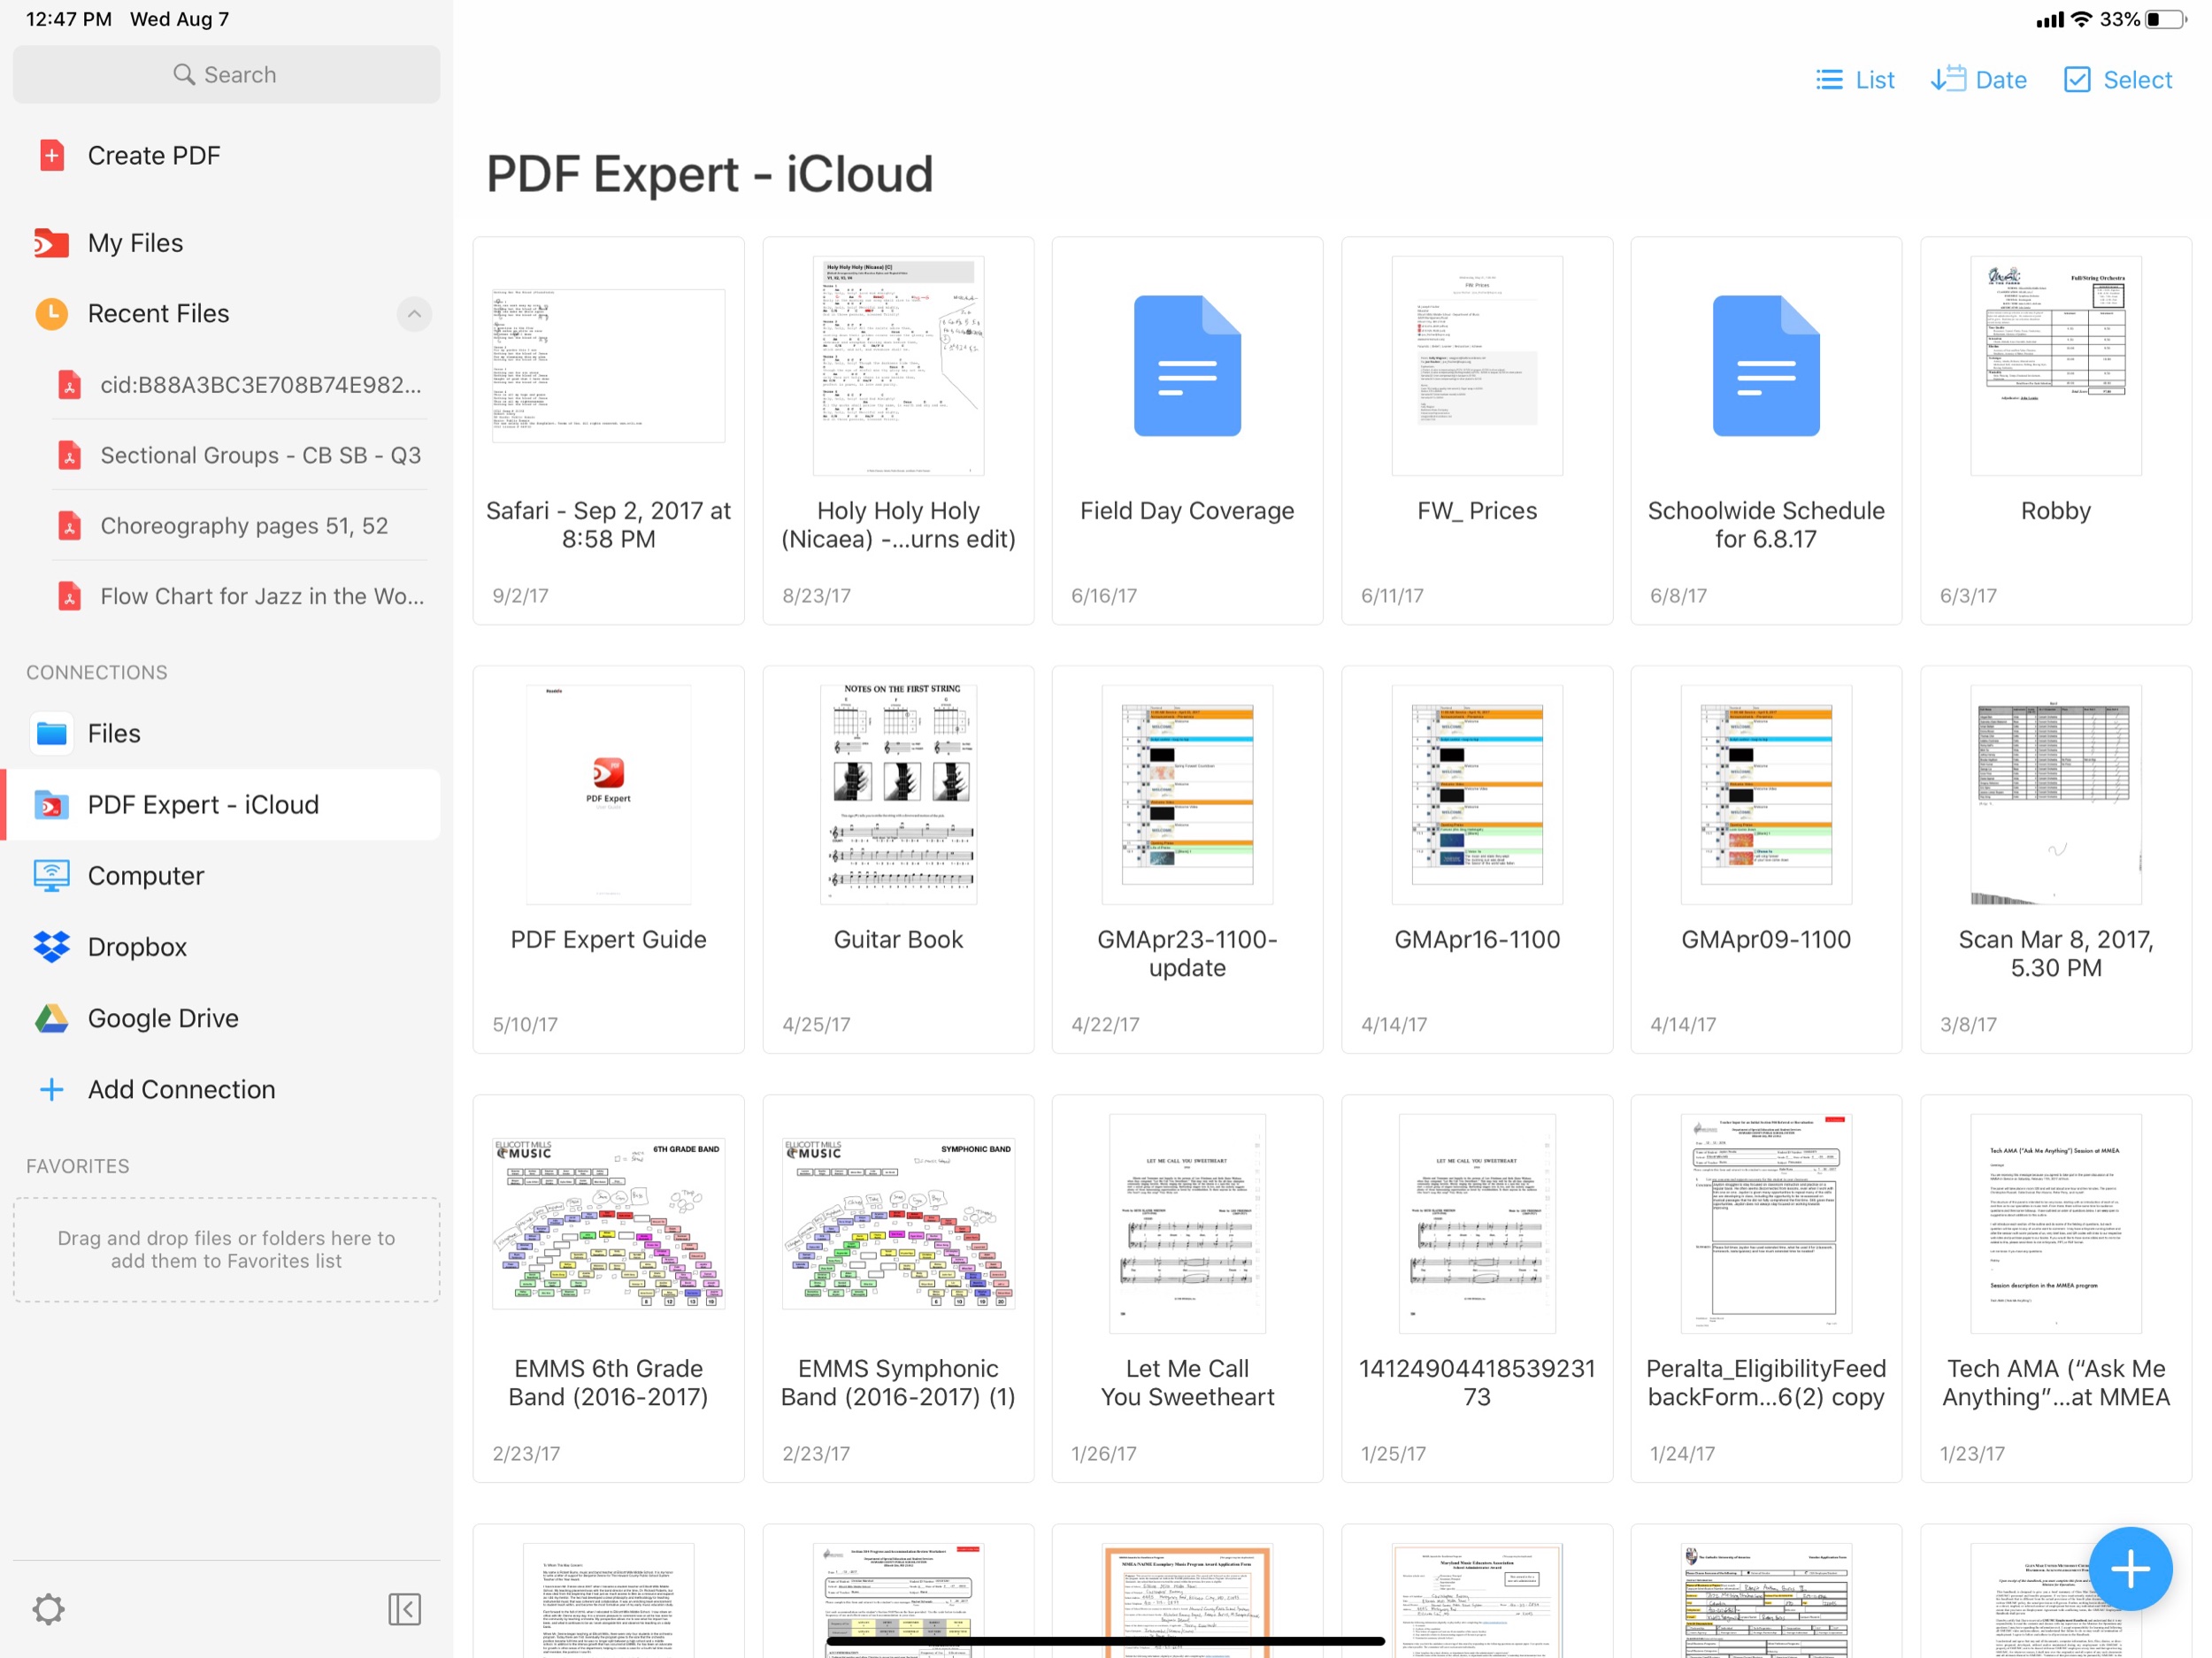
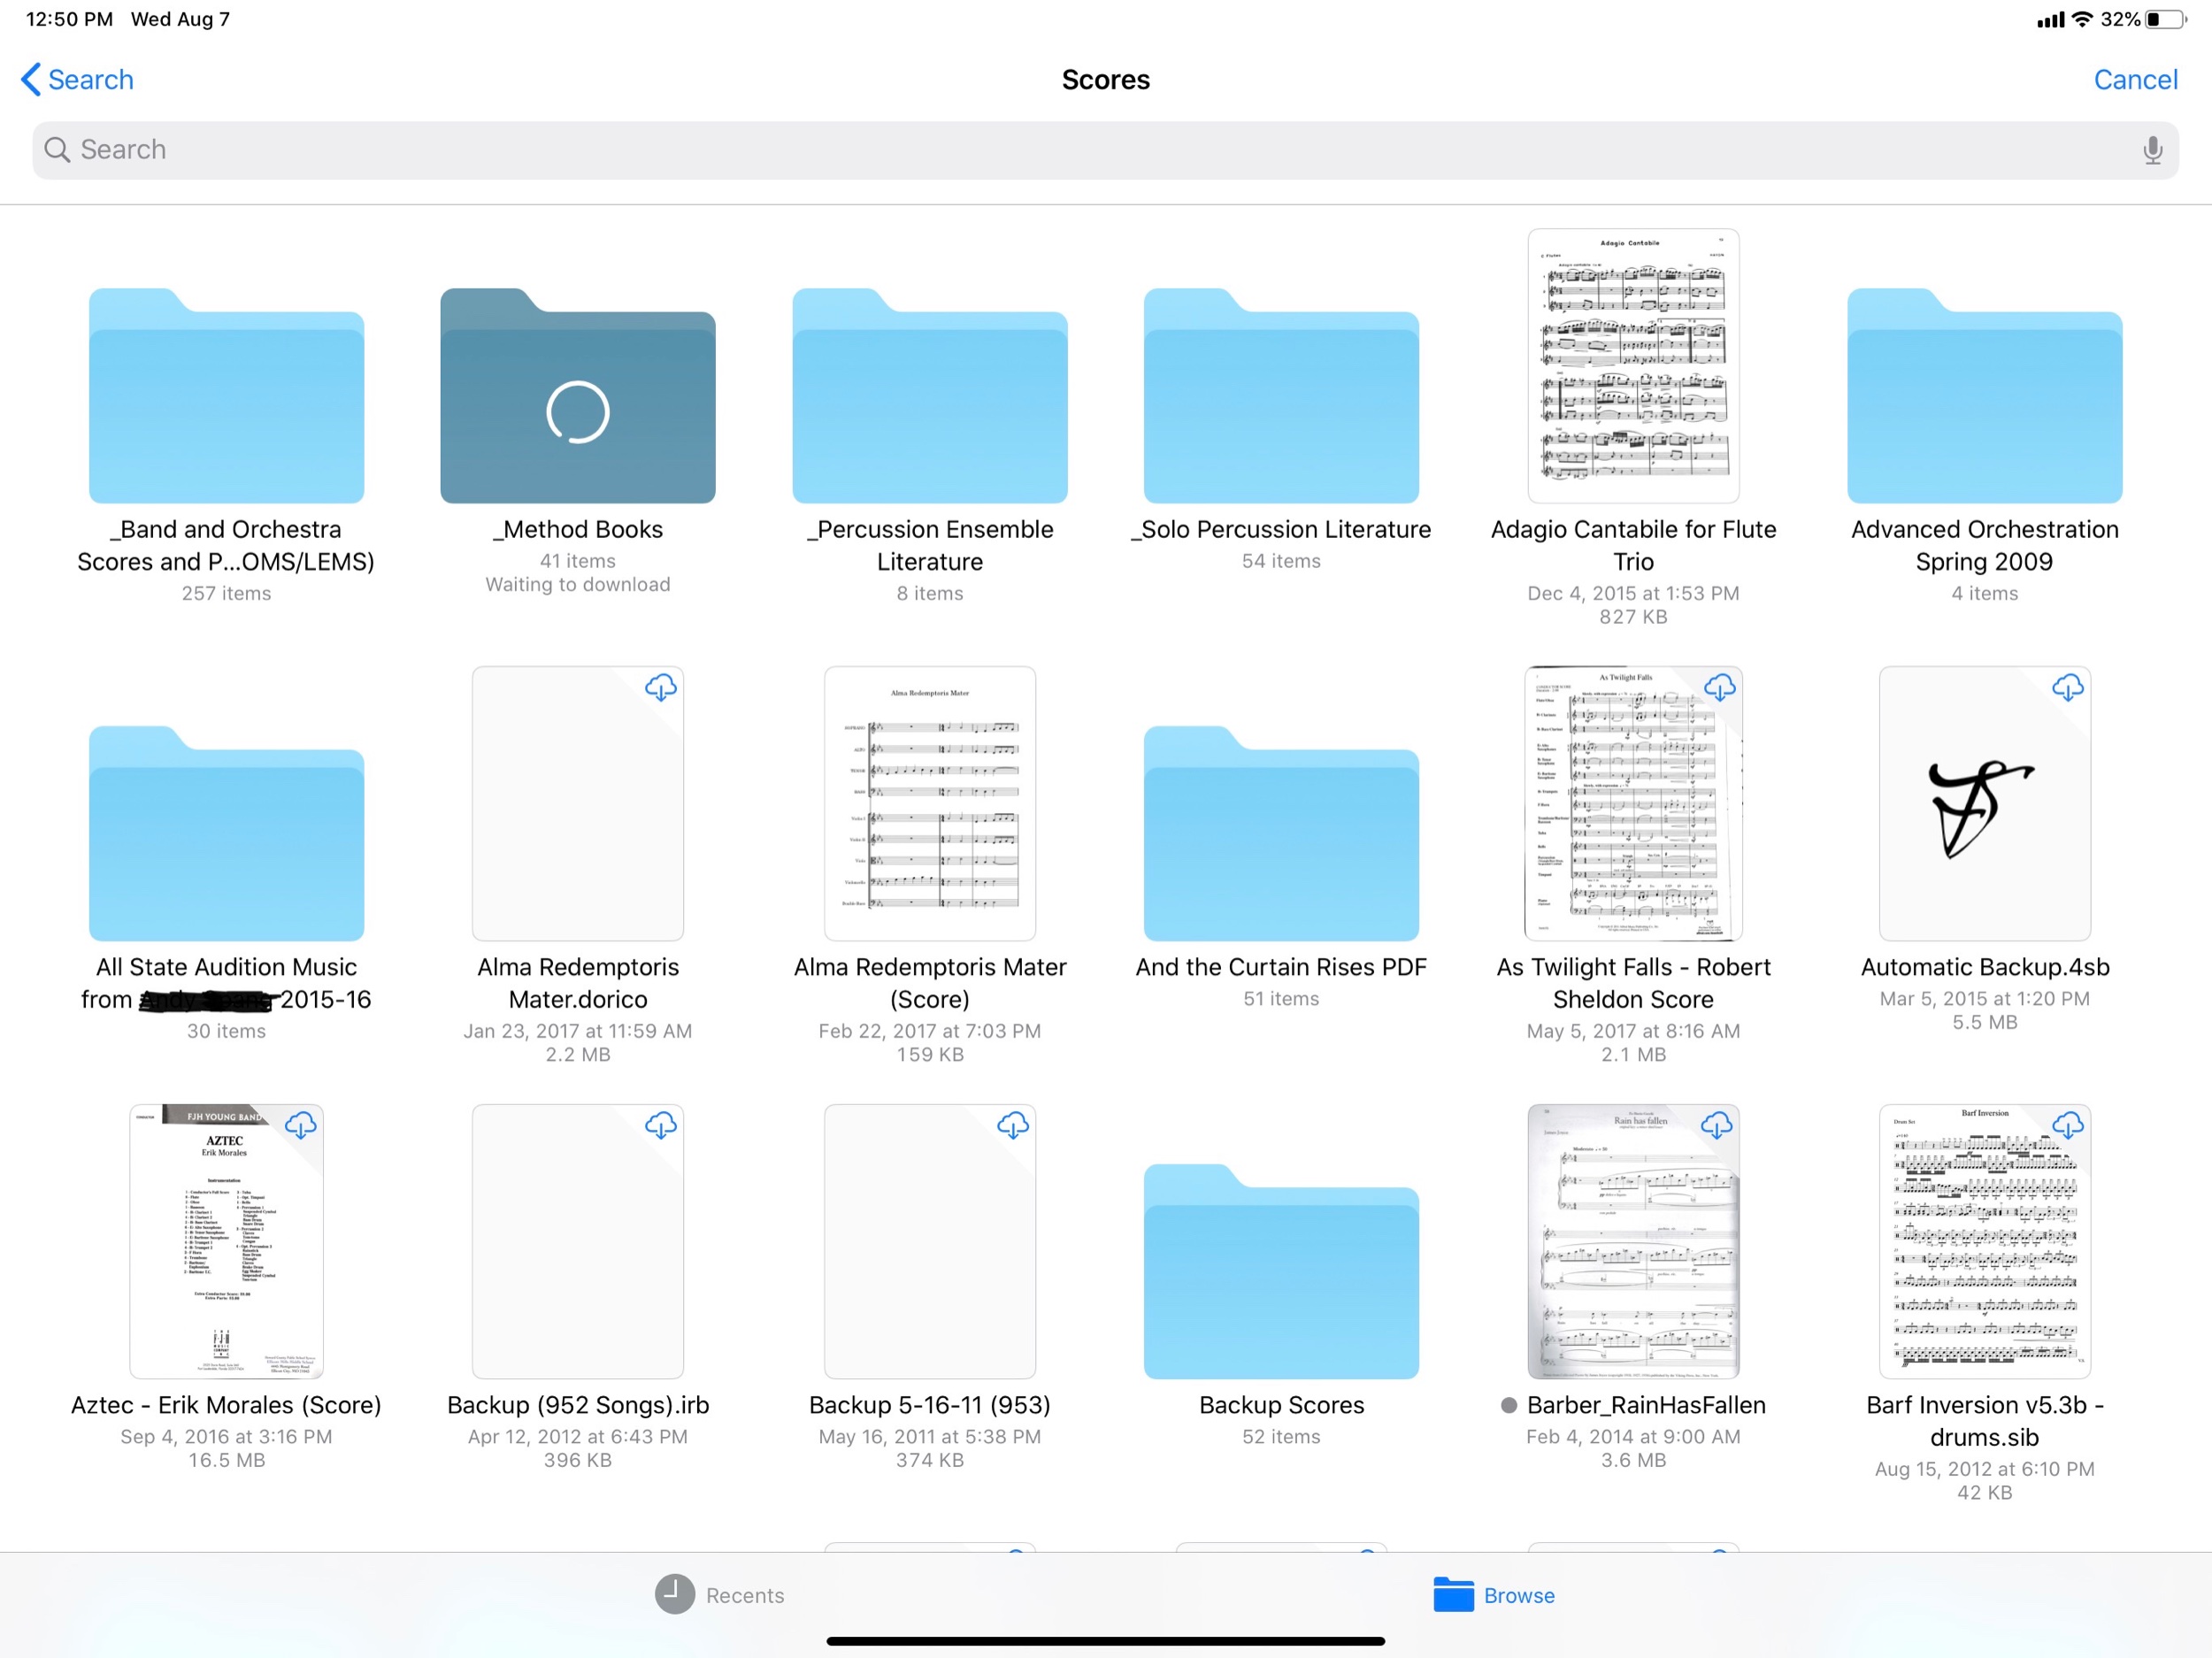
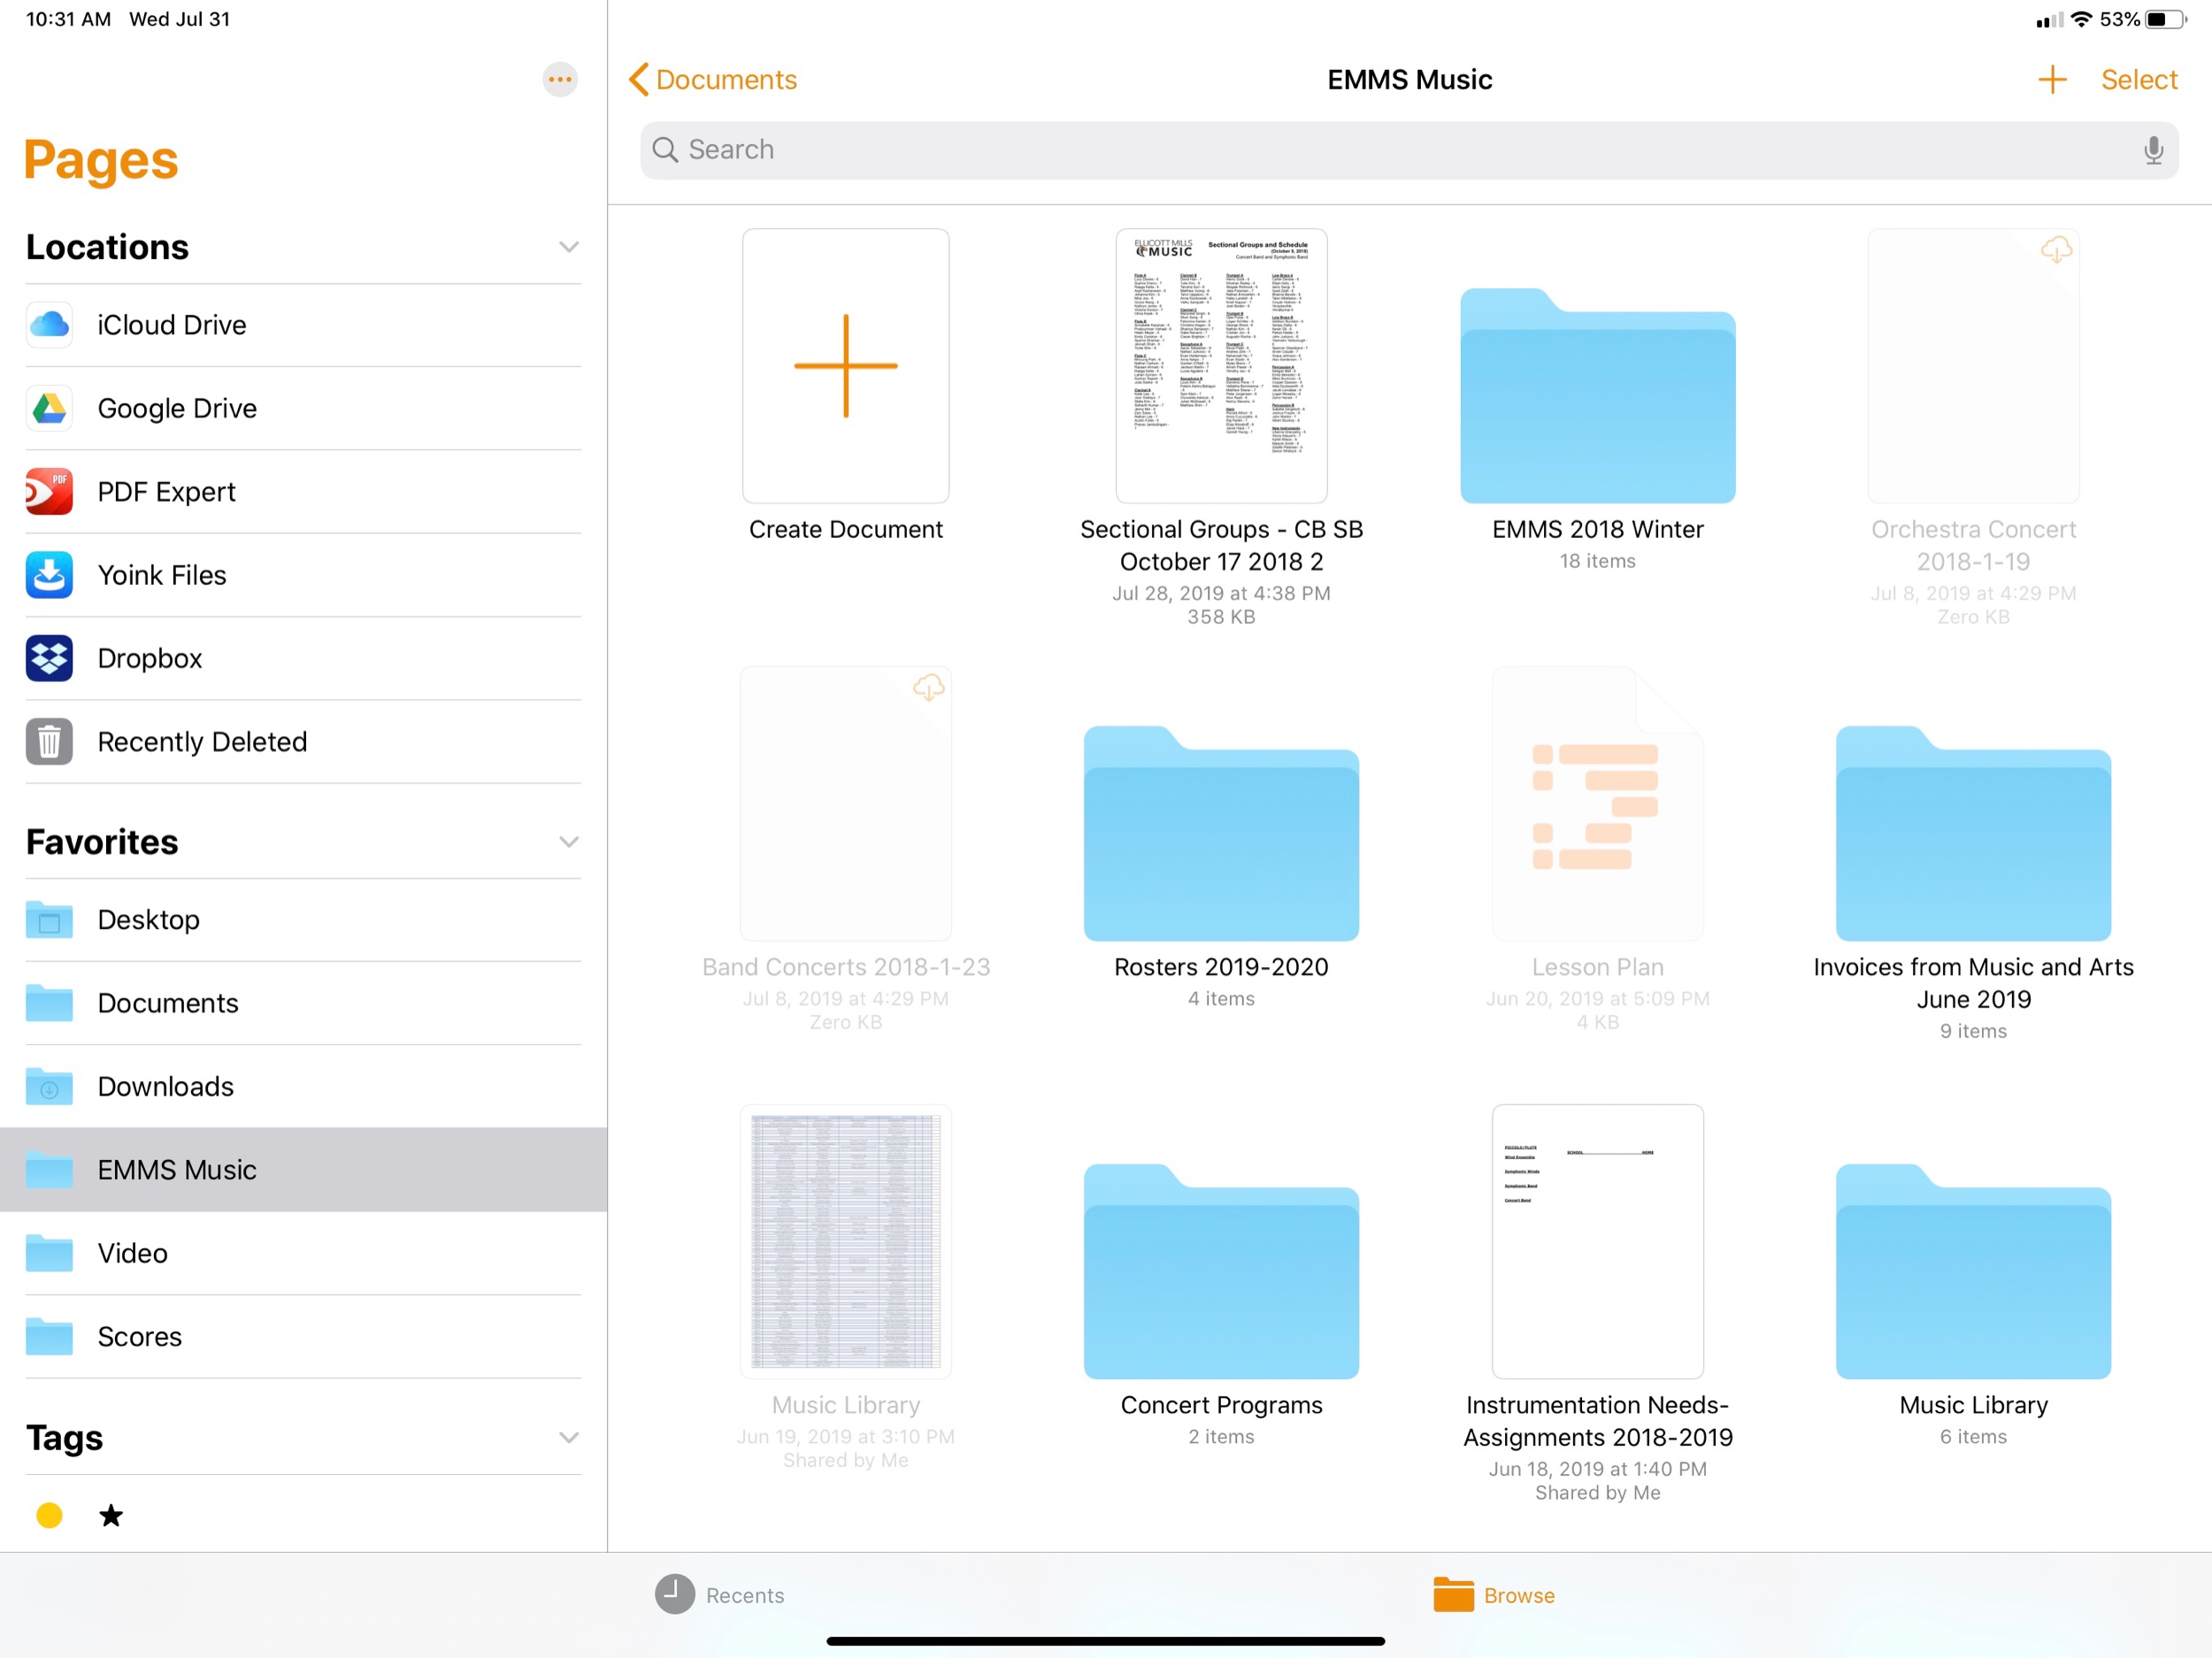
GoodNotes for Mac - One of my most used iPad apps is now on the Mac. The Mac version uses Apple's Catalyst technology which allows developers to port iPad apps to the Mac. For this reason it exhibits some weird behaviors. But I don't need to spend tons of time working in it as much as I just need to be able to view my synced documents from a Mac. I use the iPad version to annotate my band seating charts. I write down things about posture, behavior, participation, and then compare it against a weekly rehearsal rubric at the end of every week.

It is a lot easier to input grades into our district's LMS, Canvas, on Mac, so it is helpful to now be able to see my annotated charts on macOS, rather than having my iPad and my Mac open side by side.

Which music and apps were most compelling to you in 2019?

Things might be quiet here for a while longer. In early 2020, I look forward to getting cozier in my new home, and learning what it feels like to be a father. I wish you a great year of music making, with all the best technology tools by your side. Happy New Year!

App of the Week: PDF Expert 7

Readdle Launches PDF Expert 7, Free Update for iPhone & iPad

Today we are incredibly excited to launch PDF Expert 7 — our vision of what the ultimate PDF experience for every iPhone and iPad should be.

public.jpeg

This week’s update to PDF Expert secures it as my favorite PDF app on iOS. The one and only problem I have been having with it for the past year or two was its lack of integration with the iOS document browser, which shows you the same interface as the Files app when selecting which PDF you want to work with. I wrote about this last week with reference to the OmniGroup’s apps getting support for the native file browser this fall.

Accessing the the document browser is a tap away at all times. A ‘recent documents’ option is also one tap away. This is helpful because PDF Expert does a great job of integrating different options for managing your PDFs. It has Dropbox and Google Drive support. It also allows you to store PDFs locally within the app. This is useful for me when I am creating new PDFs or temporarily making copies of them for the purpose of editing the order of pages, the text of my documents, etc...

The PDF Expert 7 interface. ‘My Files’ are locally stored documents which do not sync to iCloud. They can be viewed in the Files app through the PDF Expert file provider.

The PDF Expert 7 interface. ‘My Files’ are locally stored documents which do not sync to iCloud. They can be viewed in the Files app through the PDF Expert file provider.

I like my ‘one true’ copies of my documents to live in iCloud. I will often take a scan of a stack of concert band parts, drag it into PDF Expert, extract the individual pages into separate parts (Flute 1, Flute 2, etc.), and then save these parts back to iCloud. I don’t want any of the extra files generated during this process cluttering up my documents folder, so its nice to have a quarantined area of PDF Expert where they can live.

The old PDF Expert interface.

The old PDF Expert interface.

The PDF Expert file provider, accessed through the Files app.

The PDF Expert file provider, accessed through the Files app.

These local files can also be accessed from the native Files app as PDF Expert is a file provider.

Furthermore, PDF Expert gets its own iCloud folder where you can store documents by default. This is becoming less necessary because of how easy it is to access the Files interface, regardless of where your PDFs are stored.

As mentioned above, the ‘recents’ option makes it more streamlined to find what you want, no matter which of these methods you have used to store documents.

I am focusing a lot on the file workflow here because PDF Expert 6 already had the best feature set of any PDF app I have used on iOS. A clean interface, great editing tools, the ability to edit the text and images of a PDF (for real!) and more. These features are now all free. PDF Expert 7 introduces some pro features that come at the cost of 50 dollars a year. Some of these features include converting to PDF from Word or Excel files, and the option to customize the look and feel of the editing tools at the top of the screen. I am glad PDF Expert chose these features to put in the paid tier. It is just enough that it will be worth it for some users, but all of the good stuff is still in the free version.

I will probably try the one week free trial but will most likely stick with the free version.

These PDFs are stored inside of iCloud Drive, inside a folder called PDF Expert. Though this is becoming less necessary now that the Files app is integrated more directly into the app.

These PDFs are stored inside of iCloud Drive, inside a folder called PDF Expert. Though this is becoming less necessary now that the Files app is integrated more directly into the app.

The new PDF Expert interface puts the iOS document browser. In this screenshot, I can directly access PDFs that are stored in my musical Scores folder, which is in my iCloud Drive.

The new PDF Expert interface puts the iOS document browser. In this screenshot, I can directly access PDFs that are stored in my musical Scores folder, which is in my iCloud Drive.

🔗 Omni Apps are Adopting Apple’s Standard iOS Document Browser this Fall

Adopting Apple’s Standard iOS Document Browser - The Omni Group

In 2019, we think it’s time to retire our custom document browser in favor of using Apple’s built-in document browser—and with our iOS 13 updates this fall we’ll be doing just that. Instead of seeing our custom file browser, you’ll be presented with the standard iOS document browser—just like in Apple’s own iWork apps. Using Apple’s browser, you’ll be able to store and sync your documents using Apple’s built-in iCloud Drive, or third-party commercial options like Box—or even in cloud- or self-hosted collaborative git repositories using Working Copy.

As a user of OmniFocus, OmniGraffle, and OmniOutliner, I am grateful that the OmniGroup is making this change. The Files app on iPad works very similarly to the Finder on Mac these days. So when I open or save a document on an iPad, I want to see that same interface. It's exactly the same as if I were on a Mac. I would never go to the File-->Open menu and expect to see anything other than the traditional Save/Open dialogue box that I see for every other app. This is standard on Mac. (Mostly. Some apps like Microsoft Office still refuse to use it.) So it is only fitting that in iOS, document based apps display the system provided interface for interacting with files.

In apps like Pages, for example, opening a new document displays an interface that looks and behaves like the Files app.

In apps like Pages, for example, opening a new document displays an interface that looks and behaves like the Files app.

MindNode is an example of a third party app that uses the same Files interface as Apple’s own apps.

MindNode is an example of a third party app that uses the same Files interface as Apple’s own apps.

Apps like OmniOutliner show a custom interface. Fortunately, OmniGroup is changing this behavior in the fall.

Apps like OmniOutliner show a custom interface. Fortunately, OmniGroup is changing this behavior in the fall.

PDF Expert is another example of an app that does not use the native file picker. Hopefully they will get the message and adopt it soon.

PDF Expert is another example of an app that does not use the native file picker. Hopefully they will get the message and adopt it soon.

Making Just Intonation Play Along Tracks for Your Performing Ensemble (Using Tonal Energy and GarageBand)

There are a few things that would be helpful to know about my music teaching philosophy before reading this post.

1. I believe that tone production, intonation, balance and blend are central to teaching performing musicians. I prioritize them much higher than fingering technique, rhythmic precision, and even reading comprehension.

2. The way I structure my band classes starts with, is focused on, and always revisits those core ideas.

3. I have accumulated a vast variety of tools and teaching strategies to meet my goals of having superior tone quality, intonation, balance and blend. One of the most essential tools I use is the Tonal Energy Tuning app.

Tonal Energy Tuner

What is Tonal Energy? A hyper charged, power-user app for musicians that has many advanced features, including...

- Tuning drones that can be triggered polyphonically

- Feedback as to how in tune a performer is, which includes a delightful happy face to depict good or questionable intonation

- Drones and feedback can be adjusted to different temperaments

- A metronome (with more features than nearly any alternative on the App Store) that can be used separately or at the same time as the tuning drones

- Analysis tools that depict amplitude and intonation on an easy to read visual graph 

- Recording and play back practice tools for musicians to listen back to their performance

- Automated metronome pre-sets that can be sequenced 

See the video below. I will first depict the tuner playing a Bb drone, then I will show how it can model a Bb major triad all at once. Then I will turn the tuner to just intonation mode, and you will hear that the third and fifth of the chord are appropriately adjusted so that they are in tune with the Bb root. Next, the video will demonstrate how the metronome can be used in combination with these drones.

Imagine now that a student is playing a scale along with Tonal Energy. By leaving the tuner in just intonation, and centering around the key area of Bb major, every note of the scale that I touch will resonate accurately with the Bb, giving the student an accurate reference to blend into.

Developing An Inner Ear for Diatonic Intervals

Much of music is made up of scales. For a student to learn how to most accurately tune different intervals and chords, I have the drone running in the background during most of my teaching in whatever key area we are working in. I then move my finger to the correct notes of the melody to model and reinforce what good intonation would sound like. See below for an excerpt of a song my beginning students might play.

In the video below, watch as I play this song by dragging my finger along to the melody. This happens with a metronome to reinforce the beat. I like that TE has the option to speak counts out loud. In my experience, this really reinforces a concept of strong beats, weak beats, where in the measure the performer is. Other tuning apps have the counting feature as an option, but the sounds in TE sound more natural and less computerized.

Making Play Along Tracks in GarageBand

As you can imagine, I am doing a lot of dragging my finger along while students play for me. This gets tedious. I also want my students to be able to hear these pitch relationships when they practice, so I have begun recording them into play along tracks. How do I do this?

Inter-App Audio Apps and Audio Extensions in GarageBand

In the iOS GarageBand app, audio input is usually performed using either software instruments or by recording audio directly into the device with the microphone. But what you might not know is that you can also create a track that is based on the audio output of a third party audio app. If you have ever used a DAW, think of Inter-App Audio Apps and Audio Extensions like plugins. Once launched, you are kicked into a third party interface (much like using a reverb plugin from Waves or a synthesizer from Native Instruments) which then adds to or alters the sound of your overall project. In a more recent GarageBand update, Apple categorizes Inter-App Audio and Audio Extensions under the External option when you create a new track. 

Audio Extensions are effects that alter your tracks like reverbs and EQs, while Inter-App Audio captures the audio of a third party app and records it into its own track in GarageBand. You can browse the App-Store for Audio Extensions that work with GarageBand. 

public.jpeg

Recording an Inter-App Audio App Directly Into A GarageBand Project

Watch in the video below as I set up an Inter-App Audio App track with Tonal Energy. What I am going to do next is press record, and record my justly in tune play along of Lightly Row into my GarageBand project. I will do this using the euphonium sound. The euphonium drone is one of the roundest, darkest, and fullest sounds, while also containing a great range, so it is effective for most instruments to play along to while also modeling a rich, full, resonant sound.

Accurate Note Input with MIDI Controllers

In this video, you can really hear how sloppy the transition from one pitch to the next is when I drag my finger. Notice also that I did not play repeat notes. It is difficult to play the same pitch twice in a row without Tonal Energy changing itself to that key area. One way around these challenges this is to set up a portable MIDI keyboard with Tonal Energy. The one I have settled in is the CME X-Key with Bluetooth.

It has a sleek look, is very small, and has low key travel. It has buttons for pitch shifting and octave jumping. And Tonal Energy adapts to it in just intonation mode! Watch in the video below. As I change which chord I am playing, TE automatically snaps the third and fifth of each triad in tune, relative to the root. For my Lightly Row performance, I can now hold a Bb drone on in one hand, while playing a melody in the other.

Embellishing The Track with Other Instruments

The resulting play along track is alone pretty useful for students. Let’s make it more fun by adding a drum track.

We can make it even more fun by embellishing with bass and other instruments. I like to change up the style of these play alongs. Sometimes I don't even pre-record them, I just improvise along with my students to keep things fresh. Be careful though. These software instruments are NOT justly in tune, so too many of them can defeat the purpose. I try to combat this by having the drone be the loudest thing in the mix. Notice in this recording I have tried not to create any motion in the accompaniment that interferes with the consonant intervals in the melody, so that the listeners ears can remain focused on the drone for their reference.

Conclusion

Well, that's it! I can trigger these in rehearsal, sectional, and even share them with my students for home practice. Regular practice with tuning drones has really turned around my band's sound, and gives students the foundations for long term ear skills that will help them to HEAR what is in tune, not just respond to the commands “you're sharp!” and “you’re flat!”

A Blogging Experiment

Yesterday I posted The 7 Best Apple Home Devices on this blog. In part this was an effort to condense some of my intense study on the subject of home automation over the past four or five years so that someone could benefit from a broad-stroke overview of how I set everything up.

But this post was also 50 percent an experiment. Two summers ago, I posted The 6 Best Automation Apps for iOS. Strangely, this has become the most popular blog on my entire website, by far. This is despite it not really being about music or education, and despite the fact that blogs like MacStories pump out articles 100 times better on the subject, regularly.

My second most popular post is a video about indexing large PDFs using the musical score app forScore on iPad. It is far less popular from the post on automation, but still far more popular than anything I have ever posted. I feel like it represents my niche pretty accurately.

I did some thinking on what could have made my automation blog post so popular. Was it that the title is concise? Bold? Simple? Was it that it had a bite-sized, concrete, number of apps in that same title? Or was it that I successfully tagged the post so that it shows up in a lot of web searches? I tried to replicate a little bit of that format in yesterday’s home automation post, while still writing about something I am passionate about. We will see how well it does.

And please do tell me if the home automation post was helpful to you in any way.

The 7 Best Apple Homekit Devices

Learn about my smart speaker setup on this episode of my podcast:

Subscribe to the Podcast in... Apple Podcasts | Overcast | Castro | Spotify | RSS

I keep promising myself that a larger dive into my home automation workflow is coming to this blog. And it is. But I thought that I would first take a moment to outline the top seven apps and devices that I am using in combination with the Apple Home app. These get special attention given that their HomeKit integration allows me to conveniently manipulate them all from within the Apple Home app and command them with Siri. 

All of the devices in this post are also compatible with the Amazon Echo. I only buy home devices that are equally compatible because I use Alexa in my house as well. Furthermore, the home automation space is still very young and fragmented. The more open a platform is, the more flexible it will be now and in the future. 

Philips Hue Lights

Be careful. These WiFi connected light bulbs are the gateway drug of home automation. With them, I can now turn on every light in my house with my phone or voice. For my small house, the bulbs work just fine, but I would recommend the light switches for larger homes for convenience and to save money. Check out the image below to see how these lights appear in the Home app. I can control them individually or group them together. I can automate them by time or location in the Apple Home app. It's really nice to have the lights gently dim around bed time, and gradually wake me up with a gentle red hue an hour before work in the morning. Because my iCloud account also knows who and where my wife is, I can set up an automation that turns off all the lights once both of us have left the house, and another that turns them back on when one of us returns. 

Check out Philips Hue lights here

The Home app aggregates all of my various different home automation devices.

The Home app aggregates all of my various different home automation devices.

The Good Morning scene is automatically set to run at 6:30 am on weekdays and at 9:30 am on weekends.

The Good Morning scene is automatically set to run at 6:30 am on weekdays and at 9:30 am on weekends.

This is the set up screen for my Good Morning scene.

This is the set up screen for my Good Morning scene.

Ecobee Thermostat 

The Nest thermostat was the first home automation device I ever bought. It doesn't work with Apple HomeKit though. So when it unexpectedly died last year, I jumped at the opportunity to try something new. Ecobee thermostats are the best around. Speaking into the thin air "Hey Siri, I'm cold" to turn up the heat is a modern day dream. Of course, I can automate temperature in all of the same ways I can do lights. And I can even group these devices into "scenes" in the Apple home app to streamline frequent actions. For example, the "Arriving Home" scene turns on the air and the lights. This scene is not only triggered by button or voice, but automatically runs when my phone is within close proximity to my house. 

This is what you see when you open the ecobee app.

This is what you see when you open the ecobee app.

Once you tap on a thermostat, you get more detailed controls.

Once you tap on a thermostat, you get more detailed controls.

This is my Arrive Home scene. The door unlocks for me, the thermostat turns on a good temperature, and the lights on the main level of the house turn on.

This is my Arrive Home scene. The door unlocks for me, the thermostat turns on a good temperature, and the lights on the main level of the house turn on.

Schlage Sense Door Lock

My Schlage Sense allows me to unlock my door with the tap of a button. My teaching studio is in the basement of my house and the door is upstairs. It is disruptive to a lesson to constantly be answering my door, so now I just tell my Apple Watch "Hey Siri, unlock the door." It authenticates through contact with my wrist and completes the task. Of course my Arriving Home and Leave Home scenes also unlock and lock the door, in addition to all of the other actions I mentioned above. Having my front door unlock for me when I arrive home makes me feel like I am living in the future. Having it automatically lock when I leave gives me peace of mind that my house is safe. 

Logitech Circle Camera

Of all the HomeKit devices out there, cameras are the hardest to shop for. I have found the Logitech Circle to be the best out there. Nest makes some great cameras but their lack of HomeKit support has driven me away. I have the Logitech set up in our dining room, facing down the primary hallway in my home. It is plugged into an iHome smart plug which is also HomeKit enabled so that I can turn it off and on remotely. This plug is automated in the Home app to turn on when neither my wife and I are home and turn off when one of us arrives home, therefore working like a security camera. When it detects motion it turns on our dining room and kitchen lights. It has a two way microphone so you can chat with someone in your home if you need to. And what I love about it most is that the camera feed shows up right in line with my other smart home controls in the Apple Home app. 

The interface for the Logi Circle 2 app.

The interface for the Logi Circle 2 app.

Eve Sensors

Sensors need no introduction. These things can trigger any other home device to act when they detect motion. Most of mine are set to turn on the lights in a given room when I walk into them. But they can also trigger thermostats and smart plugs. My favorite sensors on the market are made by eve. They are easy to set up and work reliably. Eve also makes a number of other interesting HomeKit products. 

Sensors appear as ‘Triggered’ in the Apple Home app when they have detected motion.

Sensors appear as ‘Triggered’ in the Apple Home app when they have detected motion.

In Apple Home, I can make an automation that turns on the upstairs light whenever my eve sensor is triggered upstairs.

In Apple Home, I can make an automation that turns on the upstairs light whenever my eve sensor is triggered upstairs.

The eve app makes a great alternative to the Apple Home app for controlling all your devices.

The eve app makes a great alternative to the Apple Home app for controlling all your devices.

iHome Smart Plugs

I like using smart plugs as an all purpose way of turning on and off the things in my house that are otherwise not “smart.” In addition to the camera workflow I mentioned above, I also have these plugged into other devices throughout the house. For example, my bedroom fan is plugged into one. I can now turn it on and off in the middle of the night without getting up. “Hey Siri, turn on the fan.” A lot of brands make smart plugs but the iHome is the easiest to set up and use in my experience. 

Apple HomePod

I was hesitant about the HomePod at first given that it shipped with incomplete software and relies entirely on Siri for voice commands. Still, the device offered some compelling features. When iOS 11.4 brought the features that were missing from release (AirPlay 2 and multi room audio), I scooped one up while Best Buy was running a 100 dollar off deal on them, refurbished. 

The HomePod fulfills a lot of the same purposes as the Amazon Echo. It is distinguished by linking into the Apple ecosystem, allowing me to command Apple Music, Apple Podcasts, and all of the home automation devices mentioned above. 

Control of the HomePod exists inside the Apple Home app where it appears as a speaker device. The recent addition of AirPlay 2 allows my two Sonos One speakers to show up in the Apple Home app as well. 

The HomePod is first and foremost a good speaker. But it can also command your other speakers in the house and even the audio output of your Apple TVs. Simply command “Hey Siri, move this music to the living room,” and listen as your music is magically transported from one speaker to the next. You can output your Apple TV audio through to this handy speaker and speak playback commands to your tv and movies with statements like “pause,” “stop,” and “skip ahead 50 seconds.”

The HomePod is the core of the Apple Home experience. Of course, you could just as easily control every device in this post from an Echo. However, as an Apple Music subscriber, and frequent listener to podcasts in the kitchen, having a HomePod makes sense for me to own.

It looks like the investment is going to pay off. This fall, iOS 13 will be adding even more features to the HomePod and Home app. For example, the HomePod will be able to distinguish between my voice and my wife’s. This way, when she asks it what is going on today, it will read from her calendar instead of mine. iOS 13 is also introducing speaker automations for scenes. So my Good Morning scene in the Home app will now play my favorite breakfast playlist in addition to turning on select lights and changing the temperature.

And finally, HomeKit automations and Siri Shortcut automations are going to be better tied together, and will be able to be triggered automatically. For example, doing something like stopping my wake-up alarm will both run the Good Morning scene and automatically run this Siri Shortcut that tells me how I slept, delivers a weather report, and opens a meditation in the Headspace app.

In iOS 13, HomePod play controls show up right in the Home app.

In iOS 13, HomePod play controls show up right in the Home app.

In iOS 13, music playback can become part of your scenes.

In iOS 13, music playback can become part of your scenes.

The new Siri Shortcuts app on iOS 13 integrates home automations and personal automations. It also allows them to be automatically triggered by time, location, opening a particular app, and more! In this example, stopping my wake-up alarm triggers m…

The new Siri Shortcuts app on iOS 13 integrates home automations and personal automations. It also allows them to be automatically triggered by time, location, opening a particular app, and more! In this example, stopping my wake-up alarm triggers my I’m Awake Siri Shortcut, which sets the Good Morning scene, reads me the weather, tells me how I slept, and starts a meditation.